
To can bone broth, take the prepared broth and pour it into sterilized canning jars. Process the jars for 20-25 minutes in a pressure canner at 10-15 PSI, depending on elevation. Cool the jars of broth for 12-24 hours, check the seals, and store in a cool, dry place.
Is it Better to Water Bath Can or Pressure Can Bone Broth?
Pressure canning is the best method when it comes to preserving bone broth. Bone broth is made from meat bones and is a low-acid food. Low-acid foods must be pressure canned since this process uses high temperatures and pressure to destroy harmful microorganisms and bacteria like Clostridium botulinum, which causes botulism.
Print
Homemade Bone Broth Canning Recipe
- Total Time: 37 hours, 10 minutes
Description
Use this recipe to get rich, deep chicken bone broth that is the perfect base for stews, soups, and casseroles! Once you taste this broth, you’ll never want to buy the store-bought version again!
Ingredients
- Chicken bones or chicken carcass from 1 chicken
- 2 cloves of garlic
- 2 onions
- Salt and pepper to taste
- Parsley, rosemary, and oregano sprigs
Instructions
- Put the chicken bones or carcasses in a large pot and cover them with water. Place the pot on a stovetop on medium heat.
- Cut or dice the onions, and add them to the pot with a few sprigs of oregano, parsley, rosemary, and garlic. Sprinkle with salt and pepper.
- Slow-cook the mixture for 12-24 hours.
- Once done, remove the broth and allow it to cool, and then use a colander to strain out the solid bones, herbs, and veggies.
- Let the broth rest in the fridge overnight.
- Skim off and remove the fatty layer that forms on the top of the broth in the refrigerator before re-heating the broth.
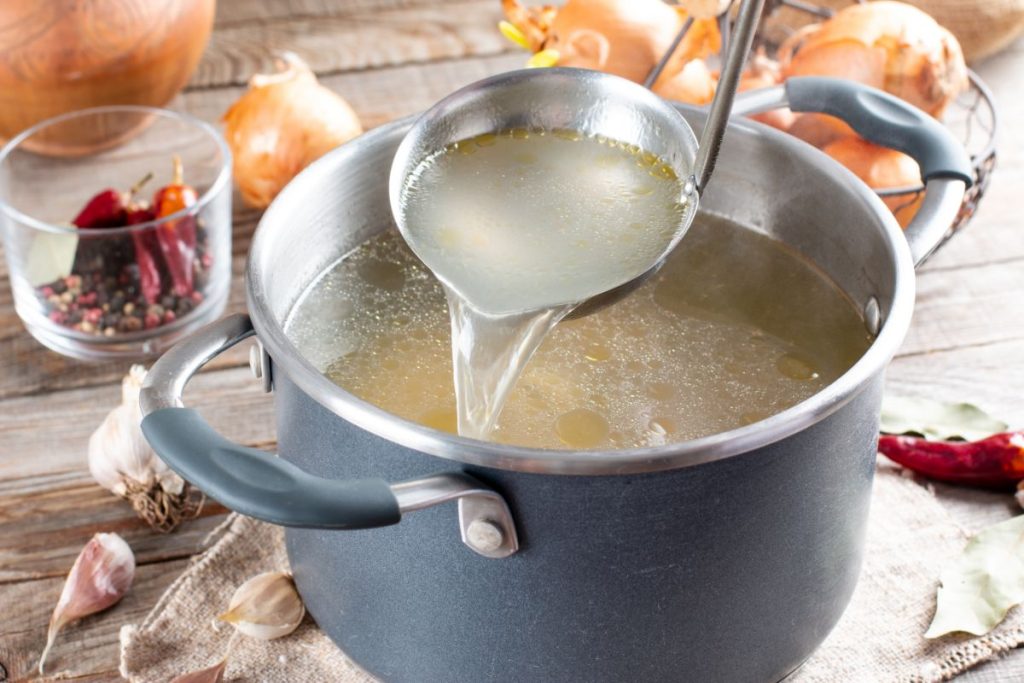
- In a large stockpot, boil the broth and ladle it into sterilized canning jars, leaving 1-inch headspace.
- Cover the jars with sterilized lids and apply the screw bands until fingertip tight.
- Place the jars in your prepared pressure canner using a jar lifter and set them on the canning rack inside. Ensure the pressure canner has 2-4 inches of water inside, per the manufacturer’s instructions.
- Close the lid and allow the canner to vent steam for 10 minutes before bringing it to the correct pressure for your canner type, per your elevation. Once the canner has reached the correct pressure, process pints for 20 minutes and quarts for 25 minutes.
Dial-Gauge Pressure Canner
- 0 – 2,000ft: 11 lbs
- 2,001 – 4,000ft: 12 lbs
- 4,001 – 6,000ft: 13 lbs
- 6,001ft and up: 14 lbs
Weighted Gauge Pressure Canner
- 0 – 1,000ft: 10 lbs
- 1,001ft and up: 15 lbs
Post Processing
- Once the processing time has concluded, allow the pressure canner to cool naturally and for the pressure to drop to zero.
- Open the canner and carefully move the jars with a jar lifter. Place the jars on a cushioned countertop to cool for 12-24 hours.
- After 24 hours, check if the jars are properly sealed by pressing down on the center of each lid. Jars with lids that do not flex are sealed and should be labeled and stored in a dark, cool, dry place for up to one year.
- If any of the jars have lids that flex, this means the jar is not sealed. Refrigerate the contents and use the broth within seven days.
- Prep Time: 25 hours, 10 minutes
- Canning & Cooling: 12 hours
Nutrition
- Serving Size: 1 cup
- Calories: 39kcal
- Sugar: 0g
- Sodium: 28mg
- Fat: 2g
- Saturated Fat: 1g
- Carbohydrates: 0g
- Fiber: 0g
- Protein: 3g
- Cholesterol: 9mg
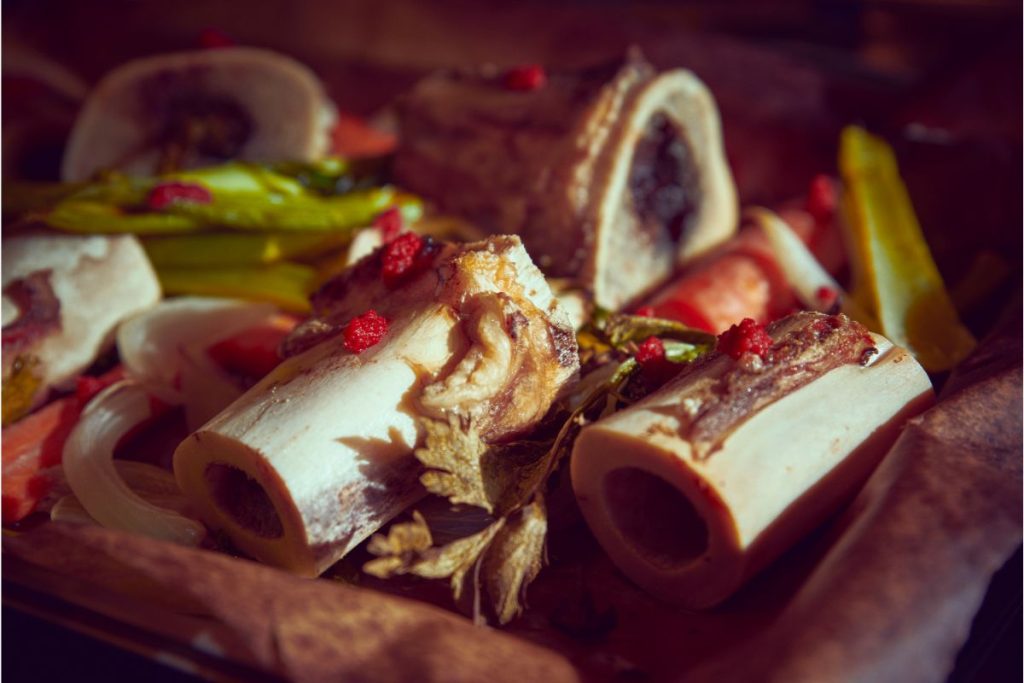
What Ingredients Are Used for Making Bone Broth?
- Acidic additions: You may add apple cider vinegar, lemon juice, or other acidic ingredients to help break down the collagen in the bones.
- Animal bones: Bones, such as those from cattle (for beef stock) or poultry (for chicken stock), are the main ingredient. You can combine different types of bones for improved flavor.
- Herbs and spices: Add herbs and spices such as thyme, rosemary, black pepper, and sage to improve the flavor of bone broth.
- Salt: Add some salt to season your broth if desired. For low-sodium broth, the amount can be reduced or eliminated.
- Vegetables: Vegetables can add flavor and minerals to bone broth. Carrots, onions, celery, parsley, leeks, and garlic are common vegetables to put in bone broth.
- Water: You need enough water to cover and simmer the bones.
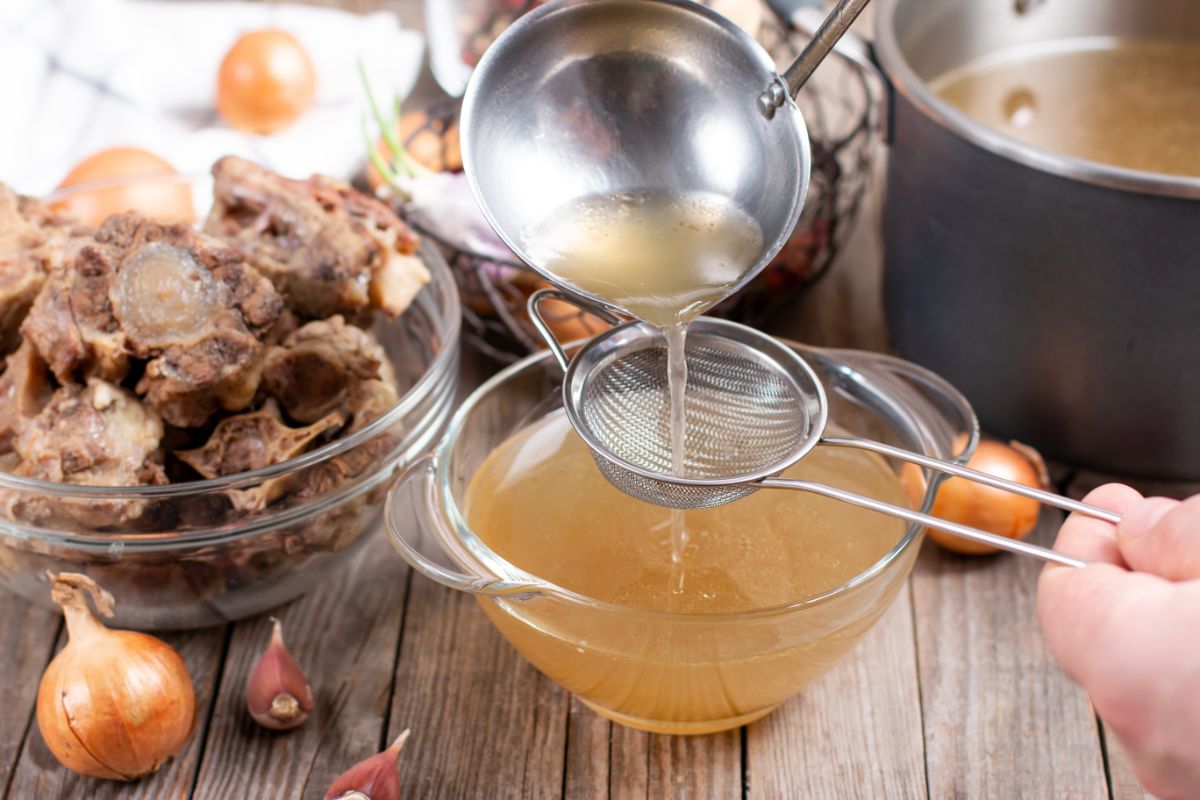
Do You Have to Strain Bone Broth Before Canning?
Yes, you should strain bone broth before canning it. The bones and vegetables that are used to make bone broth may contain small pieces of meat, cartilage, and bone that can make the broth cloudy. Straining the broth will remove these pieces and help clarify the broth. To strain the bone broth, you can use a fine-mesh sieve or a cheesecloth-lined strainer.
How Long Does it Take to Can Bone Broth?
The processing time for bone broth depends on the size of the jars but takes 20-25 minutes. For pint jars, it takes 20 minutes, while quart jars take 25 minutes.
Can You Can Bone Broth Without a Pressure Canner?
No, you can’t can bone broth without a pressure canner. According to the USDA and the National Center for Home Food Preservation guidelines for home canning, you can only use a pressure canner to can bone broth because it is a low-acid food.
What are the Benefits of Canning Bone Broth?
- Convenience: Canned bone broth offers an easy way to always have a flavorful and nutritious broth on hand for soups, stews, and other recipes.
- Nutrient retention: Canning bone broth retains its nutritional value, which can be lost when stored in the refrigerator or freezer.
- Longer shelf life: When kept in a cold, dark location, canned bone broth is shelf stable and can last up to a year.
- Cost savings: Canned bone broth is less expensive than store-bought broth.
- Reduction of food waste: Making the most of leftover bones and vegetable scraps by canning bone broth enables you to reduce food waste.
How to Store Canned Bone Broth
- A temperature range of 50°F to 70°F is best for preserving canned bone broth.
- Check the seals before consuming the contents. If the seals are broken, the broth should be discarded.
- Ensure that the jars are kept upright to prevent the lids from warping.
- Label the jars with the date to track how long the broth has been preserved.
- Store the canned bone broth in a cool, dark place like a pantry or cupboard.
How Long Does Canned Bone Broth Last?
When properly stored, canned bone broth lasts up to one year. Be sure to rotate the jars as you use them to ensure that you use the oldest broth first.