
Celery is a low-acid vegetable, best processed in a pressure canner. The canning process begins by cutting celery into uniform ¼ or ½ inch slices to fit in pint or half-pint jars. Blanch for 3 minutes, pack into hot jars, and process for 30-40 minutes.
Pressure Canning Celery Guide
There are no tested canning recipes for home canning celery on its own. The National Center for Home Food Preservation and USDA only refer to canning celery as an ingredient in soup recipes, stews, vegetable broth, and mixed pickles.
Many homesteading canners have reported successfully canning celery by following the process and timing for canning asparagus:
- Wash canning lids, screw bands, and canning jars (half-pints or pints) in hot soapy water. Rinse thoroughly.
- Place the canning jars in simmering water to keep them hot.
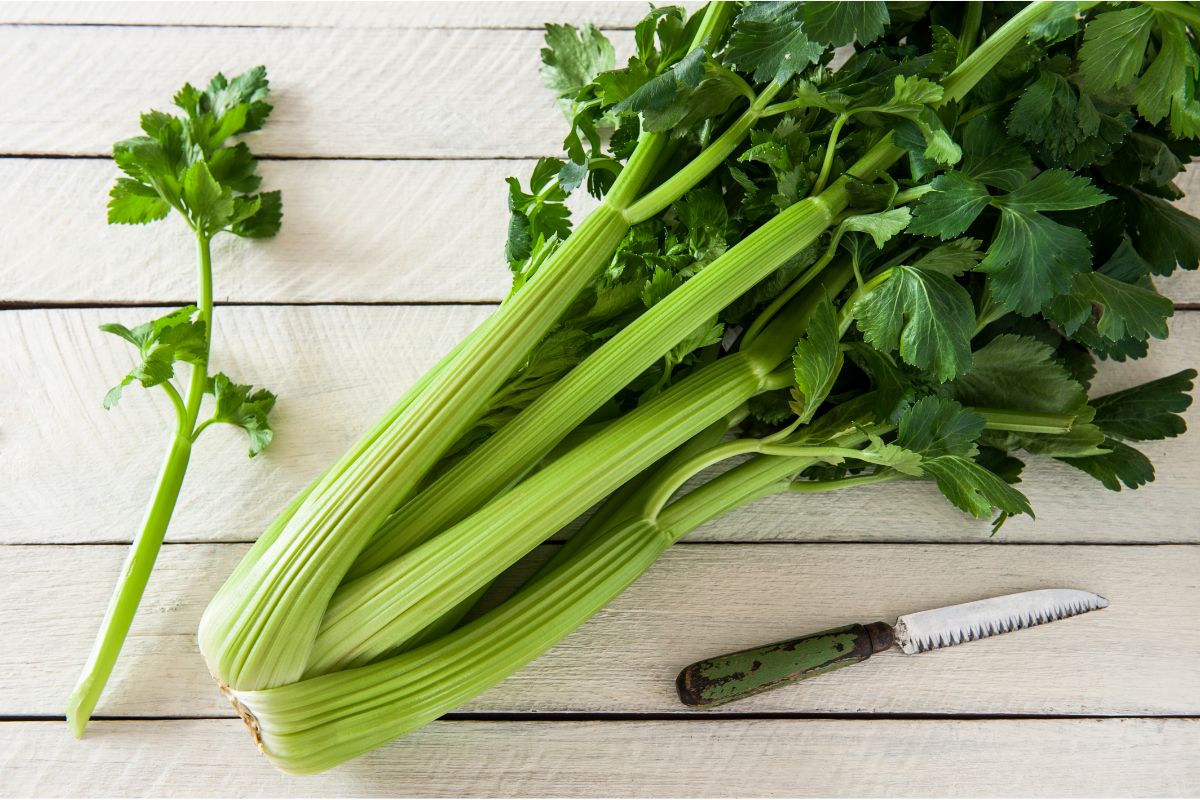
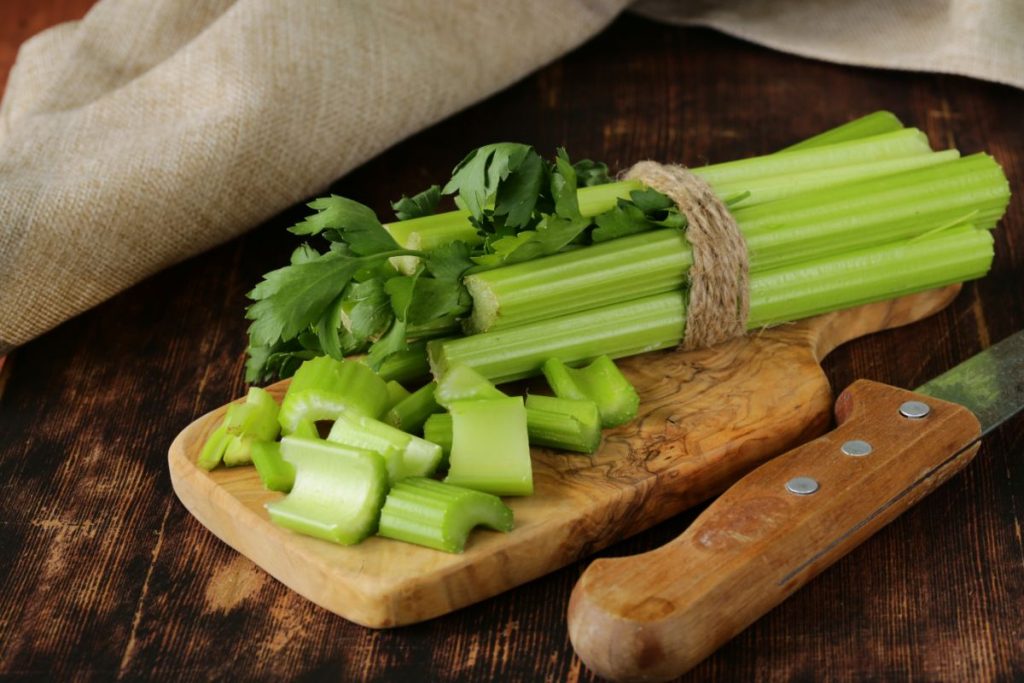
- Wash the celery stalks. Trim the tips from both sides to ensure the inner part is clean.
- Remove the leaves plus the white stems. Slice the stalks into uniformly sized ¼ or 1/2–inch pieces.
- In a separate stock pot filled with boiling water, submerge the celery slices. Cover with a lid and blanch for 3 minutes.
- Turn off the heat, drain the water, and transfer the celery to another clean bowl.
- Pack the hot pieces of celery into hot canning jars, leaving 1-inch headspace.
- Add ½ teaspoon of canning salt, and top with enough boiling water to cover the celery, maintaining the 1-inch headspace.
- Remove air bubbles using a sanitized bubble popper, plastic knife, or wooden chopstick.
- Wet a paper towel or a clean cloth with vinegar and wipe the rims of the canning jars.
- Place warm, sterilized lids on top of the jars. Add the screw bands and tighten until fingertip tight.
- Put 2-3 inches of water in the pressure canner per the manufacturer’s instructions and place a jar rack at the bottom.
- Put the canner on the stove and heat the water. Carefully load the filled jars into the canner, ensuring none of the jars are touching each other or the sides of the canner, and close the lid.
- Turn the stove to high heat, bringing the water to a rolling boil.
- Remove the pressure regulator (weight). Allow the steam to escape in a steady stream for 10 minutes.
- Close the vent pipe. Wait for the pressure to build to the appropriate level based on your altitude and canner type:
Processing time for celery in a weighted gauge canner:
| Altitude (ft) | 0 – 1,000 | 1,001 + |
| Pint jars (30 minutes) | 10 lbs | 15 lbs |
| Quarts (40 minutes) | 10 lbs | 15 lbs |
Processing time for celery in a dial gauge canner:
| Altitude (ft) | 0 – 2000 | 2,001 – 4,000 | 4,001 – 6,000 | 6,001 + |
| Pints (30 minutes) | 11 lbs | 12 lbs | 13 lbs | 14 lbs |
| Quarts (40 minutes) | 11 lbs | 12 lbs | 13 lbs | 14 lbs |
- Once the correct pressure is reached, set a timer for a processing time of 30 minutes for half-pint or pint jars or 40 minutes for quart jars.
- Once the processing time is done, turn off the stove. Let the pressure canner cool naturally for about 30-45 minutes until the pressure reaches zero.
- Open your canner’s lid away from your face. Using a jar lifter, remove the processed jars from the hot water.
- Place them on a clean, cushioned surface to cool undisturbed for 12-24 hours.
- Remove the screw bands from the jars and inspect the seals. Jars that don’t flex up and down when pressed are correctly sealed.
- For any jars that don’t seal, refrigerate and consume the contents within one week.
- Move sealed jars away from sunlight and into a cool, dry place for long-term storage.
How to Pickle Celery
Refrigerated, pickled celery is a great snack. Cool, crunchy, and tangy, it goes great with salads or as a side for fried foods. The best part is it is incredibly easy to make!
- Wash fresh celery stalks thoroughly, trim the ends, and rinse well under cool running water.
- Cut the bunches into small, ½-inch pieces or batons until you have 1.5 cups of prepared celery.
- Place the chopped celery sticks into wide-mouthed Mason jars.
- Combine 1/2 cup water, 1/2 cup white vinegar, one tablespoon granulated sugar, one teaspoon of canning salt, 1/2 teaspoon whole black peppercorns, and 1/4 teaspoon red pepper flakes in a medium-large pot.
- Bring the mixture to a rolling boil. Reduce the heat and simmer gently for 5 minutes.
- Use a canning funnel to pour the hot brine over the celery slices in a jar and stir in one tablespoon of fresh chopped dill.
- Seal the jars and let the contents cool at room temperature for 15-30 minutes before placing the jars in the refrigerator. Keep the pickles refrigerated and use them within two months.

Water Bath Canning Pickled Celery
Pickled vegetables are safe to process in a water bath canner due to the added acid from the vinegar. Follow these steps to have a steady supply of pickled celery to last through the winter:
- Prepare your water bath canner by filling it halfway with water. Place it on the stove on medium heat and begin to heat the water.
- In a separate pot, make the pickling brine by adding pickling salt, sugar, vinegar, water, and spices.
- Cut fresh celery into pieces or slices and add them to each jar, leaving 1/2 inch headspace.
- Pour the boiling brine over the celery using a canning funnel, ensuring you maintain the headspace.
- Remove air bubbles using a sterilized, non-metallic utensil.
- Wipe the rims of the canning jars with a damp cloth dipped in white vinegar.
- Place new canning lids on the top of each jar, add screw rings, and tighten until fingertip tight.
- Load the canning jars into the prepared canner and set the jars on the canning rack inside, ensuring the jars don’t touch each other or the sides of the canner.
- Add boiling water to ensure the water is 1 inch above the tops of the jars.
- Bring the water to a rolling boil and cover the canner with a lid.
- Process pint jars for 10 – 20 minutes, adjusting the time based on altitude:
Processing time for pickled celery in a water bath canner:
| Altitude (ft) | 0 – 1000 | 1,001 – 6,000 | 6,001+ |
| Pint jars | 10 minutes | 15 minutes | 20 minutes |
- Once the jars are finished processing, turn off the heat and let the canner sit for 5 minutes before opening its lid.
- Remove the hot jars using a jar lifter and set them on a towel-lined counter.
- After cooling at room temperature for 12-24 hours, remove the screw bands and inspect the seals by pressing the center of each lid with your finger. Sealed jars have a concave-shaped lid that doesn’t pop up when pressing down.
- Label sealed jars with the date and contents. Store the jars in a cool, dry place, away from direct sunlight.
What is the pH of celery?
Celery has a pH value of 5.70-6.00. This pH makes it a low-acid vegetable. Any foods with a pH above 4.6 are best processed in a pressure canner. However, the vinegar in pickling brine creates an acidic environment, making water bath canning safe for pickled celery.
Benefits of Pickling and Canning Celery
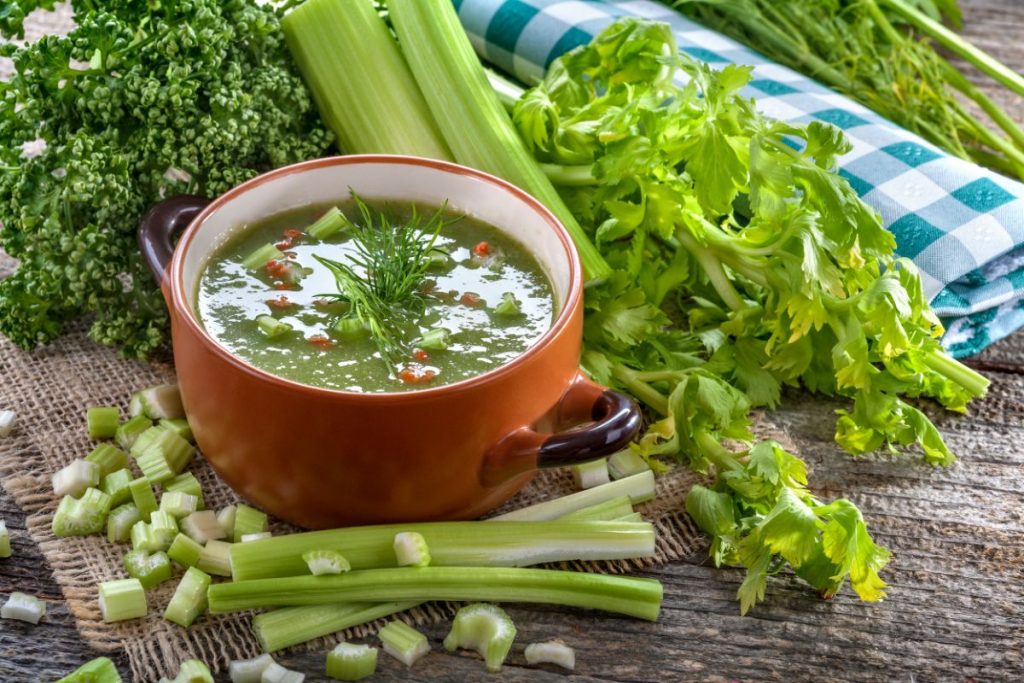
- Convenience. It’s a handy ingredient for quick meals like cream of celery soup, stews, and casseroles.
- Flavor. Canned and pickled celery is rich in flavor and makes a great soup base.
- Flexibility. Celery’s versatility makes it a favorite addition to chicken soup, fried green beans, and mixed veggies.
- Nutrition. Pickled and canned celery is rich in essential minerals, vitamins, and fiber.
- Saves money. Canning celery helps you buy in bulk and use it later.
How Long Does it Take to Can Celery?
Pickling or canning celery takes between 2 and 48 hours. The processing time for celery in a pressure canner is 30 minutes for pints or half-pints or 40 minutes if using quart jars. Canning pickled celery in a water bath canner takes 10-20 minutes.
How to Store Canned and Pickled Celery
It’s best to store canned celery at a cool temperature, between 50-70 degrees Fahrenheit. Avoid storing in direct sunlight and keep away from sources of moisture and heat. Jars should be kept 6 inches off of the floor for optimal storage.
What is the Shelf Life of Canned and Pickled Celery?
According to the USDA, the shelf life of home canned goods is one year. While you can still safely consume the food after the recommended time, its quality often diminishes. Unopened jars of homemade canned pickles can last up to 6 months in your pantry, while refrigerator pickles last three months in the refrigerator.