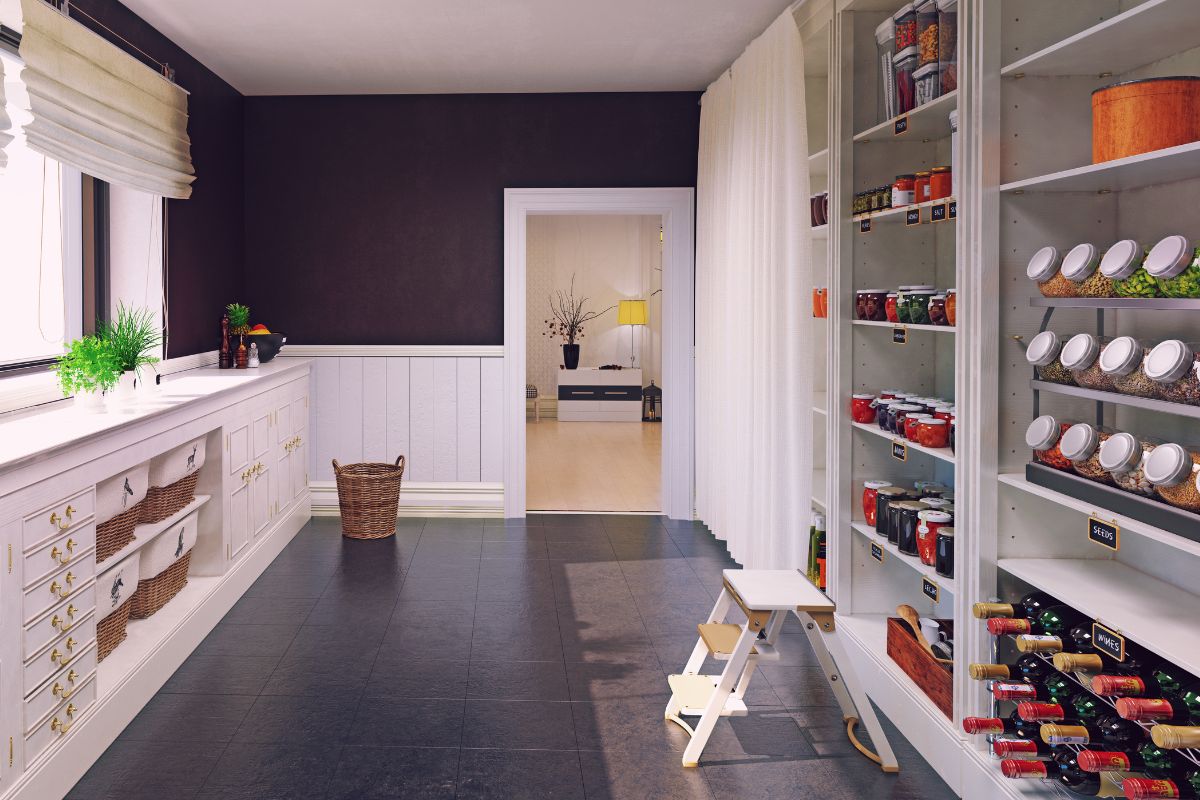
Dedicated canning rooms, basement shelves, slide-out drawers, and free-standing wire shelves are among the best canned food storage ideas for long-term preservation. The best storage solution depends on the space you have and the ability to organize and repurpose these spaces for functional food storage.
How to Organize Canned Goods in a Pantry
Keeping canned food optimally organized in the pantry can be tricky. Try these canned food storage tips and hacks to organize your pantry correctly.
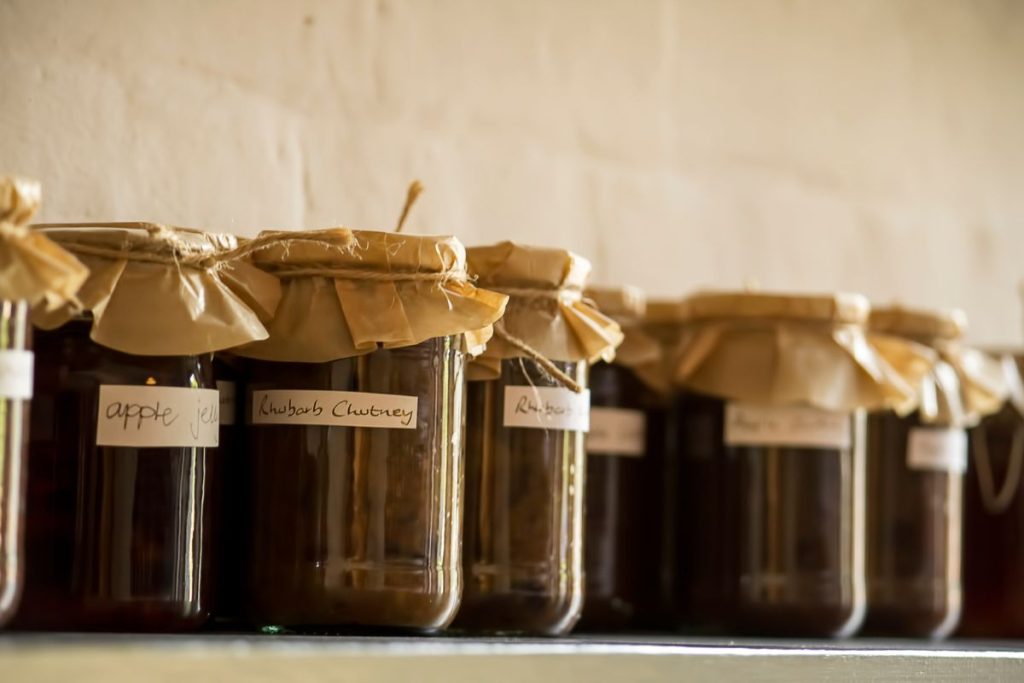
1. Labeling Canned Jars
Always label canned food before storage. Wash and dry the jars before labeling them. To label the jars, write on the metal lid using a sharpie or stick a piece of masking tape on them and write on the tape. You can also use custom canning labels for a more cohesive and visually appealing look.
Label canned goods with this information for safety and convenience:
- Batch number (in case you made several batches the same day)
- Canning date
- Expected expiry date or best use-by date
- Processing method (either pressure canning or water bath canning)
- The type of food
2. Group Similar Types of Canned Food Together
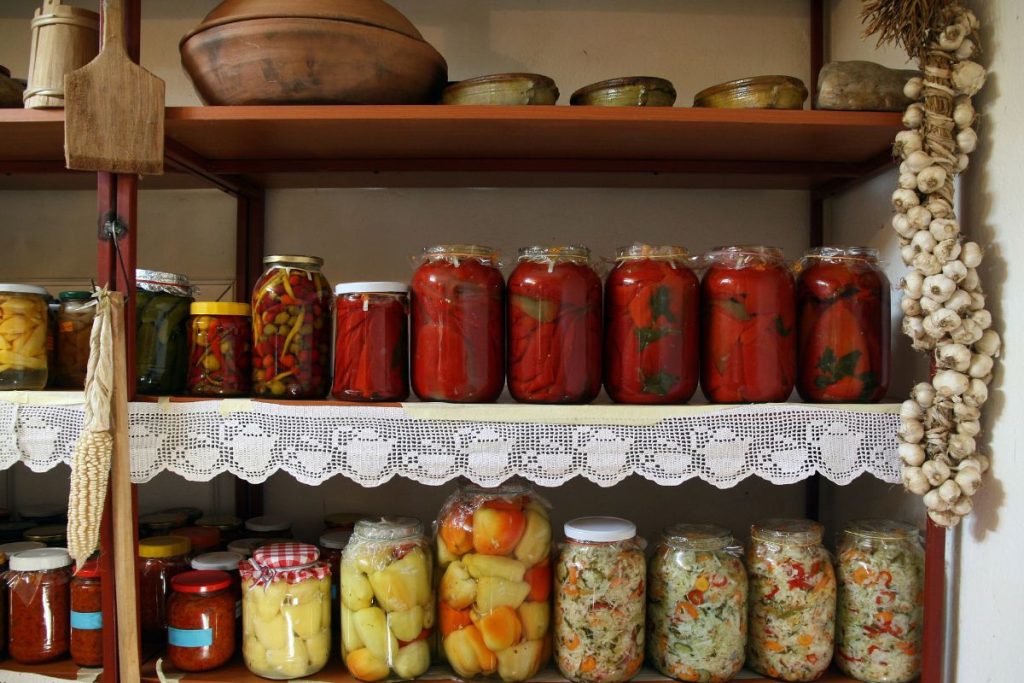
Keeping similar canned goods together in the same storage space is advisable. For example, you can categorize your canned items into sections dedicated solely to fruits, vegetables, sauces and soups, and meat.
Categorization makes adding new canned goods in each group easier, avoiding mix-ups and possible cross-category contaminations in case of accidents like jar breakage.
3. Canned Jar Positioning
How you position jars determines the safety of canned food. Using the wrong positioning may cause tumbling, unnoticed damaged seals, and breakages.
Here’s how to position your canned food jars:
- Always keep canned jars at least six inches off the floor to avoid frequent temperature fluctuations.
- Allow 1-2 inches of free-standing space between jars. If any jars had food remains on the outside, they can get moldy and spread to other jars by contact.
- Always keep filled home-canned jars upright. Keeping them upside down or on their side would compromise the integrity of the seals.
4. Use the First-In-First-Out Storage System
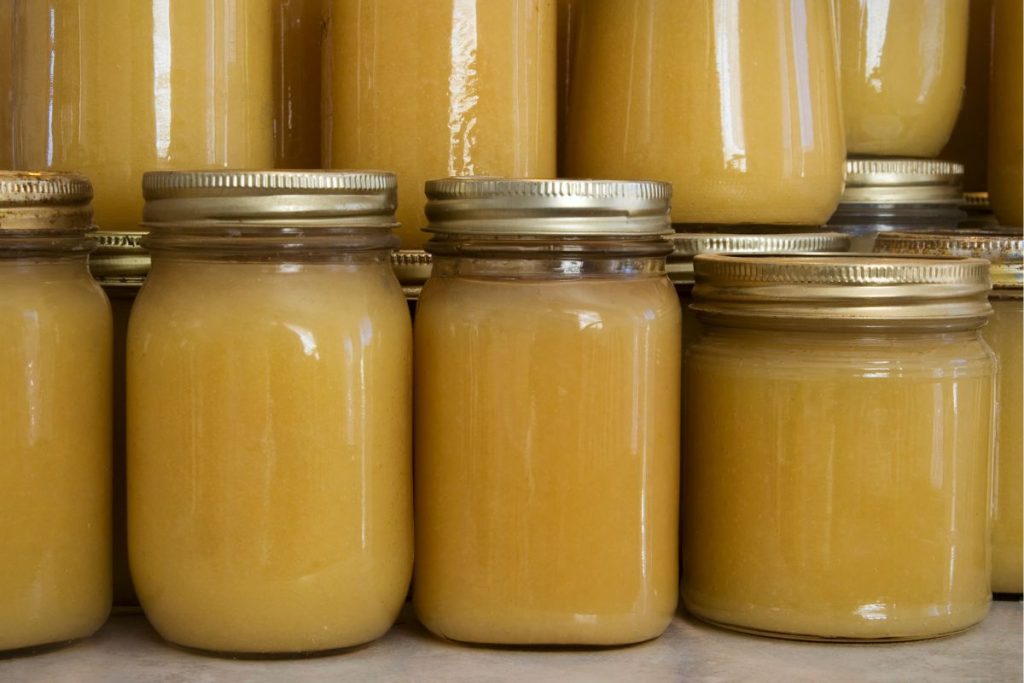
Imagine mixing your canned food from this year with the food you canned last year or several years back. Preserved food loses taste and quality over time, and no one wants to see their hard work go to waste!
Following the first-in-first-out rule helps avoid food waste. You’ll always know when certain foods are close to the end of their shelf life so you can use them first.
The easiest way to make this rule possible is to label your jars by the canning date and the expiration or best use-by date. Older jars should be in the front, while new jars go to the back of the shelves.
Supplies Needed for Organizing Canning Supplies
- Bags or totes for holding lids and rings.
- Extra kitchen drawers for holding jar grabbers, canning funnels, spoons, sieves, lid lifters, and other canning supplies.
- Hangers for holding canners and canning stock pots.
- Labeled cardboard boxes, crates, baskets, or fruit boxes for holding empty jars.
- Movable cart with tiered drawers for easily bringing all your canning supplies to the kitchen.
What Are Good Ways to Store Canned Goods?
There are many good storage and organization ideas for canned foods for both large and small spaces.
1. Dedicated Canning Rooms
If you have a lot of space in your home, you can have a room dedicated solely to canning. It makes even more sense if you have hundreds of canned food jars. These rooms also make sense if you make canned goods in bulk for emergency preparedness.
The trick with a dedicated canning room is to have floor-to-ceiling or wall-to-wall shelves for holding all your canned foods and canning equipment. Don’t forget you’ll need a sturdy and floor-friendly ladder to reach the upper tiers.
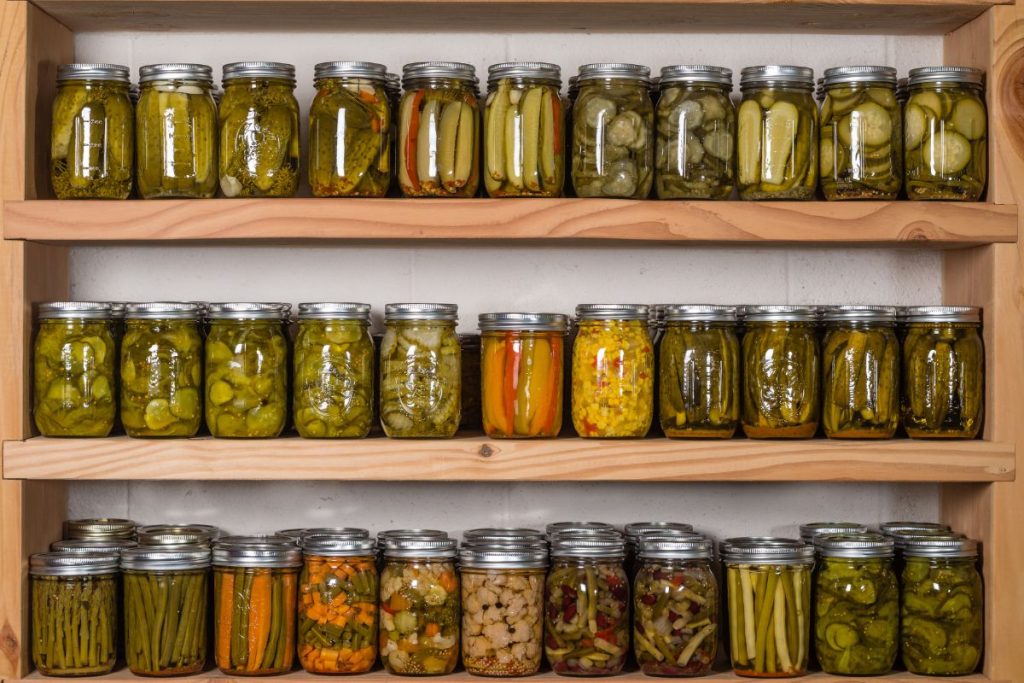
2. DIY Custom Storage Shelves
Making DIY pantry shelves is easy if you have unused space in your kitchen pantry. Build custom shelves that are sturdy enough to hold the weight of canned foods. This calls for shelves not wider than four feet. If your shelves exceed this width, add center supports for sturdiness.
To avoid wasting space, the custom shelves should be at least one inch higher than the jars. For example, an ideal shelf height for quart jars would be 8.5 inches since quarts are seven inches tall. Make the height at least six inches for pint jars, which are five inches tall.
If stacking filled Mason jars, add cardboard as a layer to separate the jars so the top jars do not interfere with the lids of the bottom jars. Never stack more than two jars, and avoid overloading the shelves to avoid breakages.
3. Corner Pantry Lazy Susans
The corner spaces on pantry storage shelves can be difficult to use due to their size and shape. If you find it hard to use them, use lazy susans instead to maximize the space.
Lazy susans provide easy access, making rotating canned food easier with the first-in-first-out rule. You can buy corner lazy susans from places like Amazon or make them in a quick DIY project using wood and lazy susan bearings.
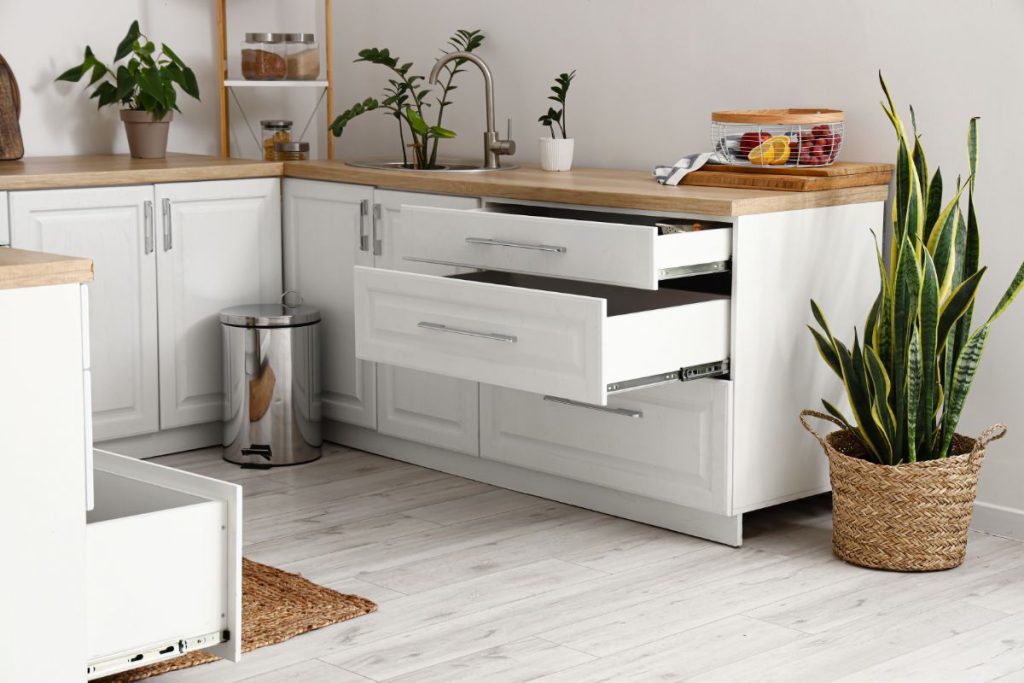
4. Extra Kitchen Drawers
Repurpose junk drawers and use them for additional storage space for canned foods. This is a great idea, especially if you don’t disturb them often and they are out of the reach of children and pets.
5. DIY Canning Shelves
These are made in the same way as custom shelves or pantry shelves. The difference is that these shelves may be made in existing cabinets. If you make them from scratch, use plywood and 2x4s for a sturdy structure.
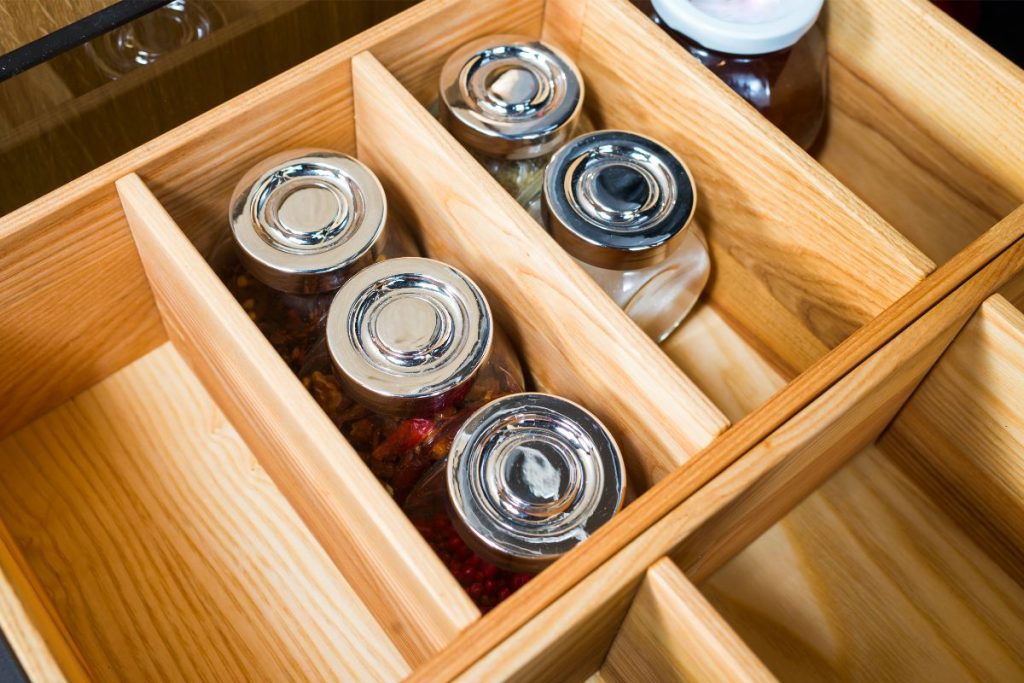
6. DIY Slide-out Cabinet Shelves
These function the same way as kitchen pull-out drawers, only that you make them from scratch or place upright jars inside existing kitchen cabinets and cupboards.
7. DIY Shelves Under a Staircase
Staircases are usually overlooked spaces in food preservation efforts. Most people use them to stash boxes of clutter there, but you can turn them around by adding shelves for storing canned foods.
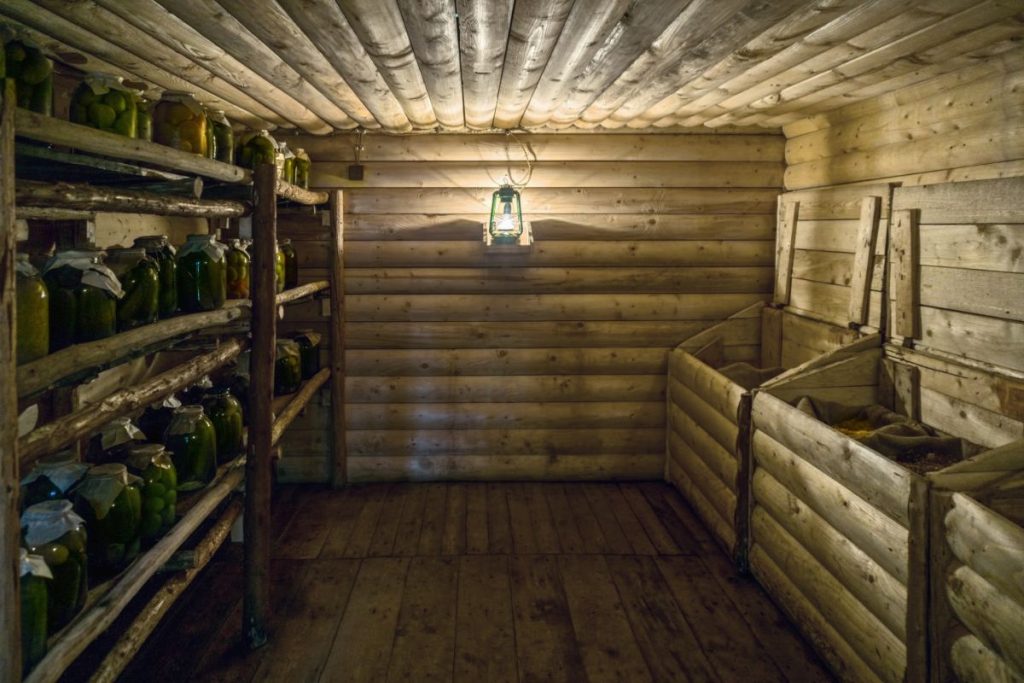
8. Basement Shelves
Climate-controlled basements are ideal canned food storage spaces. Put up some shelves in the basement and store your canned food there.
9. Free-standing Wire Shelves
You can use free-standing wire shelves to contain your canned jars. The rule of thumb is to use the right shelf height for the jars and keep the jars upright and untilted.
Any wire racks or shelves that keep your jars horizontally or slanting should be avoided.
10. Wall-mounted Can Organizers or Can Racks
Can organizers or racks may be mounted on a wall in the pantry, the bare sides of kitchen cabinets, or rarely opened room doors. They may be wooden, plastic, or metallic. The trick is using only storage racks or organizers that hold the jars upright rather than horizontally, as with can dispensers.
Places to Avoid Storing Canned Food
Even if you are pressed for space, the following places are not ideal for long-term canned food storage:
- Bathroom or bathroom closet
- Laundry room
- Root cellar
- Uninsulated attic
The potential for humidity is high in these areas, which can contribute to lid corrosion and compromise the seals on canned food jars.
What is the Best Way to Store Empty Canning Jars?
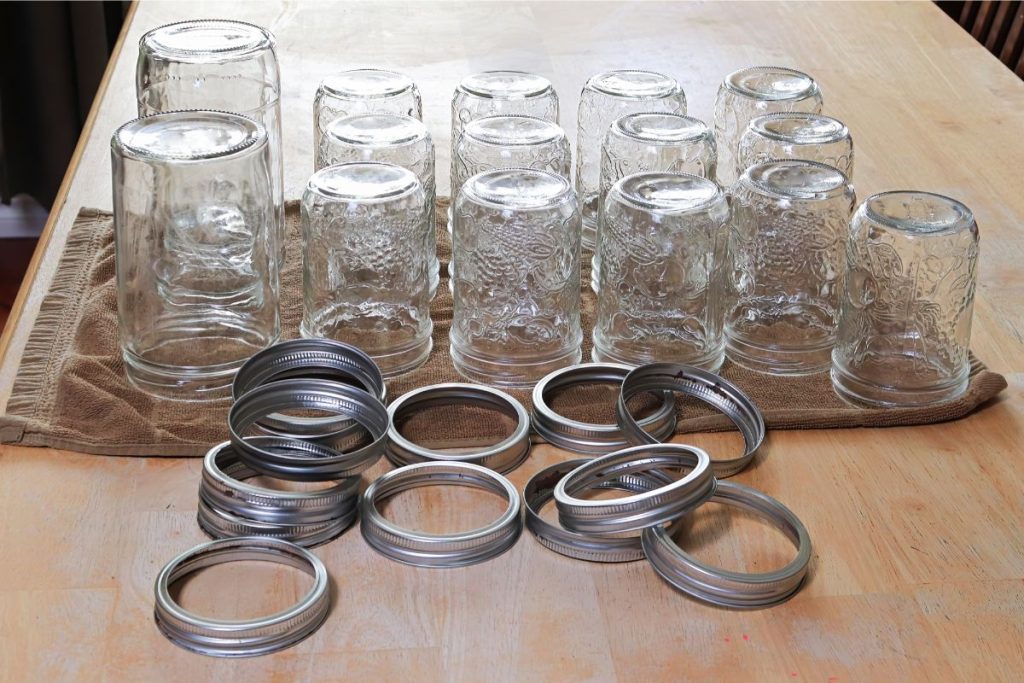
The best way to store empty canning jars is to keep them standing upside down to avoid dust, insects, or the formation of spider webs. The jars will be easier to wash when kept this way.
Below are some best practices for storing empty canning jars and their lids and rings:
- Arrange clean and dry empty jars, lids, and rings in boxes partitioned with dividers and keep the boxes in the pantry, under the stairs, in an insulated attic, or under the bed.
- Keep boxes with jars close to the ground to manage weight and avoid fall risks on high shelves as you reach them.
- Keep new, unused lids fastened on the jars and used ones in their own bag.
- Keep old or used canning lids for dry food storage for dehydrated goods.
- Keep rings on the jars (without the lids) to protect the rims from chipping. The rings may rust on the jars in humid areas.
- Stack new canning lids in their original small boxes.
What is the Best Way to Store Canning Jars in the Winter?
The ideal storage temperature for canned foods is 50°-70°F and not more than 95°F. While temperature fluctuations within this range are okay, extreme cold and heat increase the chances of food spoilage.
Freezing may cause filled canning jars to break or compromise the seals because food expands when it freezes. In areas prone to freezing in winter, ensure your canned food storage area is well-insulated to prevent the cold from entering or the warmer interior air from escaping. Keep the door and windows closed if there are any.
If your air conditioner has a heat pump or the reverse cycle function, set it to heat your home to 68°F in winter. If you have a cooling-only AC, avoid using it if outside temperatures are 60°F or lower, as it may damage or make your house even colder.
How to Store Canning Jars in a Garage
If you must use your garage to store filled canning jars, ensure it is well-insulated and climate-controlled to avoid heat extremes in summer or cold extremes in winter. Keep the filled boxes away from other garage items like fuel or heavy objects which may fall and damage canned foods.

