
Pressure canning garlic begins by peeling fresh cloves of garlic and rinsing them before packing them into pint jars, leaving 1-inch headspace. Fill sterilized canning jars with boiling water and process in a pressure canner for 40 minutes, adjusting the pressure per your canner type and elevation.
What is the Best Way to Can Garlic?
Canning garlic has not been officially recommended. Garlic is a low-acid food that is susceptible to Clostridium botulinum, the bacteria that causes botulism.
Low-acid foods require processing in a pressure canner, but the high temperature of a pressure canner destroys most of the flavor of garlic. Water bath canning without acidification is not recommended because it processes food at too low of a temperature.
Although the USDA and the National Center for Home Food Preservation do not recommend any recipe for canning garlic, many home canners have canned garlic successfully. If you want to proceed and preserve garlic by pressure-canning it, it is best to follow a canning recipe for onions since onions and garlic belong to the same family.
Pressure Canning Garlic Guide
There is no official guideline for processing time or temperature when pressure canning garlic. The following method is an adapted canning recipe for onions that may work for garlic and is not an officially tested recipe for garlic.
Follow these steps to pressure can garlic:
- Parboil 6 cups of fresh minced garlic or peeled garlic cloves.
- Wash canning jars and canning lids with warm, soapy water or run them through a dishwashing cycle using hot water. Keep the clean canning jars hot until they are ready to be filled.
- Bring a pot of water to a boil. Place the garlic in the water and boil for two minutes.
- Remove the garlic cloves and place them into the hot canning jars with 1-inch headspace. Do not discard the water you boiled the garlic in, as this is used for the canning liquid.
- Ladle the hot canning liquid into the canning jars using a canning funnel, maintaining the 1-inch headspace.
- Use a bubble popper tool to remove any air bubbles that might have formed.
- Wipe the jar rims with a damp paper towel to ensure a proper seal on the jars.
- Using a lid lifter, set the lids and rings on your canning jars, ensuring the rings are fingertip tight.
- Prepare the pressure canner by pouring a few cups of water into the canner per the manufacturer’s directions. Add the canning rack or trivet to prevent the jars from coming into contact with the heated bottom of the pressure canner.
- Arrange the prepared jars in the canner, leaving 1 inch of space between each jar. Close the canner’s lid and turn on the heat.
- Let the canner vent steam for 10 minutes.
- Adjust the pounds of pressure per your altitude and canner type, and process pints and quarts for 40 minutes. For example, if you live at sea level, process the jars at 10 pounds of pressure for 40 minutes.
- After processing, turn off the heat and allow the canner to release pressure slowly. Open the canner’s lid when the pressure reaches zero.
- Remove the canning jars using a jar lifter and place the jars on a cushioned countertop.
- Cool the jars at room temperature undisturbed for 24 hours.
- Remove the canning rings once the jars are completely cool, and test the seals. Sealed jars have firm lids that will not flex up and down when pressed.
- Label and store the sealed jars of canned garlic in a cool, dry place.
What is the Best Way to Preserve Garlic Long Term?
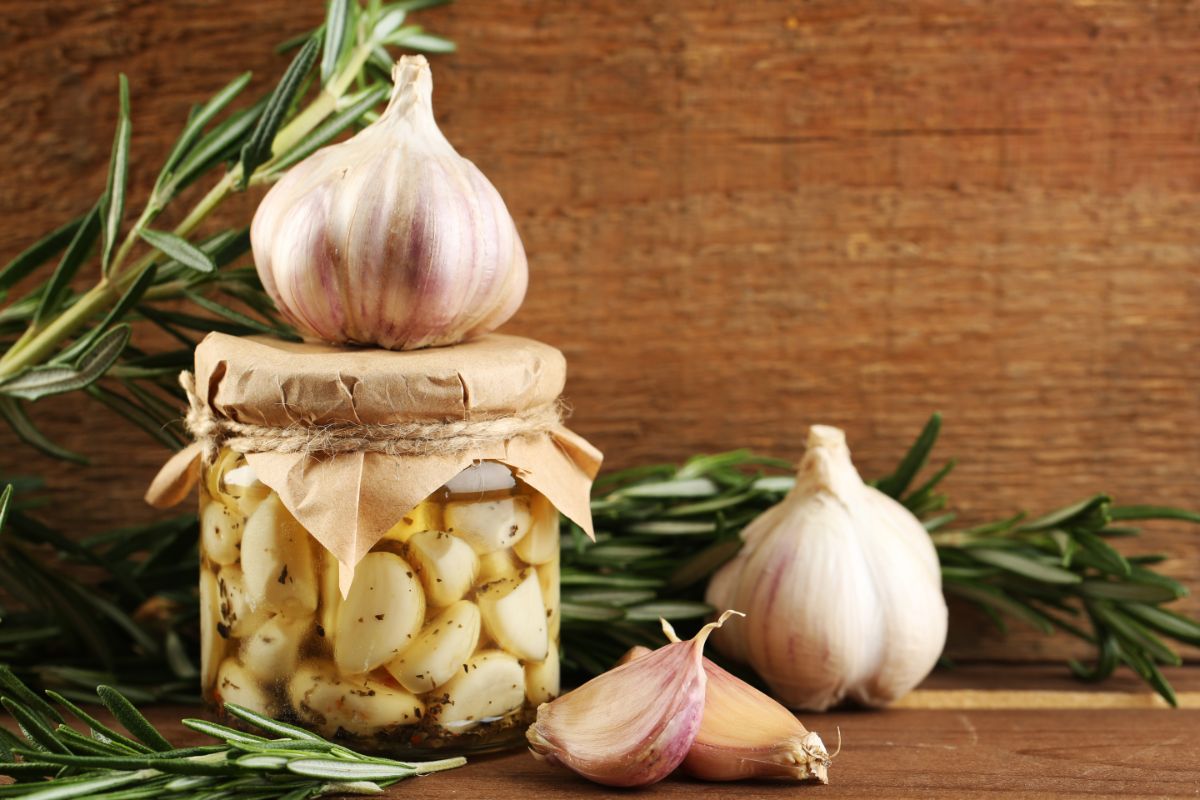
The best way to preserve garlic for long-term storage is pickling. Pickling garlic is an easy way to preserve garlic and enhance its flavor. Pickling involves immersing cloves of garlic in white vinegar or pickling brine and storing it in a refrigerator. Pickled garlic may also be water bath canned and stored at room temperature because the acidity is increased by the vinegar.
Print
How to Make Pickled Garlic Recipe
- Total Time: 40 minutes
Description
This incredible pickled garlic recipe is sure to tantalize your tastebuds! Pickling enhances the flavor of garlic and makes this ingredient shine. It’s also the perfect way to preserve garlic!
Ingredients
- 12 large garlic heads
- 2½ cups of white vinegar (at least 5% acidity)
- 1 cup of white wine
- 1 tbsp dried oregano
- 1 tbsp pickling salt
- 1 tbsp white sugar
Instructions
- Start by washing the garlic heads in cool, running water.
- Wash either six half-pint jars or three pint jars, along with canning lids and screw bands in hot, soapy water.
- Place the canning jars in boiling water for 10 minutes.
- Break the garlic heads into individual garlic cloves. Peel the garlic cloves and set them aside.
- In a large pot, mix the brine ingredients.
- Bring the pot to a boil and then reduce the heat and allow it to simmer for one minute.
- Add the peeled garlic cloves to the pot and let them soak for one minute.
- Use a slotted spoon to transfer the garlic cloves into the hot, sanitized canning jars, keeping ½-inch headspace.
- Remove any air bubbles with a bubble popper tool and add the pickling brine to the jars, maintaining the 1/2-inch headspace.
- Wipe the jar rims with a damp paper towel.
- Apply the canning lids over the jars. Place the screw bands around the jars and screw until fingertip tight.
- Prepare a water bath canner by filling it halfway with boiling water. Place the canning rack inside and transfer the jars of pickled garlic into the canner using canning tongs.
- Process the jars in a water bath canner for 10 minutes, ensuring they are fully submerged with 1-2 inches of water above the tops of the jars. Do not begin timing until the water is at a full rolling boil.
- Remove the jars from the water bath canner with a jar lifter. Place them on a cushioned countertop to rest undisturbed.
- Let the jars come to room temperature before removing the screw bands.
- Store your pickled garlic at room temperature or in the refrigerator for long-term storage.
- Prep Time: 30 minutes
- Cook Time: 10 minutes
Nutrition
- Serving Size: 4 cloves
- Calories: 40 calories
- Sugar: 0.5g
- Sodium: 160mg
- Fat: 3.5g
- Saturated Fat: 0g
- Carbohydrates: 2g
- Fiber: 0.5g
- Protein: 0.5g
- Cholesterol: 0g
What are the Benefits of Pickling Garlic?
Pickling garlic has several benefits, including:
- Eliminates the need to rush to the grocery store for fresh garlic
- Improves the garlic flavor and aroma, especially when pickled in white wine
- It is versatile and can be used for sauces, soups, or salad dressing
- It’s an excellent source of vitamin C, calcium, iron, and potassium
- Pickled garlic has several important health benefits and can protect against the common cold
- Pickling garlic increases its shelf life
How Long Does it Take to Can Garlic?
It takes 40 minutes to pressure can garlic or 10 minutes to water-bath can pickled garlic in a water bath canner.
This processing time only refers to the time spent in the canner and is for both pints and quarts. Prep time ranges from 20-30 minutes, and it takes 24 hours to cool preserved garlic.
How Should Pickled or Canned Garlic Be Stored?
After pickling or canning your own garlic, it’s crucial to store it properly to maximize shelf life and maintain its quality and flavor.
Here are a few tips for storing pickled or canned garlic:
- As with fresh garlic, store canned garlic in a cool, dry place
- Label and date the storage containers to ensure you consume the product before it goes bad
- Store garlic away from direct sunlight, such as in a dark pantry or cupboard
- Store only in airtight containers, such as Mason jars or vacuum-sealed jars