
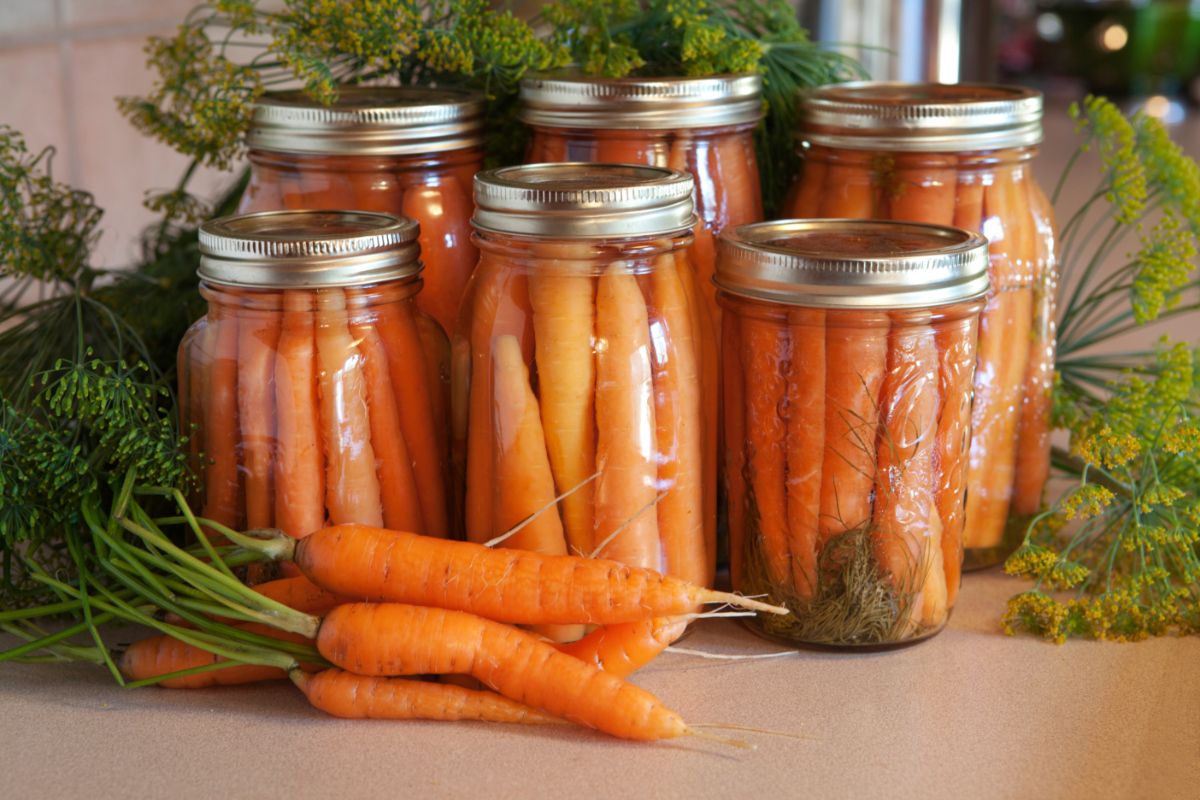
Canning carrots starts by washing, peeling, and hot-packing them into quart or pint jars. Can baby carrots whole and cut the larger ones into ½-inch cubes, dices, or strips. Process the carrots in a pressure canner for 25-30 minutes.
How to Pressure Can Carrots
In the Complete Guide to Home Canning, the USDA recommends pressure-canning carrots as they are a low-acid food. Follow this canning recipe for perfect, home-canned carrots:
- Select the best, freshly harvested carrots. Choose young carrots that are coreless, tender, and medium in length. Small carrots with a top diameter of 1-2 inches are ideal.
- Remove the greens from your carrots. You’ll need 17½ lbs of carrots with greens removed per 7-quart canner load or 11 lbs per 9-pint canner load.
- Prepare your canning equipment. Wash the canning jars, lids, and screw bands using warm, soapy water. Rinse with plenty of water and check jars for imperfections.
- Put the quart or pint jars in a large pot and cover them with water. Bring the water to a boil for 10 minutes to sanitize the jars. Leave the jars in hot water until it’s time to fill them.
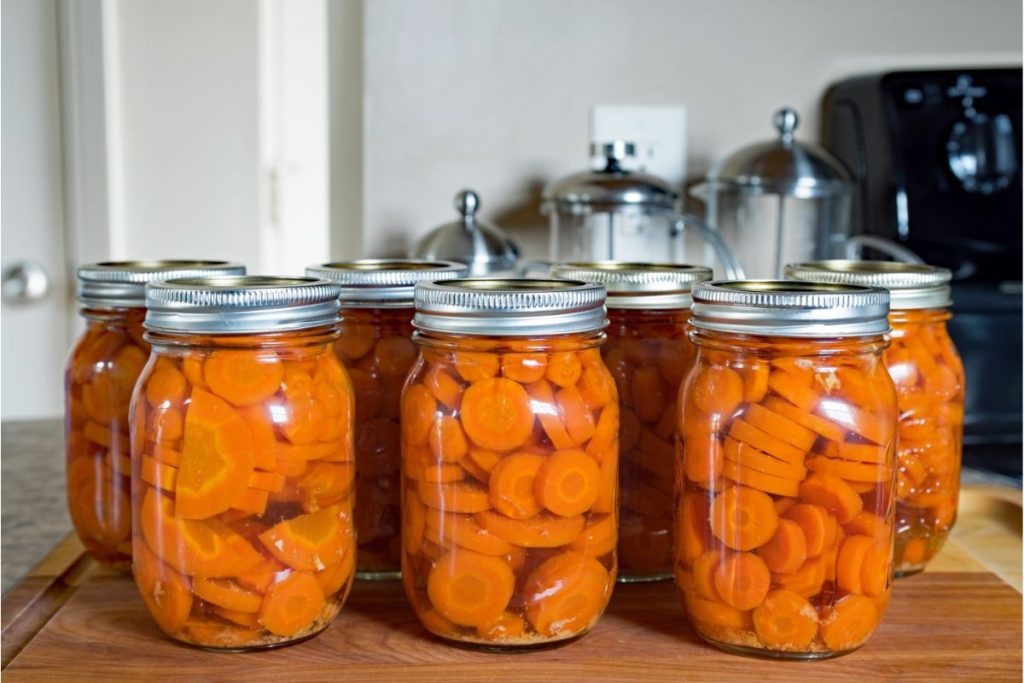
- Remove the top of the carrots and wash them under cool running water. Peel carrots using a vegetable peeler and re-rinse them. Leave baby carrots whole and cut larger carrots into strips lengthwise or into 1/2-inch cubes.
- For hot-pack carrots: cover the carrots with water in a pot and bring them to a steady boil. Lower the heat and simmer for 5 minutes.
- For a raw pack: fill jars with uncooked fresh carrots.
- Bring a large pot of water to a steady boil to serve as the canning liquid.
- Inspect and prepare the pressure canner. Load it with a canning rack and fill it with 2-3 inches of water per the manufacturer’s instructions.
- Heat the water in the canner to 180°F for hot-pack carrots or 140°F for raw-pack carrots to avoid thermal shock on the jars.
- Load the raw carrots or precooked hot carrots into the hot jars, leaving 1-inch headspace. Use a canning funnel and ladle to fill the jars with fresh boiling water, maintaining 1-inch headspace.
- If preferred, season each quart jar with one teaspoon of pickling salt or add 1/2 teaspoon for each pint jar.
- Debubble the jars with a plastic utensil or an air bubble remover.
- Clean the jar rims with dampened paper towels and cover them with new canning lids. Apply the screw bands and twist them until they are fingertip tight.
- Lift each jar with a jar lifter and put it in the pressure canner. Avoid tilting the jars or letting them touch each other.
- Close the pressure canner and lock the lid. With the steam vent open, heat the pressure canner for 20 minutes on high heat until it steams steadily. Allow ten minutes of steady venting.
- Wear oven mitts and then cover the steam vent and allow the pressure to build within the canner to reach the recommended pressure per elevation and canner type:
Processing times for carrots in a dial gauge pressure canner:
| Altitude (ft) | 0 – 2,000 | 2,001 – 4,000 | 4,001 – 6,000 | 6,001 – 8,000 |
| Pints (25 mins) | 11 lbs | 12 lbs | 13 lbs | 14 lbs |
| Quarts (30 mins) | 11 lbs | 12 lbs | 13 lbs | 14 lbs |
Processing times for carrots in a weighted-gauge pressure canner:
| Altitude (ft) | 0 – 1,000 | 1,001 + |
| Pints (25 mins) | 10 lbs | 15 lbs |
| Quarts (30 mins) | 10 lbs | 15 lbs |
- Once the canner reaches the correct pounds of pressure, lower the heat a bit to maintain the pressure. Process pint jars for 25 minutes and quart jars for 30 minutes.
- Cut the heat off and lift the canner onto a towel-lined countertop to cool and lose its pressure to zero. Leave the vent closed. Allow 5 minutes at zero pressure, then open the vent and canner lid using an oven mitt. Watch out for residual steam.
- Use a jar lifter to remove each jar from the canner, taking care not to tilt or turn them upside down. Set the jars at least 2 inches apart on a wooden block or towel-lined countertop. Avoid re-tightening the lids.
- Allow the jars to air-cool to room temperature undisturbed for 12-24 hours.
- Remove the ring bands and check the jars for successful vacuum sealing. The lid shouldn’t flex when pressed. Reprocess any unsealed jars with a new lid in 24 hours or refrigerate and use the contents within three days.
- Store the sealed jars at room temperature in a cool, dry, dark, clean place.
Does Pressure Canning Carrots Make Them Mushy?
Pressure-canning carrots doesn’t make them mushy, even for the hot-pack version. However, hot-pack carrots will be semi-soft and have some give.
Can Carrots Be Canned in a Water Bath?
You can’t can plain carrots in a water bath canner. Like beets and green beans, carrots are low-acid veggies that are only safely canned with a pressure canner. Water bath canning doesn’t reach the 240°F required to destroy the bacterial spores that cause botulism.
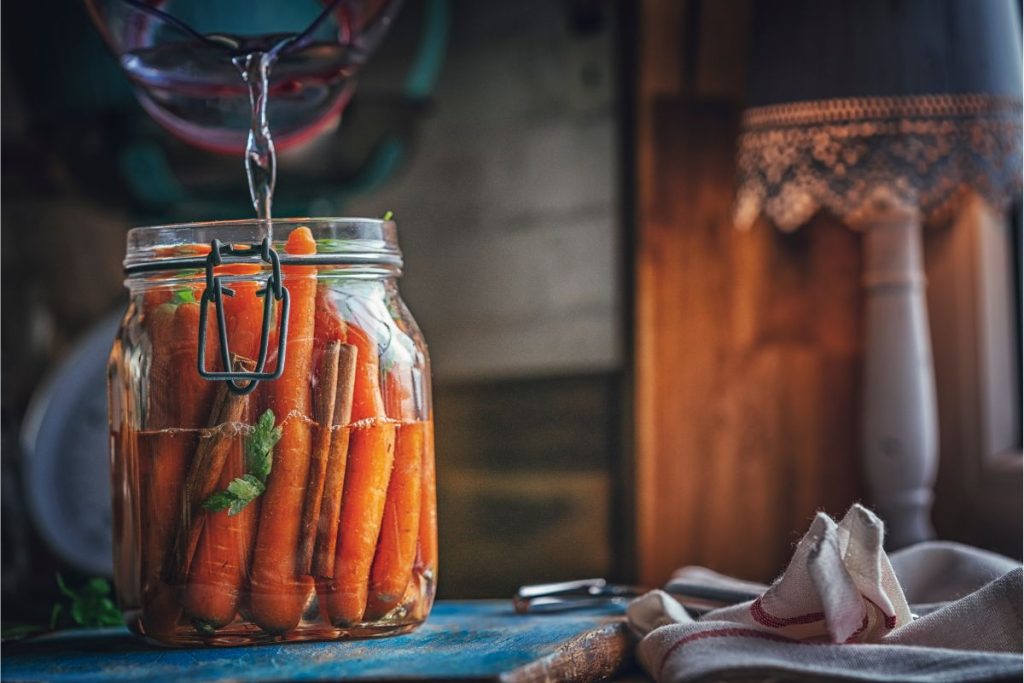
To can carrots in a boiling water canner, you’ll have to acidify them first using vinegar by pickling the carrots.
Print
Pickled and Canned Country Carrots Recipe
- Total Time: 35 minutes
- Yield: 4 pints 1x
Description
Pickling carrots makes it possible to can them safely in a water bath canner, and are incredibly crisp and delicious. Eat them cold for a refreshing summer treat!
Ingredients
- 2¾ pounds of carrots or 8½ cups of whole baby carrots (peeled)
- 1 cup water
- 2 cups sugar
- 5½ cups 5% acidity white distilled vinegar
- 2 teaspoons pickling salt
- 4 teaspoons celery seed
- 8 teaspoons mustard seed
Instructions
- Wash four pint jars and rinse them. Keep them in hot water until ready for filling. Wash the ring bands and lids.
- Wash the carrots in cold water and peel them. Rinse the carrots after peeling them. Cut the carrots into ½-inch thick rounds.
- Place a canning rack into the water bath canner. Fill the canner halfway with warm water and heat it to 180°F.
- Combine water, vinegar, sugar, and canning salt in a stockpot. Heat the mixture to a boil and then simmer it for 3 minutes. Add the carrots and raise the heat until they boil steadily. Lower the heat and simmer for 10 minutes until the carrots are half-cooked.
- As the carrots acidify, put one teaspoon of celery seed and two teaspoons of mustard seed in each hot pint jar.
- Fill the hot jars with the acidified hot carrots, allowing 1-inch headspace.
- Use a canning funnel to add the hot pickling liquid, leaving ½-inch headspace.
- Debubble the jars and wipe the rims with clean, dampened paper towels.
- Cover the jars with two-piece canning lids and lower them into the water bath canner using canning tongs. Avoid tilting the jars and ensure the water is 1-2 inches above the tops of the jars.
- Heat the canner on high heat to bring the water to a vigorous boil. Cover the canner and process the jars, per elevation:
Processing Time Per Elevation
- 0 – 1,000: 15 minutes
- 1,001 – 6,000: 20 minutes
- 6,000 +: 25 minutes
Post Processing
- Turn off the heat and open the canner lid. Leave the canner open for 5 minutes before removing the jars.
- Place the jars on a counter lined with towels and air-cool them for 12-24 hours.
- Unscrew the bands and inspect the seals. If the center is indented, the jar is sealed. Wash the sealed jars, dry them, and label them with the date and contents. Store them apart in a cool, clean, dry, dark place.
- Reprocess any unsealed jars in 24 hours or refrigerate them for use within 3 days.
- Prep Time: 15 minutes
- Pickling Time: 5 minutes
- Cook Time: 15 minutes
Nutrition
- Serving Size: 70g
- Calories: 20kcal
- Sodium: 600mg
- Fat: 0g
- Saturated Fat: 0g
- Carbohydrates: 4g
- Fiber: 2g
- Protein: 0g
- Cholesterol: 0g
Do Carrots Need to Be Blanched Before Canning?
Carrots do not require blanching before canning. Regular blanching involves heating food items quickly in hot water and immediately dipping them in cold water.
This method doesn’t work for both hot or raw-packed carrots. For hot-pack carrots, blanch them by bringing them to a boil in water and simmering them for 5 minutes. Place them in hot jars while still hot.
What is the Best Pack Method for Canning Carrots?
The hot pack method is the best for pressure-canned carrots. Scientific home food preservation experts agree that hot packing leads to higher-quality canned food because the precooking reduces the natural air pockets in the food.
However, most homesteaders agree the raw pack method is simpler for sliced or diced carrots and many have stated the end product is crisper.
How Long Does it Take to Can Carrots?
Pressure-canning carrots requires a processing time of 25 minutes for pint jars and 30 minutes for quart jars using either hot or raw pack methods. The processing time for canned pickled carrots in pint jars is 15-25 minutes, depending on the elevation.
Is It Better to Can Large Carrots or Baby Carrots?
Large carrots are better for pressure canning. They don’t become as soft as baby carrots, which may become too soft when hot-packed.
How to Store Home Canned Carrots
Once you have confirmed your home-canned carrots are sealed, wash the unbanded jars in cool water and wipe the excess water away using paper towels. Label the jars by contents, date, and lot number if you canned several batches.
Store the canned carrots in a clean, cool, dry, dark place. The ideal storage temperature is 50-70°F.
How Long Can Canned or Pickled Carrots Be Stored?
The shelf life of pressure-canned carrots is 12-18 months. Use the carrots within 12 months for the best flavor. Refrigerate and consume in 3-4 days once opened.
Canned pickled carrots last 12 months in a cool, dry, dark place. Keep in the fridge and use them within 3-4 days after opening.