
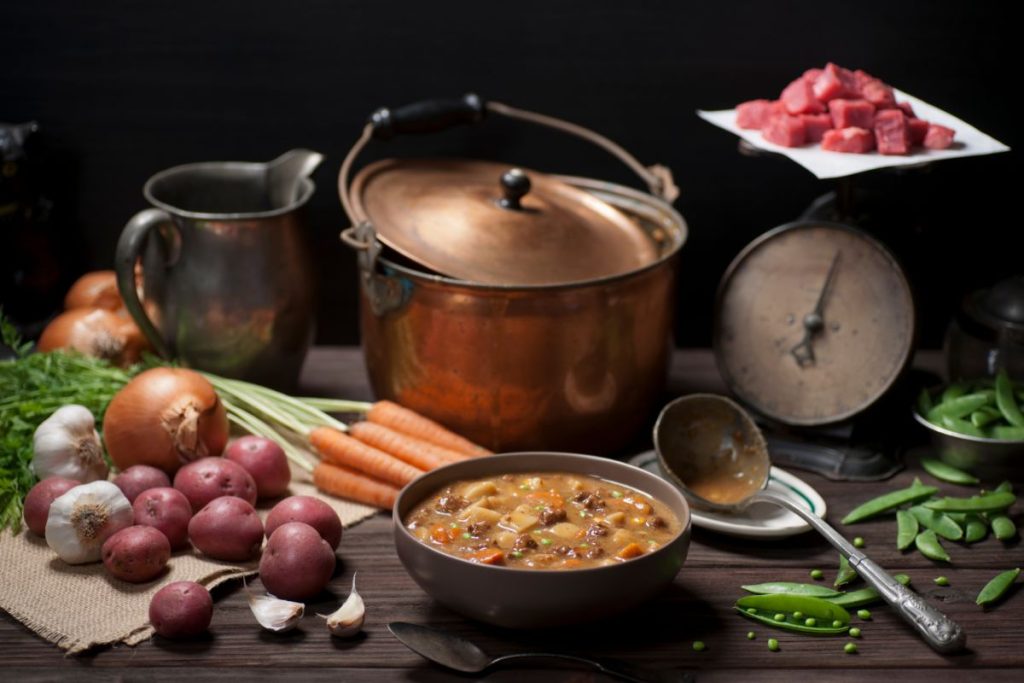
Canning vegetable beef soup begins by preparing the soup canning recipe. As the soup is cooking, prepare your canning jars by sanitizing them and readying the canner. Ladle the hot soup into each jar and process them in a pressure canner for 75 - 90 minutes per your jar size and elevation.
Is it Safe to Water Bath Can Vegetable Beef Soup?
Water bath canning is not safe for vegetable beef soup due to its low acidity and the presence of meat. Water bath canning relies on high acidity to create an environment inhospitable to bacterial growth. To can low-acid foods like vegetable beef soup safely, you must use pressure canning which reaches temperatures of 240°F at sea level and kills botulism spores effectively.
Print
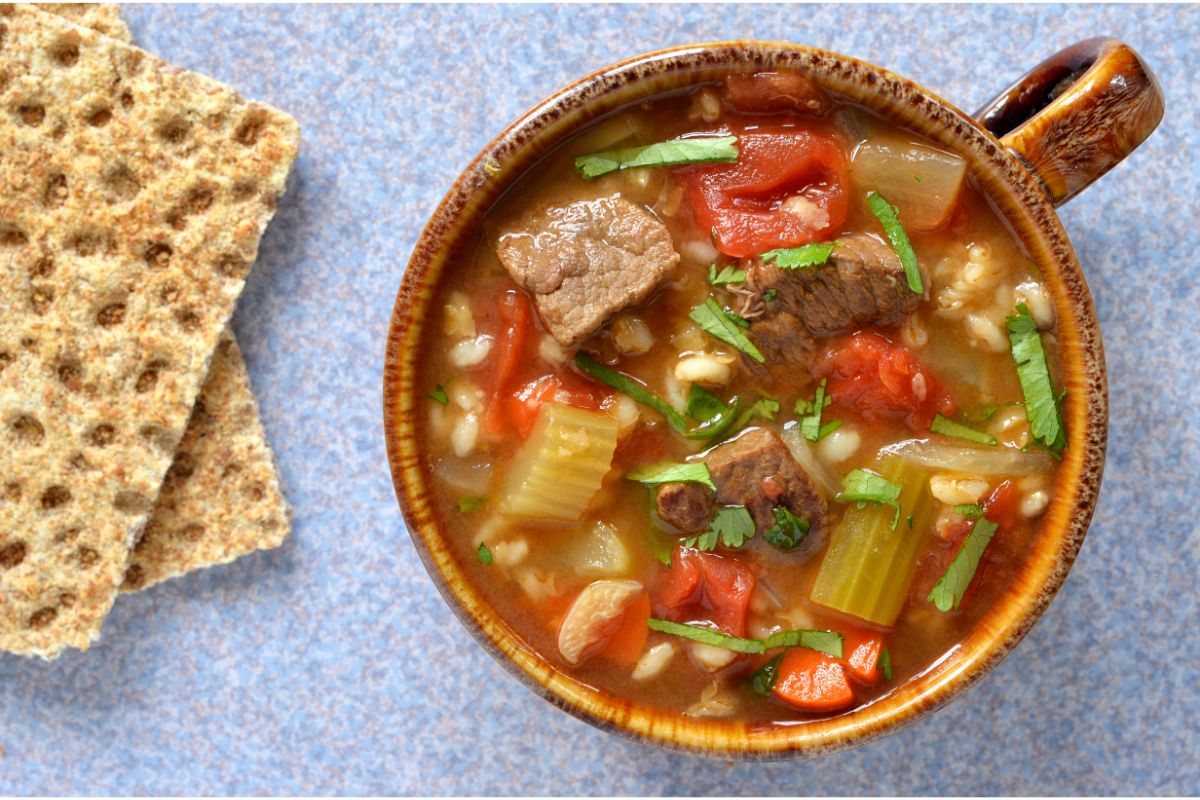
Vegetable Beef Soup Canning Recipe
- Total Time: 4 hours, 15 minutes
- Yield: 8 pints 1x
Description
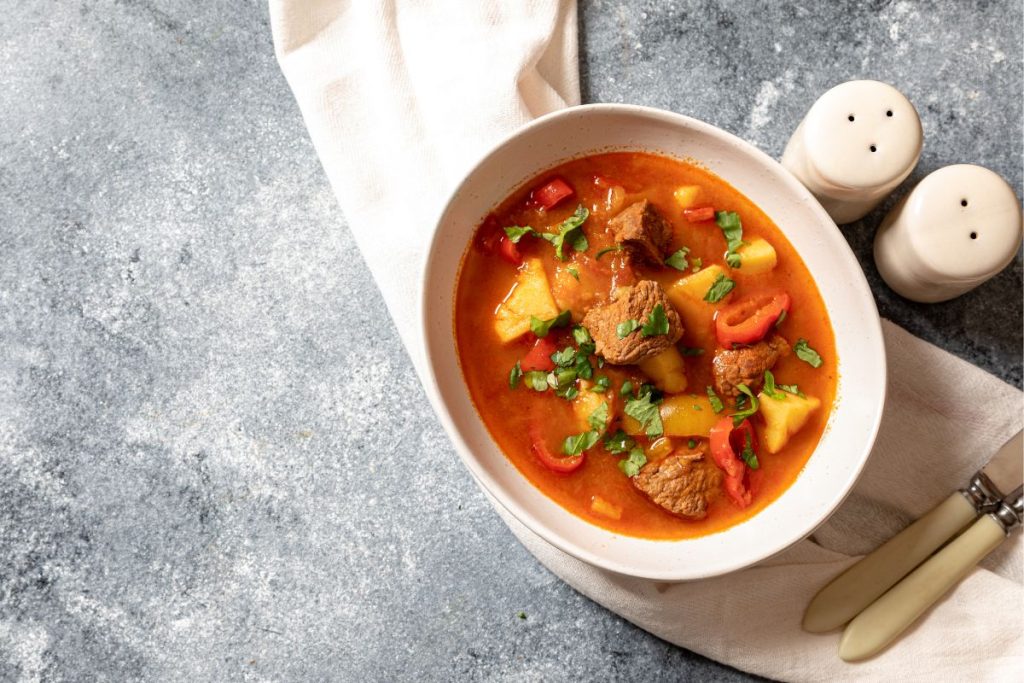
This canning recipe for vegetable beef soup allows you to preserve the rich flavors and nutritious goodness of homemade soup for long-term storage. With carefully selected ingredients and proper canning technique, you can enjoy the convenience of ready-to-eat soup anytime while minimizing food waste.
Ingredients
- 1½ lb stewing beef cut into small cubes (or cooked ground beef)
- 2 large potatoes, peeled and cubed
- 28 oz canned diced tomatoes
- 2 small onions, chopped
- 1 cup peas, fresh or frozen
- 2 carrots, peeled and chopped
- 2 ribs celery, chopped
- 4 cups beef broth
- 1 tablespoon sugar
- ½ teaspoon black pepper
- 8 cloves of garlic or one tsp of garlic powder
- 1½ teaspoons Italian seasoning
- ½ teaspoon dry thyme
- ½ teaspoon dry rosemary
- ½ teaspoon dry marjoram
- Olive oil
- 2 teaspoons salt
Instructions
- Fill your pressure canner with two inches of water and turn it on low.
- Sterilize the jars by washing them in boiling water and dish soap or using the sterilize cycle of your dishwasher.
- Wash the canning lids and bands with warm soapy water.
- Place the jars in the canner to warm them up.
- Heat some olive oil in a stockpot or crock pot and brown the cubed beef. If desired, deglaze the pot with some broth or red wine.
- Add the other ingredients to the pot and bring to a boil. Then reduce the heat to a simmer and allow it to cook for 10 minutes.
- Prepare the canning jars for filling by carefully removing the hot jars from the pressure canner. Using a slotted spoon, fill the jars halfway with solids (meat, vegetables) using a canning funnel to minimize spills.
- Add the canning liquid (broth) slowly, pouring enough into each jar, leaving 1 inch of headspace.
- Use a wooden spoon or soft kitchen utensil to remove trapped air bubbles from each jar.
- Wipe any residue from the rims of the jars using a clean dish towel. Attach the lids and bands on the jars, tightening them until fingertip tight.
- Put the jars back into the canner, cover with a lid, and increase the heat. Open the vent and allow the canner to vent steam for 10 minutes.
- Process pint jars for 75 minutes and quart jars for 90 minutes per your elevation and canner type:
Dial-Gauge Pressure Canner
- 0 – 2,000ft: 11 lbs
- 2,001 – 4,000ft: 12 lbs
- 4,001 – 6,000ft: 13 lbs
- 6,001ft and up: 14 lbs
Weighted Gauge Pressure Canner
- 0 – 1,000ft: 10 lbs
- 1,001ft and up: 15 lbs
Post Processing
- When the processing time is complete, turn off the stovetop and let the pressure release naturally.
- Once the dial gauge reads zero, remove the pressure regulator and release any remaining pressure.
- Open the lid and use canning tongs or a jar lifter to transfer the jars carefully to a clean dish towel or cushioned work surface. Let the jars cool undisturbed for 12 to 24 hours.
- Test the seals by gently pressing the center of the lids with your thumbs. If they flex or move, it indicates an improper seal. For all jar seal failures, refrigerate the contents and consume within 3-5 days.
- For properly sealed jars, remove the screw bands, label the jars with the contents and date of canning, and store them in a cool, dry place.
- Prep Time: 20 minutes
- Canning Time: 90 minutes
- Cook Time: 1 hour, 55 minutes
Nutrition
- Serving Size: 480g
- Calories: 488kcal
- Sugar: 10g
- Sodium: 181mg
- Fat: 27g
- Saturated Fat: 9g
- Carbohydrates: 30g
- Fiber: 6.5mg
- Protein: 32g
- Cholesterol: 90mg
What Types of Vegetables Can You Use in Soup Canning Recipes?
- Root vegetables: Carrots, potatoes, sweet potatoes, parsnips, turnips, rutabagas.
- Allium vegetables: Onions, garlic, shallots, leeks.
- Leafy greens: Spinach, kale, Swiss chard, collard greens.
- Legumes: Green beans, peas, lentils, chickpeas.
- Nightshade vegetables: Tomatoes, bell peppers, chili peppers, eggplant.
- Squash and pumpkin: Butternut squash, acorn squash, zucchini, pumpkin.
- Corn and peppers: Sweet corn, bell peppers, jalapeños.
Safety Tips When Canning Soup
When canning soup, you must follow specific safety guidelines to preserve the soup and prevent potential health risks.
- Avoid using thickeners like flour, cornstarch, or roux to the soup before canning. Thickeners can interfere with heat penetration during processing and may lead to undercooked or unsafe soup. Instead, thicken the soup after opening the jar.
- Dairy products should not be added when canning soup, including milk and cheese. Dairy can spoil, curdle, or separate during the canning process and storage. If you desire a creamy texture, add the dairy when reheating the soup after opening the jar.
- Stick to tested canning recipes specifically designed for soups. These recipes ensure proper ingredient proportions, processing times, and safe acidity levels. It’s crucial to follow the instructions precisely to maintain food safety.
What are the Benefits of Canning Vegetable Beef Soup?
- Convenience: Canned soup provides a quick and easy meal option available whenever needed.
- Cost-effective: Canning soup can be a cost-effective way to enjoy homemade meals without relying on store-bought canned options.
- Customizable flavors: By canning your own vegetable beef soup, you can experiment with different spices, herbs, and seasonings.
- Long shelf life: Properly canned soup has a shelf life of 1-2 years.
- Portability: Canned soup is portable and doesn’t require refrigeration until opened, making it an excellent option for on-the-go meals, camping trips, or emergency food supplies.
- Reduced food waste: Canning enables you to use leftover vegetables and meat, minimizing food waste and promoting sustainability.
How to Store Canned Vegetable Beef Soup
To store canned vegetable beef soup, follow these steps:
- After canning, ensure that each jar has a proper seal with a firmly secured lid.
- Remove the metal bands or rings from the jars once they have cooled.
- Use adhesive labels or markers to label each jar with the contents and date of canning.
- Choose a cool, dry, dark storage location for the canned soup.
- To ensure freshness, use the principle of “first in, first out” when consuming canned soup.
How Long Does Canned Vegetable Beef Soup Last?
When properly stored, canned vegetable beef soup has a shelf life of 1 to 2 years. The exact shelf life can depend on various factors, including the ingredients used, the canning process, and storage conditions.
While canned soup can still be safe to eat beyond the recommended shelf life, its flavor, texture, and nutritional value may deteriorate over time. Consume the soup within the first year or as close to the canning date as possible to enjoy it at its best.