
Pressure canning turnips offers a reliable and efficient method to extend their shelf life while retaining their taste, texture, and nutritional value. Hot-pack or raw-pack turnips into canning jars and process them in a pressure canner for 25-35 minutes or pickle them and process them in a boiling water bath for 10-20 minutes per elevation.
Pressure Canning Turnips Guide
This step-by-step guide to pressure canning turnips is carefully designed to maintain the taste, texture, and nutritional value of the turnips:
- Choose fresh, firm turnips with no signs of damage or decay. Rinse them thoroughly to remove debris or dirt.
- Peeling is optional, but if preferred, peel the turnips before proceeding. Trimming off the tops and tails is recommended for uniformity during canning.
- Blanching helps preserve the quality, color, and texture of the turnips. Bring a pot of water to a rolling boil and carefully place the turnips in the boiling water for 2 minutes.
- After blanching, immediately transfer the turnips to an ice bath to cool them rapidly. This step halts the cooking process and helps retain the crispness and flavor of the turnips.
- Ensure that your pressure canner is clean and in good working condition. Inspect the sealing ring and pressure gauge for any wear or damage.
- Wash canning jars, lids, and bands with hot soapy water and rinse well. Sterilize the jars by putting them in a boiling water bath or using a dishwasher’s sterilization cycle.
- Remove the sterilized jars from the hot water bath or dishwasher just before you start packing. Pack the blanched turnips tightly into the jars, leaving 1-inch headspace.
- To maintain the flavor and quality of the turnips, add one of the following canning liquids to the jars: boiling water, vegetable broth, or a combination of water and vinegar.
- The canning liquid should cover the turnips, leaving 1-inch headspace. The liquid helps distribute heat evenly during processing and prevents the turnips from drying out.
- Before attaching the lids and bands to the jars, clean the rims with a damp cloth to remove any residue or moisture to ensure a proper seal.
- Attach the lids and screw the bands on fingertip-tight. Avoid overtightening, as it can hinder air venting during processing.
- Follow the manufacturer’s instructions to preheat your pressure canner with the appropriate amount of water.
- Carefully place the filled and sealed jars into the preheated pressure canner using canning tongs. Secure the lid and follow the recommended instructions for your specific canner.
- Adjust the heat to reach and maintain the required pressure per your canner type and elevation:
Pressure canning turnips in a dial-gauge pressure canner:
| Altitude (ft) | 0 – 2,000 | 2,001 – 4,000 | 4,001 + |
| Pints (25 mins) | 11 lbs | 12 lbs | 13 lbs |
| Quarts (35 mins) | 11 lbs | 12 lbs | 13 lbs |
Pressure canning turnips in a weighted-gauge pressure canner:
| Altitude (ft) | 0 – 1,000 | 1,001 + |
| Pints (25 mins) | 10 lbs | 15 lbs |
| Quarts (35 mins) | 10 lbs | 15 lbs |
- Once the processing time is complete, turn the heat off and let the pressure canner depressurize naturally. Do not force-cool or open the canner prematurely.
- After depressurization, remove the jars using jar lifters and place them on a towel-lined surface away from drafts. Allow the jars to cool undisturbed for 12 to 24 hours.
- Check the lids for proper sealing, and any unsealed jars should be refrigerated and consumed promptly. Keep the sealed jars in a cool, dark place for a maximum of one year.
When is the Best Time to Can Turnips?
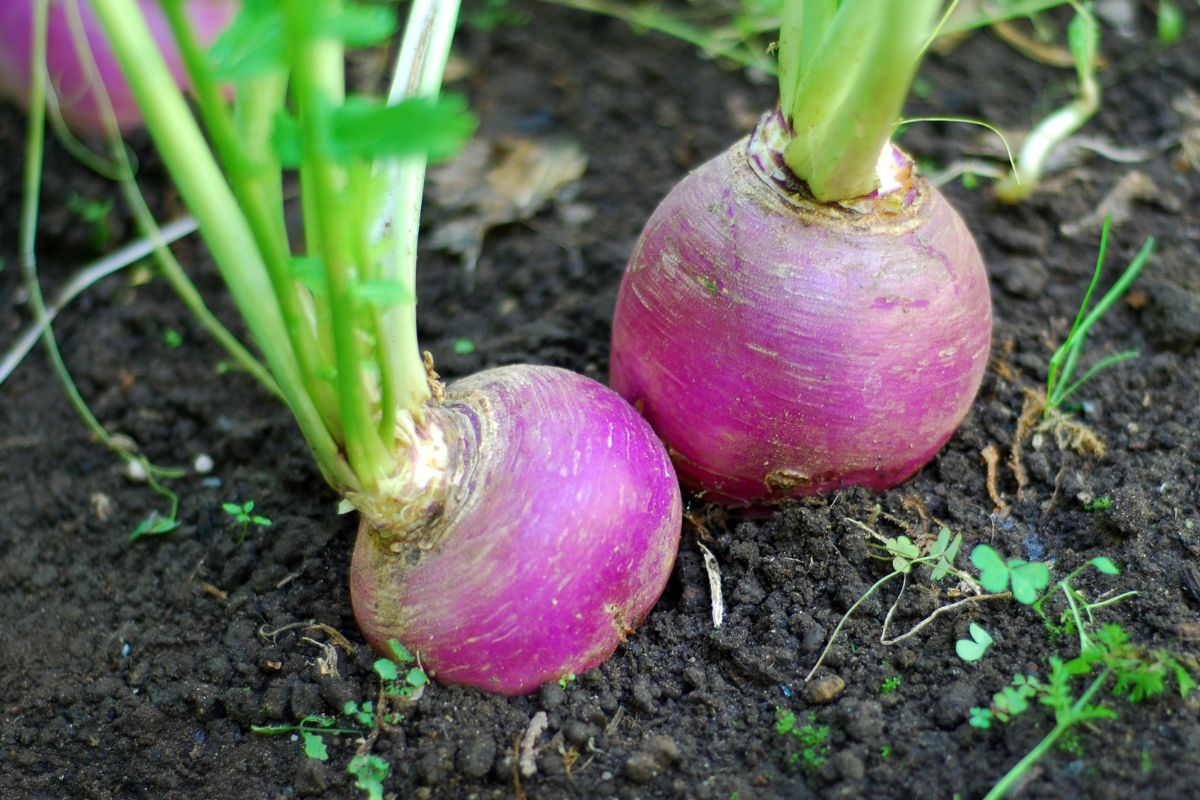
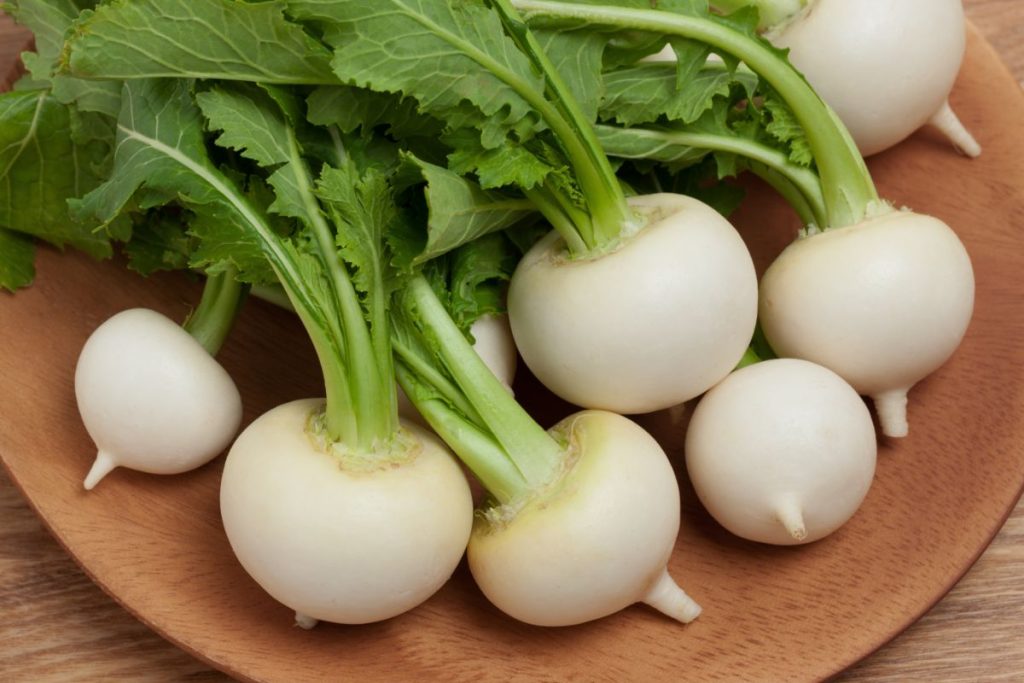
The best time to can turnips is in the late fall and winter months. Look for turnips that are firm, with smooth skin, and vibrant colors, such as purple, white, or yellow.
Avoid turnips that are soft, have blemishes, or show signs of decay. Harvested turnips from local farmers’ markets or your own garden are often the freshest and offer an optimal flavor for canning.
How Long Does it Take to Can Turnips?
The overall time required to can turnips depends on various factors such as preparation, processing, and cooling. It takes approximately 2 to 3 hours to complete the canning process for turnips.
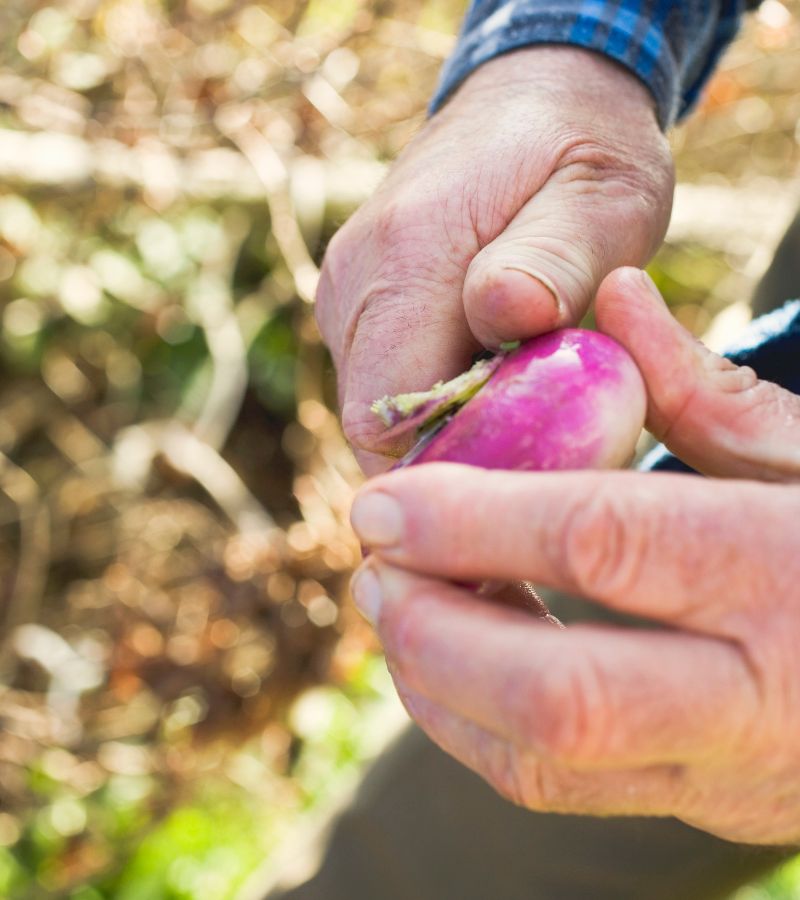
Do Turnips Have to Be Peeled for Canning?
Peeling turnips for canning is optional and is based on personal preference. If you choose to peel them, start by washing the turnips thoroughly to remove any dirt or debris. Remove the outer skin with a paring knife or vegetable peeler, including any tough or blemished areas.
After peeling, continue with the canning process by blanching, packing, and processing the turnips according to the instructions provided.
Do Turnips Need to be Hot Packed or Raw Packed for Canning?
Turnips can be hot-packed or raw-packed for canning, depending on the desired texture and personal preference. Hot packing involves pre-cooking the turnips before packing them into jars, while raw packing involves packing the turnips raw without pre-cooking. Hot packing results in softer turnips, while raw packing retains a firmer texture.
Can Turnips Be Canned in a Water Bath?
Root vegetables, including turnips, must be pressure canned rather than processed in a water bath due to their low acidity and density. Water bath canning relies on the natural acidity of foods to create an inhospitable environment for bacteria and other pathogens. To water bath can turnips, they must first be pickled.
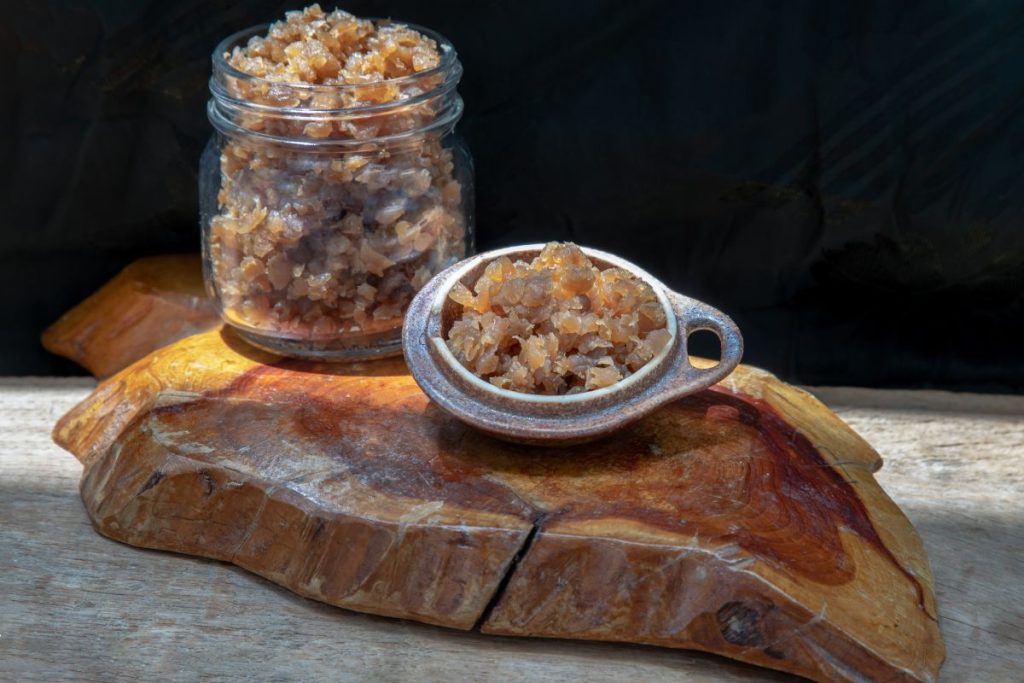
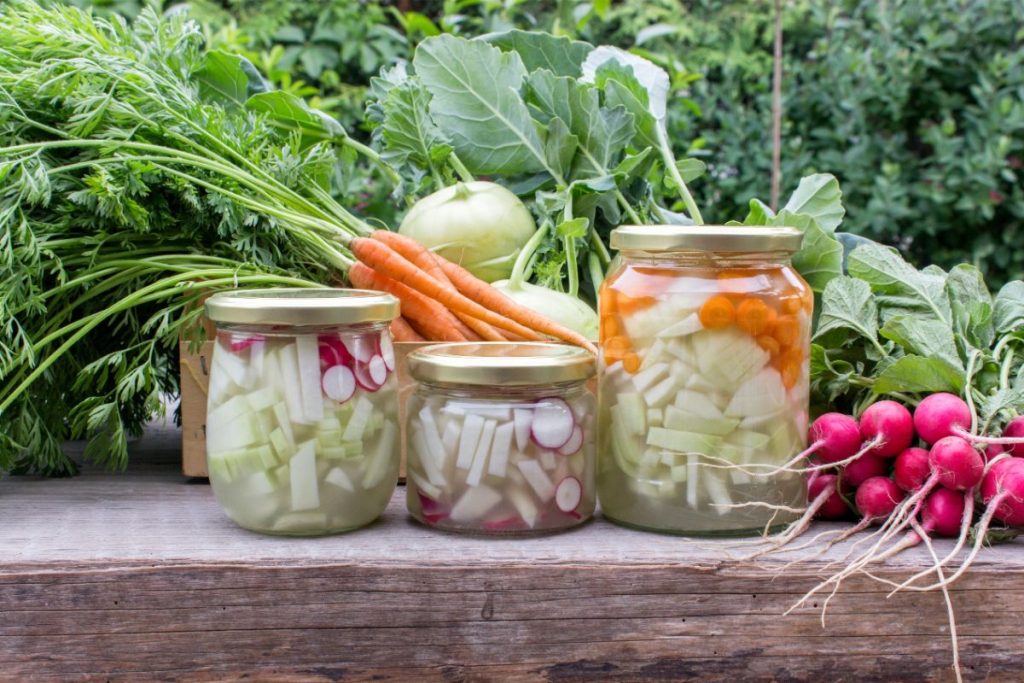
Pickling and Water-Bath Canning Turnips
Making pickled turnips is easy and offers potassium, calcium, and healthy carbohydrates in every serving. It is possible to water bath can turnips if you submerge them in a pickling brine first:
- In a large bowl, combine 2 cups of diced turnips, 1 cup of diced parsnips, 1 cup of trimmed green beans, two garlic cloves, and one sliced and peeled red beet. Sprinkle with 2 tbsp sea salt and toss to distribute the salt evenly. Allow the mixture to sit for about 1 hour at room temperature to draw out the moisture from the vegetables.
- Rinse the vegetables under cold water to remove excess salt. Drain well and pack them tightly into hot jars, leaving ½ inch of headspace.
- In a separate bowl, mix a teaspoon of salt and enough cold water to cover the vegetables. Pour the saltwater mixture into the jars, ensuring that the vegetables are completely submerged.
- Add a couple of tablespoons of 5% acidity white vinegar to each jar. The vinegar acts as a natural preservative and enhances the tangy flavor of the pickled turnips.
- Wipe the jar rims clean, place the lids on top, and seal the jars tightly. Process the jars in a boiling water bath canner for 10-20 minutes and adjust the processing time based on your elevation, following USDA guidelines.
- Remove the jars from the canner after the processing and let them cool at room temperature. As the pickled turnips ferment, you will notice the flavors intensify and develop over time. It’s best to wait at least 4 to 6 weeks before enjoying the pickled turnips to allow for optimal flavor development.
How to Store Canned Turnips
Store canned turnips in a dark, cool place free from direct sunlight and extreme temperature fluctuations. Maintain a temperature between 50°F and 70°F for the best quality. Rotate the jars periodically to prevent any settling of contents.
What is the Shelf Life of Canned Turnips?
The shelf life of canned turnips depends on storage conditions and the specific canning process used. The shelf life of canned turnips is up to one year, according to the National Center for Home Food Preservation.
The NCHFP recommends consuming home-canned goods within one year for optimal quality. It’s important to note that while home-canned foods may remain safe to eat beyond one year, the quality, flavor, and nutritional value may gradually decline over time.