

A pressure canner is required for canning tuna. Hot pack or raw pack tuna pieces into sanitized pint or half-pint canning jars. Raw packs require no canning liquid, while hot packs require water or oil. Process for 100 minutes at a PSI determined by elevation.
What is the Best Way to Can Tuna?
Tuna fish is a low-acid food, so the best way to can it is by using the pressure canning method. The pressure of a pressure canner produces a high heat range of 240°F – 250°F, which is enough to kill harmful bacteria. A boiling water canner reaches a maximum of 212°F, which is not high enough to eliminate the risk of botulism.
How to Pressure Can Tuna Fish
The National Center for Home Food Preservation recommends pressure canning tuna. It is recommended to use wide-mouth pint or half-pint jars when canning fish. One pound of fresh tuna is enough to fill one pint jar or two half-pint jars.
Follow these steps to make the perfect home-canned tuna:
- Thaw frozen tuna in cold water or keep fresh tuna on ice in a covered container in a refrigerator until ready for canning.
- Wash jars, lids, and canning rings in hot, soapy water and rinse well.
- Sanitize the canning jars by placing them in boiling water for 10 minutes. Keep them hot until they are filled.
- Prepare the canner. Pour hot water into the canner per the manufacturer’s instructions and add 1/4 cup of white vinegar to minimize the odor produced during processing.
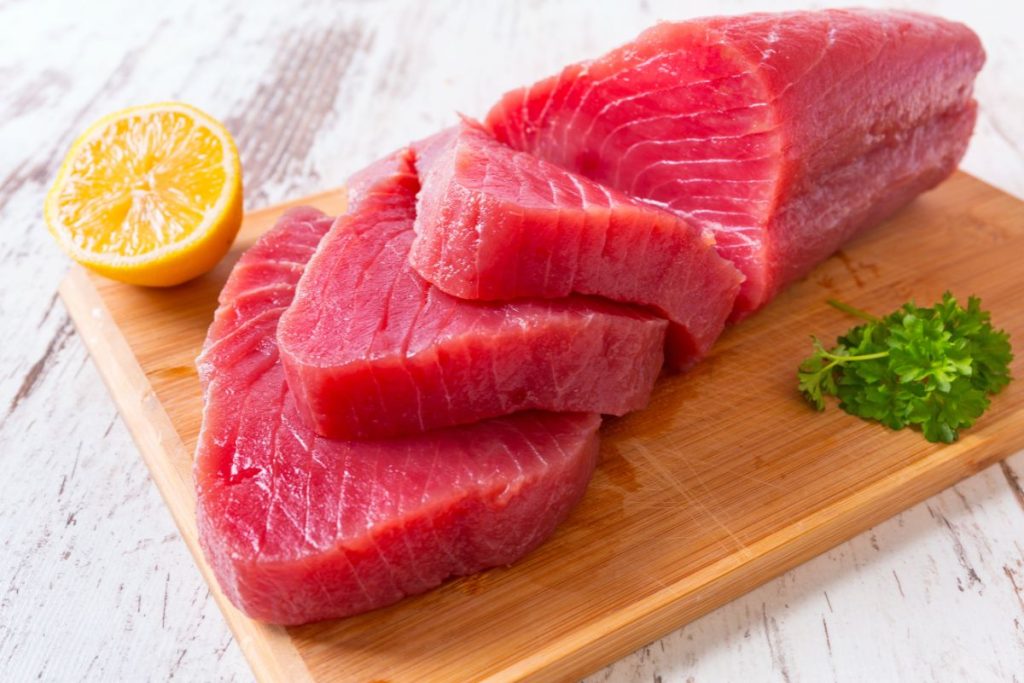
- Prepare the tuna by removing the skin, bones, and fat. Cut it into small 1-inch cubes. It is recommended to only can white tuna flesh as the odor and flavor of dark tuna is strong.
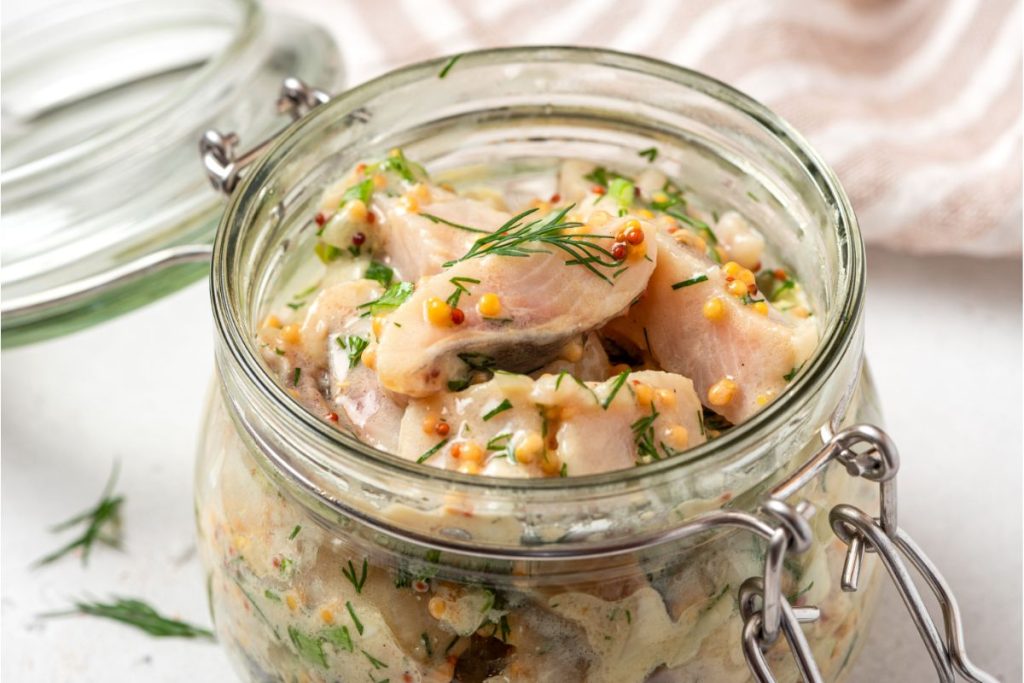
- Fill the jars with the prepared raw tuna pieces, leaving 1-inch headspace. For raw packing tuna, you will not add any oil or water. You may add one teaspoon of salt and spices if desired.
- Wipe the jar rims with paper towels dipped in white vinegar, and top each jar with a new canning lid.
- Apply screw bands and twist until they are fingertip tight.
- Use a jar lifter to place the prepared cans of tuna onto the jar rack inside the pressure canner.
- Close the lid of the pressure canner and allow the canner to vent steam for 10 minutes.
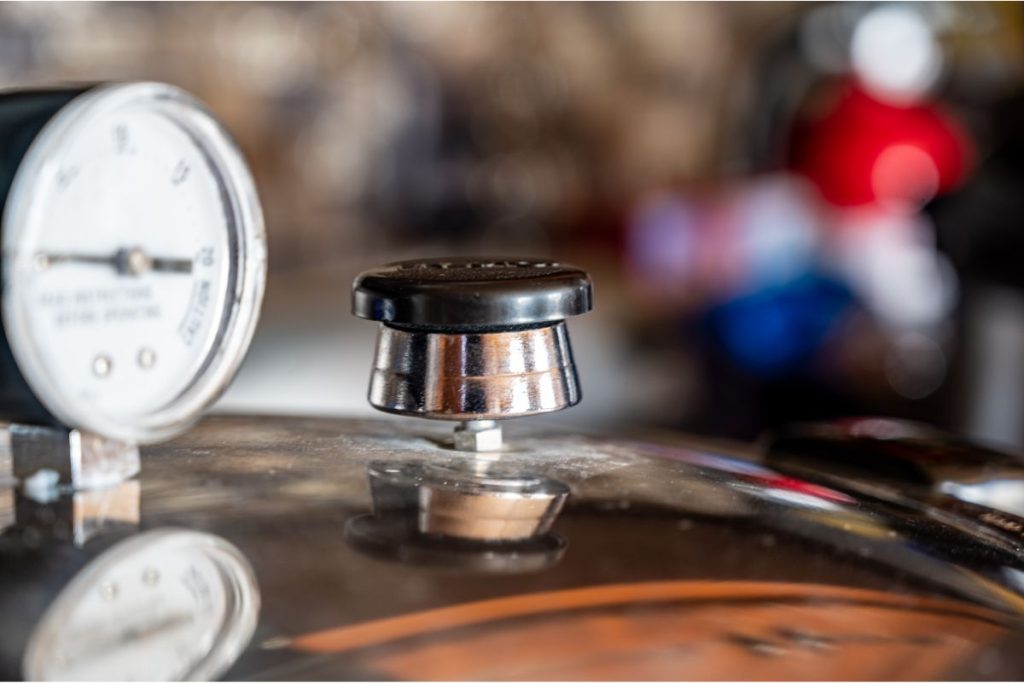
- Allow the pressure to build to the appropriate level based on the pressure canner type and elevation:
Recommended processing times for raw pack tuna in a dial-gauge canner:
| Altitude (ft) | 0 – 2,000 | 2,001 – 4,000 | 4,001 – 6,000 | 6,001 – 8,000 |
| Half-pints (100 mins) | 11 lbs | 12 lbs | 13 lbs | 14 lbs |
| Pints (100 mins) | 11 lbs | 12 lbs | 13 lbs | 14 lbs |
Recommended processing times for raw pack tuna in a weighted-gauge canner:
| Altitude (ft) | 0 – 1,000 | 1,001 + |
| Half-pints (100 mins) | 10 lbs | 15 lbs |
| Pints (100 mins) | 10 lbs | 15 lbs |
- Process pints and half pints for 100 minutes, ensuring the pressure remains consistent while processing.
- Remove the pressure canner from the heat. The pressure gauge should reach zero before removing the lids.
- Wait at least 10 minutes before removing the canning jars using a pair of tongs or a jar lifter.
- Place the jars on a towel-covered countertop and let them cool at room temperature for 12-24 hours.
- Check the seals after cooling by removing the rings from around the jars. Press on the center of each lid and see if it flexes up and down. If it doesn’t move, it is properly sealed.
- Label sealed jars with the contents and store the tuna in a cool, dry place away from direct sunlight.
How Long Does it Take to Can Tuna?
Both pint jars and half-pint jars of tuna should be processed for 1 hour and 40 minutes.
What is the Best Temperature for Canning Tuna?
Tuna fish is a low-acid food, so it should be processed at 240°F to kill potentially harmful bacteria.
Do You Need to Add Anything to Canned Tuna?
You do not need to add anything to canned tuna, but if you would like to add seasoning, you can. One teaspoon of kosher salt or canning salt is enough for pint jars. You may also add powdered, dried spices such as thyme, garlic, or crushed red peppers.
Can Raw Tuna Be Canned?
Yes. Both raw and precooked tuna fish can be canned at home using a pressure canner. If you want to process raw tuna, you don’t need to use any oil or add liquid to the canning jars. If you pre-cook tuna, it is a good idea to pack it in water or olive oil.
What are the Benefits of Canning Tuna?
Canned tuna is great to have on hand for emergencies. Here are some of the main benefits of canning tuna fish:
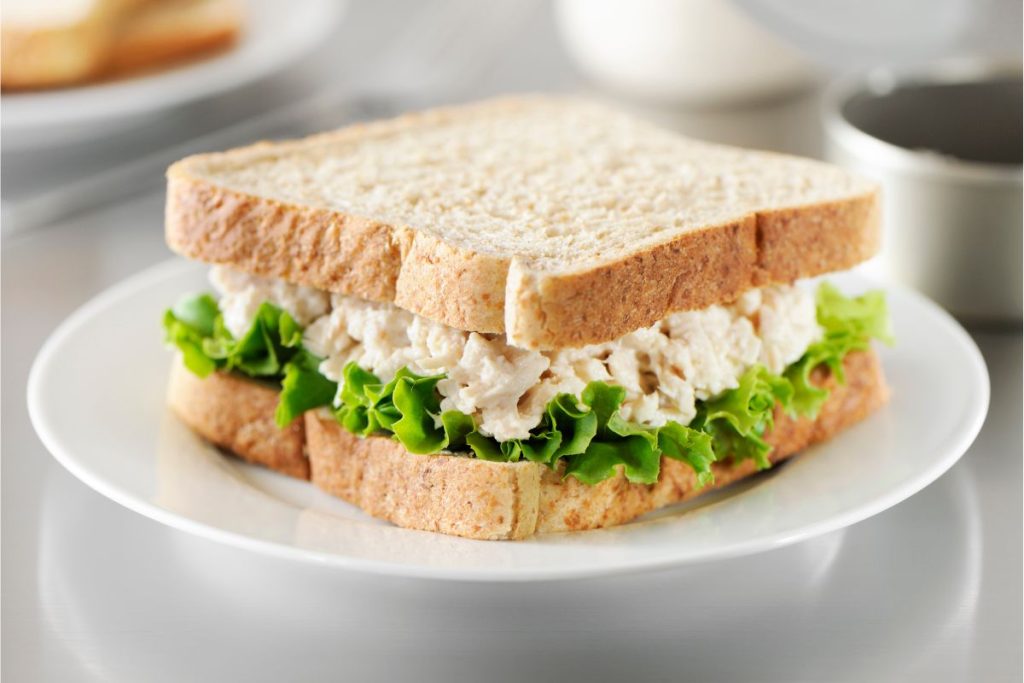
- Convenient: Canned tuna can easily be converted into a quick dinner with little prep time required!
- Essential vitamins and minerals: Tuna is rich in vitamin B3, which promotes skin health, and vitamin D, which boosts the immune system.
- Low-fat content: Canned tuna is low in calories and is great for healthy diets and weight loss.
- Quality protein: Fish is an excellent and affordable source of protein.
- Taurine: Tuna is high in the amino acid taurine, which helps to protect against heart disease.
Storage and Shelf Life of Canned Tuna
Canned tuna has a shelf life of 3 to 5 years. Properly canned tuna is shelf stable, but unopened jars can be refrigerated to extend their shelf life. Always keep canned tuna away from direct sunlight and store it in a cool, dry environment.
Some canners may notice the development of “glass-like” crystals inside their tuna after a few months in storage. According to the USDA, these cannot be prevented and are safe to heat and eat.