
To pressure can taco meat, cook ground meat until brown and mix with taco seasoning. Fill sterilized pint jars or quart jars, leaving 1-inch headspace. Place the jars in a pressure canner and process pint jars for 75 minutes and quart jars for 90 minutes.
What is the Best Way to Can Taco Meat?
Pressure canning is the best way to can taco meat. Low-acid foods like taco meat require a high enough temperature to make them safe for storage. The USDA recommends a temperature of 240 to 250 degrees Fahrenheit for canning low-acid foods.
You cannot use the boiling water bath method to can taco meat. A boiling water bath canner only reaches 212 degrees Fahrenheit, which is not enough to rid the food of harmful bacteria that can lead to botulism.
Print
Pressure Canning Taco Meat Recipe
- Total Time: 2 hours 10 minutes
- Yield: 1 pint 1x
Description
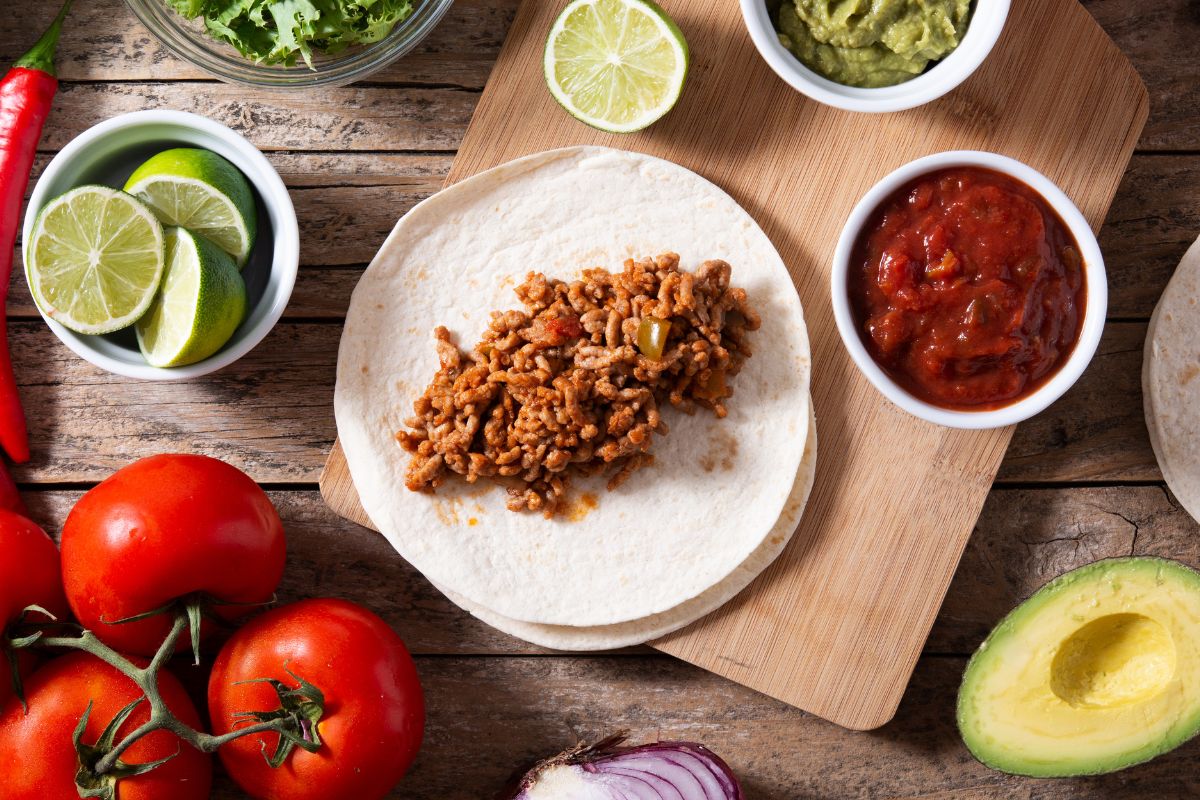
This taco meat canning recipe is perfect for pressure-canning ground beef and makes a quick and delicious meal that everyone will enjoy!
Ingredients
- 1 pound of ground beef
- 1 tablespoon chili powder
- 1 tablespoon onion powder
- 1/2 teaspoon garlic powder
- 1 teaspoon dried cumin
- 1 teaspoon dried oregano
- 1 teaspoon salt
Instructions
- Wash your canning jars, lids, and screw bands in hot, soapy water and rinse well.
- Sterilize the canning jars by placing them in boiling water for 10 minutes, and keep them hot until ready to fill.
- Prepare the ground beef by browning it in a few teaspoons of oil in a large saucepan.
- Add the spices to the browned ground beef and mix them thoroughly.
- Fill the hot jars with the browned meat-spice mixture, allowing 1-inch headspace.
- Pour hot beef broth, tomato juice, or boiling water to cover the meat, maintaining 1-inch headspace.
- Use an air bubble remover tool to remove air bubbles from the jars.
- Wipe the jar rims with a damp cloth moistened with vinegar.
- Place new canning lids on the canning jars. Apply the screw bands and adjust to ensure they are fingertip tight.
- Place the jar rack on the pressure canner and fill the canner with 3 inches of hot water, or the amount recommended in the manufacturer’s instructions.
- Heat the pressure canner on the stove and carefully place the filled jars in the prepared pressure canner using a pair of canning tongs or jar lifter, leaving some space between each jar.
- Bring the water in the pressure canner to a boil, cover it with a lid, and let it vent steam for 10 minutes.
- Close the steam valve and allow the pressure to build to the appropriate level based on the pressure canner type and your elevation.
Dial-Gauge Pressure Canners (PSI per elevation)
0 – 2,000ft: 11lbs
2,001 – 4,000ft: 12lbs
4,001 – 6,000ft: 13lbs
6,001 – 8,000ft: 14lbs
Weighted-Gauge Pressure Canners (PSI per elevation)
0 – 1,000ft: 10lbs
1,001ft and up: 15lbs
Post Processing
- Process pints for 75 minutes and quarts for 90 minutes. The processing time is the same for both weighted-gauge and pressure-gauge canners.
- After processing, turn off the stove and let the pressure come down to zero on your pressure canner before removing the lid.
- Carefully remove the canning jars using a jar lifter and place them on a cushioned countertop to cool.
- Leave the jars undisturbed for 12 to 24 hours. Remove the screw bands and test the seals. The lids should not flex up and down when you press the middle.
- Store sealed jars of canned taco meat in a cool, dry place away from direct sunlight.
- Prep Time: 10 minutes
- Canning Time: 90 minutes
- Cook Time: 30 minutes
Nutrition
- Serving Size: 1 pint
- Calories: 850 kcal
- Sugar: 5g
- Sodium: 1600mg
- Fat: 60g
- Saturated Fat: 22.5g
- Carbohydrates: 20g
- Fiber: 0g
- Protein: 55g
- Cholesterol: 225mg
How Long Does it Take to Can Taco Meat?
The canning process for taco meat takes 2½ to 3 hours, including prep time.
What Size Jars Are Best for Canning Taco Meat?
Pint jars and quart jars are ideal for canning taco meat, but wide-mouth jars are preferred for ease of use. One pound of ground beef is enough for one pint-size jar, and 2 pounds of ground beef are enough for one quart jar.
Can You Raw Pack Taco Meat?
No, you cannot raw-pack taco meat. Taco meat must be browned before canning.
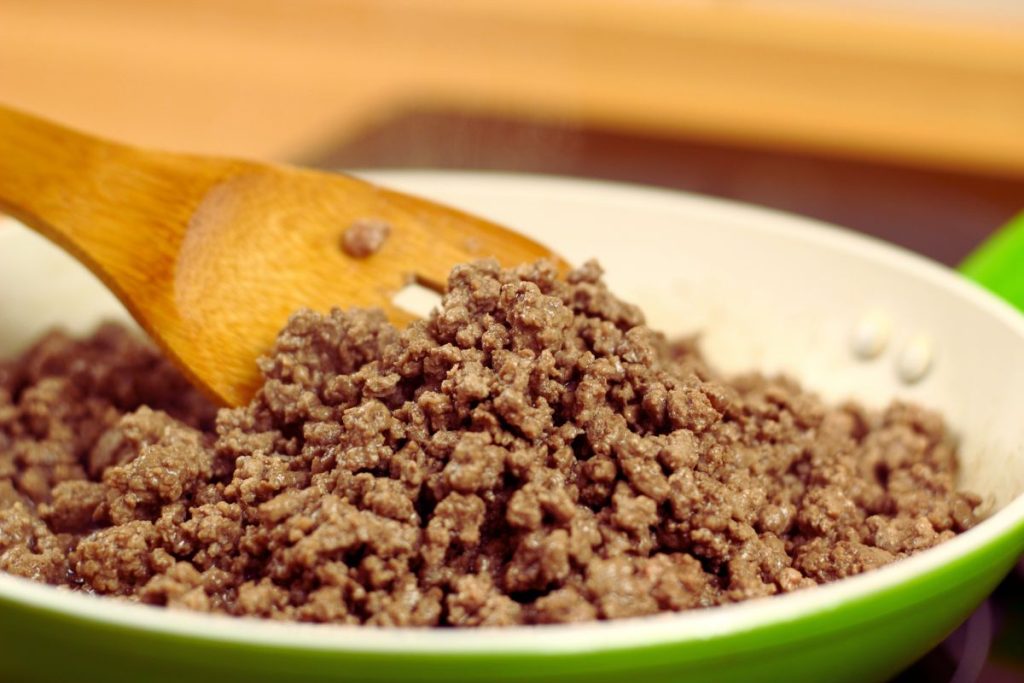
Follow these steps to brown ground beef for canning:
- Dab away excess moisture and fat from the ground beef with a clean paper towel.
- Add the meat to a hot, lightly oiled skillet or cast iron pan.
- Spread the meat thinly across the pan and let it brown on one side.
- Flip the meat to brown on the other side.
- Use your spatula to break apart any clumps.
- Add the taco seasoning and a small amount of water.
- Stir well to combine and cook until the water evaporates and the seasoning sticks to the meat.
- Proceed with transferring the meat to hot jars for canning.
What are the Benefits of Canning Taco Meat?
Some of the key benefits of canning taco meat include:
- Convenience: Make quick dinners with canned taco meat in the pantry!
- Cost-Effective: Buy in bulk to save on grocery costs.
- Long Shelf-life: Canning taco meat can extend its shelf-life for 1 to 2 years.
- No Artificial Preservatives: Avoid unhealthy preservatives by home-canning taco meat.
- Save Freezer Space: Canning taco meat can help you save valuable freezer space.
- Versatile: Top your home-canned taco meat with bell peppers, paprika, roasted onions, or refried beans!
Storage and Shelf Life of Canned Taco Meat
Canned taco meat has a shelf life of 2-5 years. For the best quality, consume it within 12 months.
Store canned meat in a cool, dry place and refrigerate any opened jars. Label the storage containers with the name of the product and the date of canning to keep track of the shelf life.