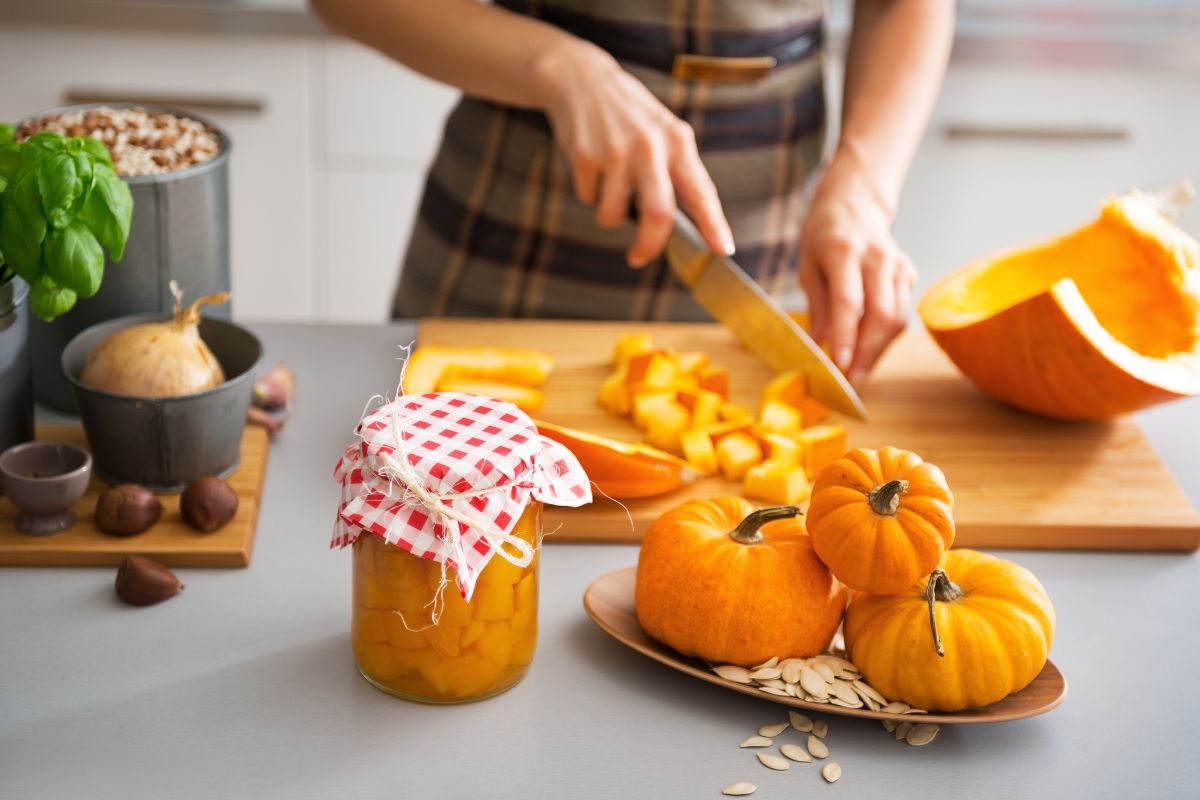
The pressure canning method is required for canning pumpkin because pumpkins are a low-acid vegetable. Hot pack clean pint jars with cubed pumpkin, leaving 1" headspace, and process in a pressure canner for 55-90 minutes at a PSI determined by your altitude.
Can Pumpkin be Canned?
Yes, it is possible to can pumpkin with a pressure canner. Pumpkins cannot be processed in a water bath canner because they’re low-acid vegetables.
Why Can’t You Home Can Pumpkin Puree?
Per the National Center for Home Food Preservation, only cubed pumpkin is safe for canning, as botulism spores can grow in pureed pumpkin. Mashed pumpkin, pumpkin butter, and pumpkin puree are too dense to safely process with home canning.
How to Prepare Pumpkins for Canning
- Choose fresh pumpkins such as pie pumpkins with a hard rind and unblemished skin.
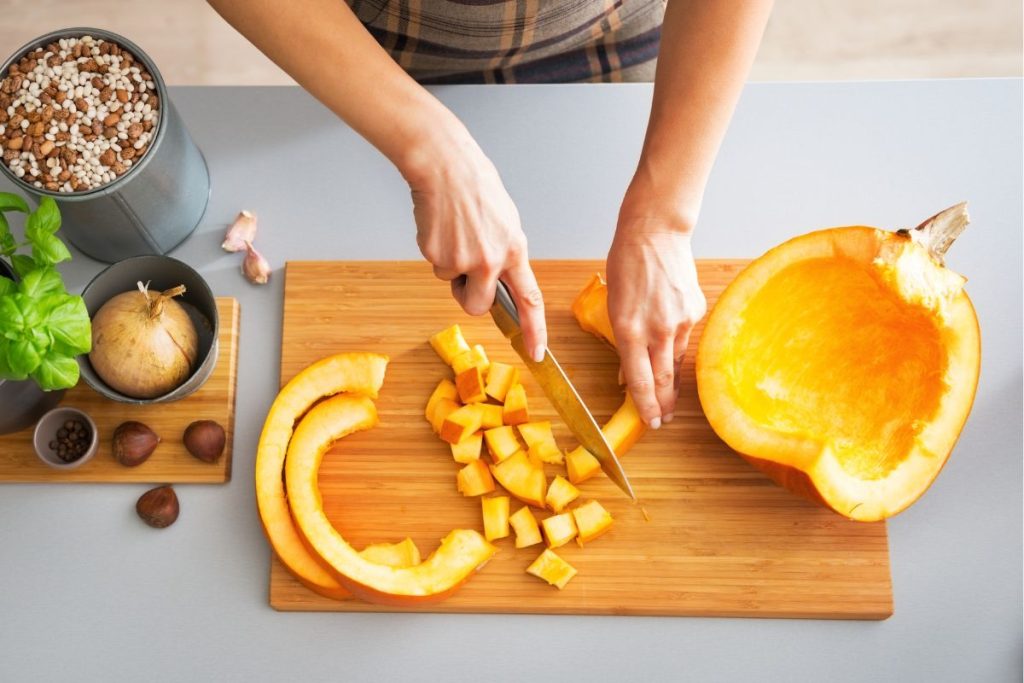
- Cut the top off of the pumpkin, separate it into two halves, and scoop out the pumpkin seeds.
- Cut the pumpkin into 2-inch strips and separate the pumpkin flesh from the rind with a sharp knife.
- Dice the pumpkin chunks into 1-inch cubes.
- Blanch the cubed pumpkin for two minutes in boiling water before hot packing it in jars.

What is the Best Way to Can Pumpkin?
The best way to can pumpkins is by following the pressure canning process.
Cut down on prep time by ensuring you have the following tools ready:
- Canning funnel
- Canning jars and lids (pint jars or quart jars)
- Canning rack
- Canning tongs or jar lifter
- Large pot
- Ladles
- Pressure Canner
- Salt (optional)
- Several pounds of pumpkin
- Spatula
- Water
To can your pumpkin, follow this step-by-step process:
- Sanitize your jars and lids with soap and hot water. Rinse well, then check for any cracks in the jars and discard any that have imperfections.
- Before filling your jars, ensure they are heated.
- Fill the pressure canner with 4 inches of hot tap water. Place it on the stove over low heat with the lid off.
- Begin filling the hot jars with the hot pumpkin cubes. If you want to use salt, add 1 tsp per quart or ½ tsp per pint.
- Fill the jars with boiling water, leaving one inch of headspace.
- Using your spatula, run it along the sides of each jar to release any trapped air bubbles.
- Wipe the rims of the jars and apply lids. Apply screw bands until they are fingertight.
- Using jar tongs, place sealed jars on the jar rack. Follow the manufacturer’s instructions on the proper water level before sealing the canner.
- With the weight off or the valve open, turn to high heat and let the canner vent steam for approximately ten minutes. This is to let air escape the canner before canning.
- After ten minutes, put the weight on or close the valve and allow pressure to build to the recommended pounds of pressure and process the jars per the tables below:
Processing time for hot pack pumpkin in a dial-gauge pressure canner.
| Altitude | 0 – 2,000ft | 2,001ft – 4,000ft | 4,001ft – 6,000ft | 6,001ft – 8,000ft |
| Pints (55 minutes) | 11lbs | 12lbs | 13lbs | 14lbs |
| Quarts (90 minutes) | 11lbs | 12lbs | 13lbs | 14lbs |
Processing time for hot pack pumpkin in a weighted-gauge pressure canner.
| Altitude | 0 – 1,000 ft | Above 1,000 ft |
| Pints (55 minutes) | 10lbs | 15lbs |
| Quarts (90 minutes) | 10lbs | 15lbs |
- Once the processing time has passed, allow the pressure canner to cool and the pressure to drop to zero before removing the lid. Do not jostle the canner while cooling.
- Remove the lid and remove jars from the canner with canning tongs.
- Do not retighten screw bands. Let jars air cool to room temperature for 12-24 hours. You should hear a popping sound as the jars seal during the cooling process.
- Once the jars are completely cool, remove the screw bands and check the seals.
- If the seal is indented, the jar is safe to label and store in a cool, dark place.
- If the seal isn’t indented, you can use a new lid and reprocess, or put the jar into the refrigerator and consume it within a few days.
Can You Raw Pack Pumpkin?
It is recommended that you hot pack pumpkin when canning. Blanching the pumpkin before packing it into jars helps to preserve the color and taste of the pumpkin without overcooking it.
What is the Shelf Life of Canned Pumpkin?
The shelf life of canned pumpkins is 5 years. Canned pumpkin is a low-acid food, and has a longer shelf life than acidic foods. It is recommended to consume canned pumpkin within one year for the best quality.
What are the Benefits of Canning Pumpkin?
Home-canned pumpkin is versatile. Preserving pumpkin allows you to easily make pumpkin recipes such as pumpkin butter, pumpkin soup, or pumpkin bread in minutes.
Pumpkin is rich in several vitamins and minerals, like potassium, vitamin C, vitamin A, and vitamin E, which can help support eye and heart health.
Pumpkin is also nutritionally dense and is low in calories and high in fiber, which is great for incorporating into a healthy diet.
Proper Storage of Canned Pumpkin
It’s best to store canned pumpkin in a cool, dark, dry place. Canned pumpkin should be stored at a temperature between 40°F and 70°F in a low-humidity environment to extend the shelf life. A pantry is ideal for this as it blocks out light.
Delicious Canned Pumpkin Recipes
Creamy Baked Pumpkin Risotto
This recipe will allow you to make a creamy risotto without constant stirring! The pumpkin gives the dish a rich color and a creamy consistency.
Butternut Squash Curry
Fun fact: pumpkin can be substituted for butternut squash in most recipes, including this one!
Pumpkin Butter
Pumpkin butter is a great substitute for nut butter and is delicious when spread on toast or mixed with yogurt or oatmeal.
Pumpkin Pie
Turn canned pumpkin into delicious pie filling and bake it into a crowd-pleasing pie or tart.
Pumpkin Puree
Pumpkin puree is a versatile ingredient that you can use in both savory and sweet preparations.

