
Canning mustard greens requires using a pressure canning method. Simply hot pack cooked mustard greens into clean, sanitized canning jars and process in a pressure canner. Process pints for 70 minutes and quarts for 90 minutes at a PSI depending on your altitude and gauge type.
Pressure Canning Mustard Greens Guide
Mustard greens should be canned using pressure canning and the hot pack method because they are a type of low-acid vegetable. Before you begin canning, it is essential to have all the necessary tools and ingredients ready because timing and temperature are important in the canning process.
Equipment Needed for Canning Mustard Greens
- Blancher basket
- Canning jars, lids, and screw bands (pint jars or quart jars)
- Canning rack
- Canning tongs or jar lifter
- Large pot
- Large spoons or ladles
- Plastic spatula
- Pressure Canner
- Canning salt (optional)
- Several pounds of greens
- Water
Preparing Greens for Canning
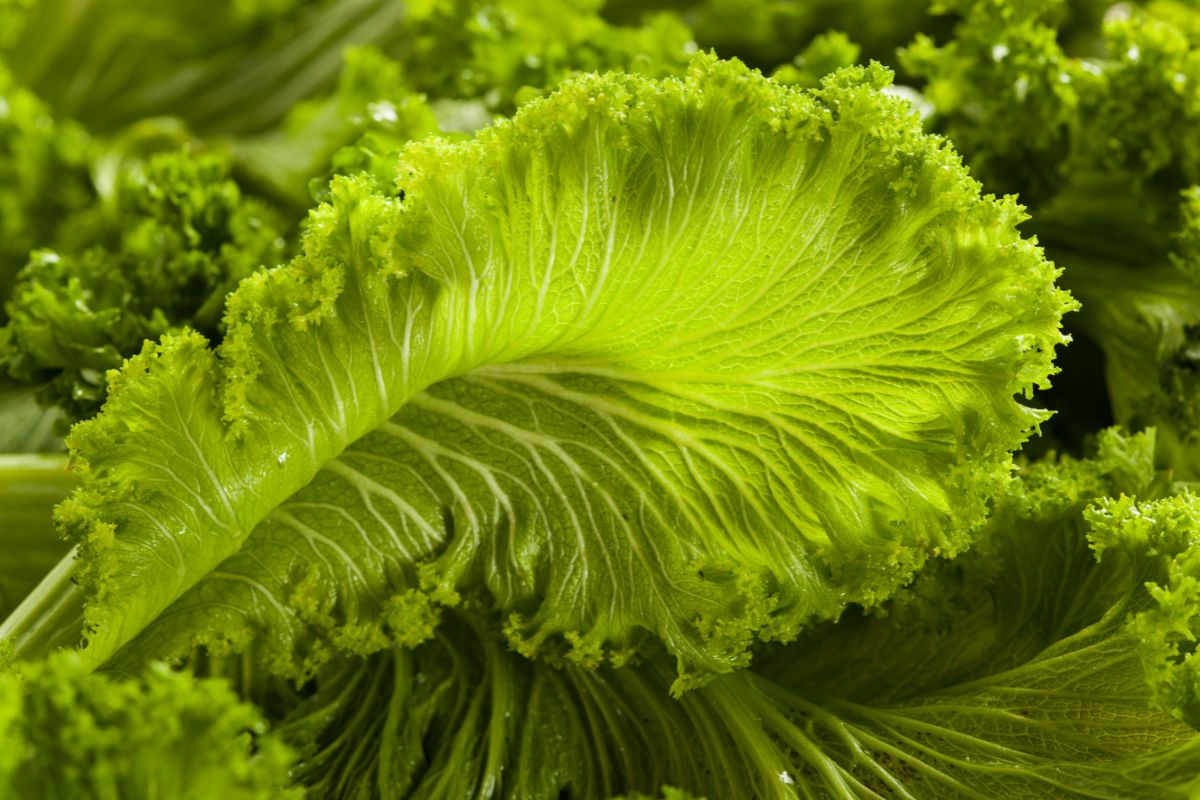
When it comes to canning mustard greens, selecting the right greens is the most important step. Use freshly picked and tender greens whenever possible.
You will need around 28 pounds of greens for 7 quarts and 18 pounds for 9 pints.
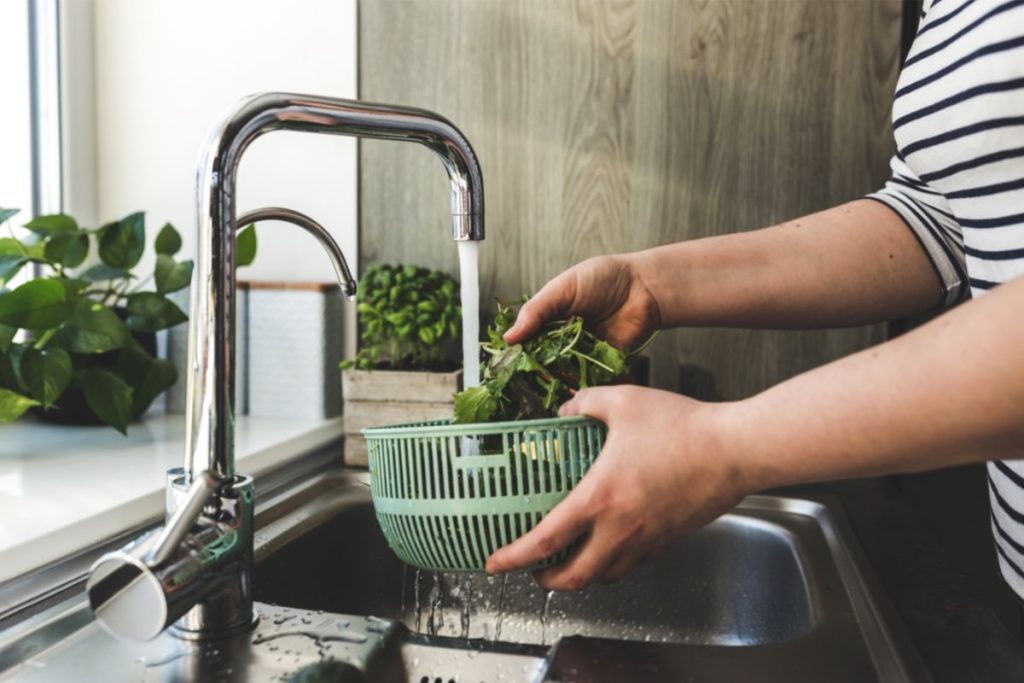
- Wash the greens in small batches under cool running water
- When the leaves are clean, cut out the tough stems and ribs
- Blanch the leaves, one pound at a time, until the leaves are wilted
Instructions for Pressure Canning Mustard Greens
Follow these steps to pressure can your mustard greens:
- Ensure your canning jars have been sanitized by running them through a dishwasher or handwashing them with soap and hot water. Check for any cracks or nicks in the jars during this step.
- Before filling your jars, ensure they are heated.
- Boil a large pot of water. You will use this water when you pack your cooked greens into the canning jars.
- Wash and rinse your pressure canner before putting the rack plate in the bottom. Fill to a depth of 4 inches with hot water. Place it on the stove over low heat with the lid off to heat it for later.
- Once you have your hot jars ready, start packing the jars with greens. Add ½ teaspoon of salt to pint jars and one teaspoon to the bottom of quart jars, if desired. This is purely optional and isn’t needed for preserving the food. The salt is just for taste.
- The jars should be filled loosely with the blanched mustard greens. Ladle boiling water over them, leaving 1-inch headspace.
- Run a plastic spatula between the greens and the sides of the jars to release any air bubbles. Add water to adjust the headspace as needed.
- Wipe the rims and then seal the jars. Adjust screw bands until they are fingertight.
- Using jar tongs, place sealed jars on the jar rack. Follow the manufacturer’s instructions on the proper water level before sealing the lid.
- With the weight off or the valve open, adjust the stove to high heat and let the canner vent steam for approximately ten minutes. This is to let air escape the canner before canning.
- After ten minutes, put weight on or close the valve and allow pressure to build to the recommended level. The PSI you use to process the greens will depend on your elevation from sea level and the time according to the jar size.
Processing times and PSI in a dial-gauge pressure canner, according to the National Center for Home Food Preservation:
| Altitude | 0 – 2,000ft | 2,001 – 4,000ft | 4,001 – 6,000ft | 6,001 – 8,000ft |
| Pints (70 minutes) | 11lbs | 12lbs | 13lbs | 14lbs |
| Quarts (90 minutes) | 11lbs | 12lbs | 13lbs | 14lbs |
Processing times and PSI in a weighted-gauge pressure canner, according to the National Center for Home Food Preservation:
| Altitude | 0 – 1,000ft | 1,001ft + |
| Pints (70 minutes) | 10lbs | 15lbs |
| Quarts (90 minutes) | 10lbs | 15lbs |
- Once processed to the required time, turn off the heat and allow the pressure canner to cool and the pressure to drop to zero before removing the lid. Do not jostle the canner while cooling.
- Once the canner is cool and the pressure is at zero, remove the lid and remove the jars from the canner with canning tongs.
- Do not retighten screw bands. Let jars air cool to room temperature for 12-24 hours. You should hear a popping sound as the jars seal during the cooling process.
- Once the jars are completely cool, remove the screw bands and check the seals.
- If the seal is indented, the jar is safe to label and store in a cool, dark place.
- If the seal isn’t indented, you can use a new lid and reprocess, or put the jar into the refrigerator and consume it within a few days.
How Do You Know When the Canner is Pressurized?
There are two types of pressure canners: dial gauge canners and weighted gauge canners.
Dial gauge canners have a dial that shows the pressure readout within the canner. Pressure is allowed to build up from the steam inside the canning pot. You’ll know the desired pressure is reached when the dial gauge displays the desired pressure readout number.
With a dial gauge canner, it’s recommended that either the manufacturer or your local County Extension Office check and verify the gauge is accurate once a year. Otherwise, there’s a risk of botulism from processing at too low of pressure or explosions from processing at too high a pressure.
Weighted gauge canners don’t have an external dial but use an external weight to signal when the appropriate pressure is reached. Each of these canners comes with weighted regulators that are applied to the lid, which allows the home canner to dial in different pressure settings, usually at 5, 10, and 15 PSI. Once the selected pressure is reached in a weighted gauge canner, the weighted regulators are designed to “jiggle” or “dance.”
Can Greens Be Canned in a Water Bath?
Water bath canning is not a safe method to can greens. Vegetables are not acidic, making them unsafe to can with the water bath method. This applies not only to mustard greens but many different types of greens, like turnip greens, collard greens, beet greens, and swiss chard.
Clostridium botulinum is the bacterium that causes botulism poisoning. Research has shown that it can only be safely destroyed by a temperature of at least 240°F in a pressure canner. It thrives in a moist, low-acid, oxygen-free environment, which is exactly what is inside a jar of vegetables.
Always be sure to pressure can greens and other low-acid vegetables to reduce the risk of becoming ill.
What Types of Jars are Used for Canning Mustard Greens?
Mustard greens can be canned with glass canning jars such as Mason jars.
When canning vegetables, the most common sizes for home canning are pint jars and quart jars. More pint jars will fit in a canner at once versus quart jars, but this results in fewer canned greens overall.
What are the Benefits of Canning Mustard Greens?
Mustard greens are healthy. They’re extremely low-calorie and are full of vitamins. Having canned mustard greens in your pantry makes it easy to incorporate this nutritious and tasty vegetable into your diet year-round.
Mustard greens are packed with vitamins A and C. They contain more vitamin A than spinach and more vitamin C than an orange. Vitamin C helps to support the body’s immune system, while vitamin A helps support heart and lung health.
Additionally, a serving of mustard greens contains vitamin K, multiple B vitamins, and various antioxidants. These helpful nutrients are reported to help with heart health, lower cholesterol, aid bone growth, and contribute to eye health.
5 Meal Ideas Using Canned Mustard Greens
Mustard greens are versatile vegetables. While they’re traditionally thought of as a staple in Southern cooking, they can be used and enjoyed in different styles of cooking. Check out these delicious recipes using mustard greens:
1. Peppery, Creamy Greens with Eggs
Mustard greens are a perfect choice for brunch. Rich cream and eggs help to balance the kick of the mustard greens in this delicious meal.
2. Braised Chicken Thighs with Squash and Greens
This combination of juicy chicken thighs, butternut squash, and mustard greens will surely leave everyone full and happy.
3. Sake-Braised Mustard Greens with Sesame
The mustard greens in this recipe are elevated with the addition of lemon zest, white wine, and sesame seeds.
4. Creamy Mustard Greens with Fried Shallots
The crispy fried shallots are a perfect complement to the creamy texture of mustard greens in this dish.
5. Southern Mustard Greens with Smoked Turkey
The smoked turkey and spiced mustard greens in this dish come together beautifully to wow your tastebuds!