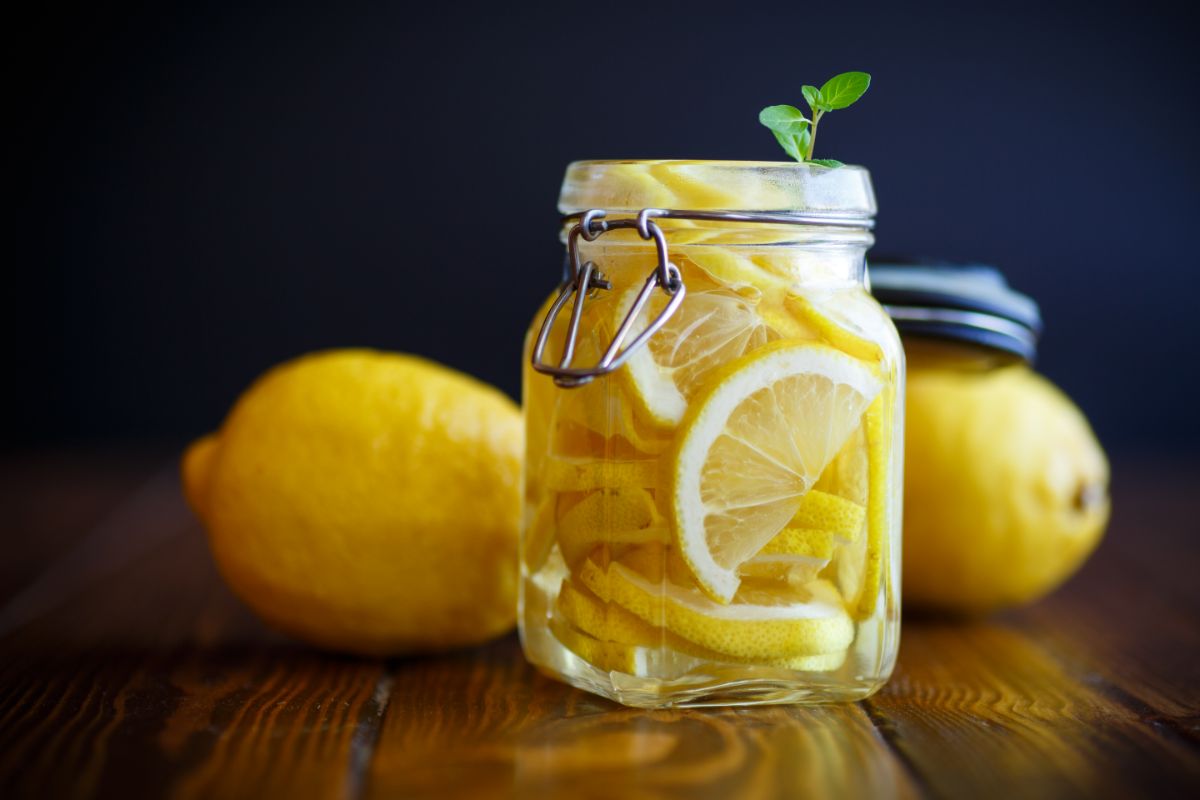
Both water bath canning and pressure canning methods can be used for canning lemons due to their high acidity. Layer thinly sliced lemon pieces dusted with sugar into sterilized canning jars and top with bottled lemon juice, leaving 1-inch headspace. Process the jars for 5-10 minutes, then cool for 24 hours at room temperature.
What is the Best Way to Can Lemons?
The best method for canning lemons depends on the type of canner you have and how long you wish to store the lemons.
Lemons are highly acidic and can be canned by pressure canning or water bath canning. It is also easy to preserve lemons in a refrigerator using sugar syrup or packing them in salt and vinegar.
Water Bath Canning Lemons Method
Water bath canning lemons is the easiest method of canning lemons for long-term storage.
- Clean your canning jars, lids, and screw bands using warm, soapy water and rinse well.
- Place your canning jars in boiling water upside down and sterilize for 10 minutes.
- Wash and peel the lemons, removing as much of the bitter pith as possible. Section and slice the lemons, and remove any seeds.
- Place the lemon slices in layers into the hot jars and sprinkle sugar between each layer. Add bottled lemon juice until the jars are nearly full, leaving 1 inch of headspace.
- Wipe the rim of the jars, then top the jars with lids. Apply screw bands until fingertip tight.
- Prepare your water bath canner by filling halfway with water and bring to a rolling boil.
- Transfer the jarred lemons using a jar lifter into the hot water bath. Add more boiling water until the lemon jars are covered by 1 inch of water. Close the lid and process the lemons for 10 minutes.
- Turn off the heat under the canner. Allow the jars to rest in the water for 5 minutes, then carefully lift them out and place them on a countertop to cool to room temperature.
- After 24 hours, test the seals by ensuring they don’t indent when you press on the top of them, and remove the screw bands. Store sealed jars in a cool, dark place.
- For any jars that don’t seal, you can refrigerate them and use the contents within 1 month or reprocess them with a new lid.
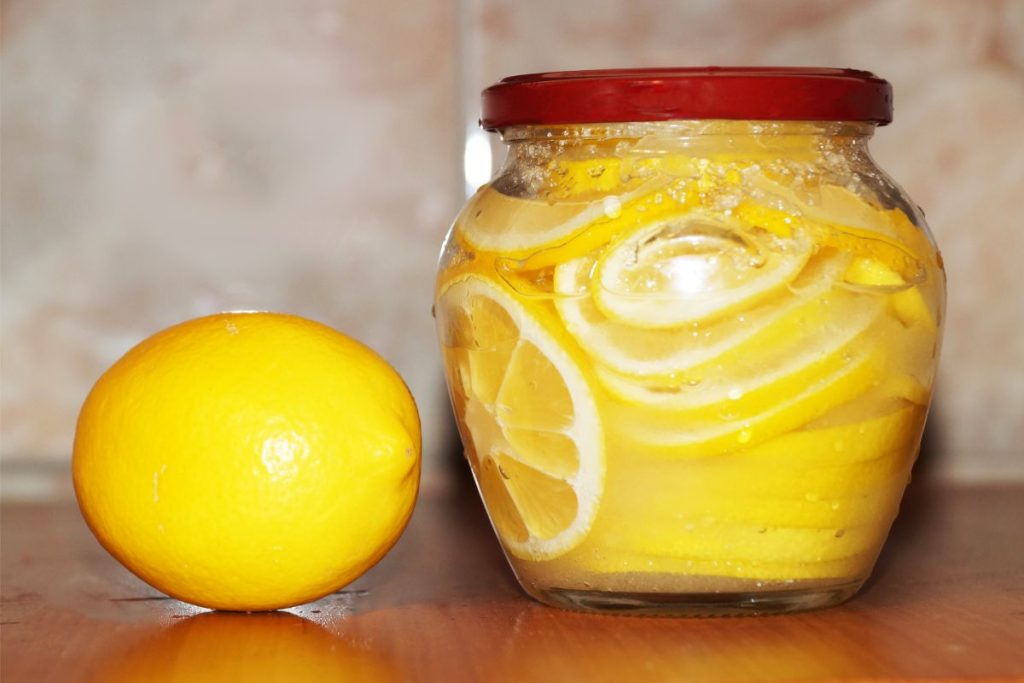
Refrigerated Preserved Lemons in a Jar
Refrigerated preserved lemons can last up to 6 months. These are perfect for those who don’t have a canner.
- Ready quart-sized jars and lids by washing them in warm, soapy water. Rinse well, then sanitize the jars in boiling water for 10 minutes.
- Rinse several pounds of fresh, unblemished Meyer lemons, and then use a mandolin slicer to cut them into small, even slices, leaving the skin on. Remove any seeds.
- Place the lemon slices into the jars, dusting each layer with granulated sugar. Use 3 tbsp of sugar per jar, and press down on the lemon slices and sugar layers to ensure an even coating.
- Cover the jars with lids and place them in the refrigerator. The sugar will dissolve into syrup inside the jar.
- These preserved lemons must be kept in the refrigerator and used within one month.
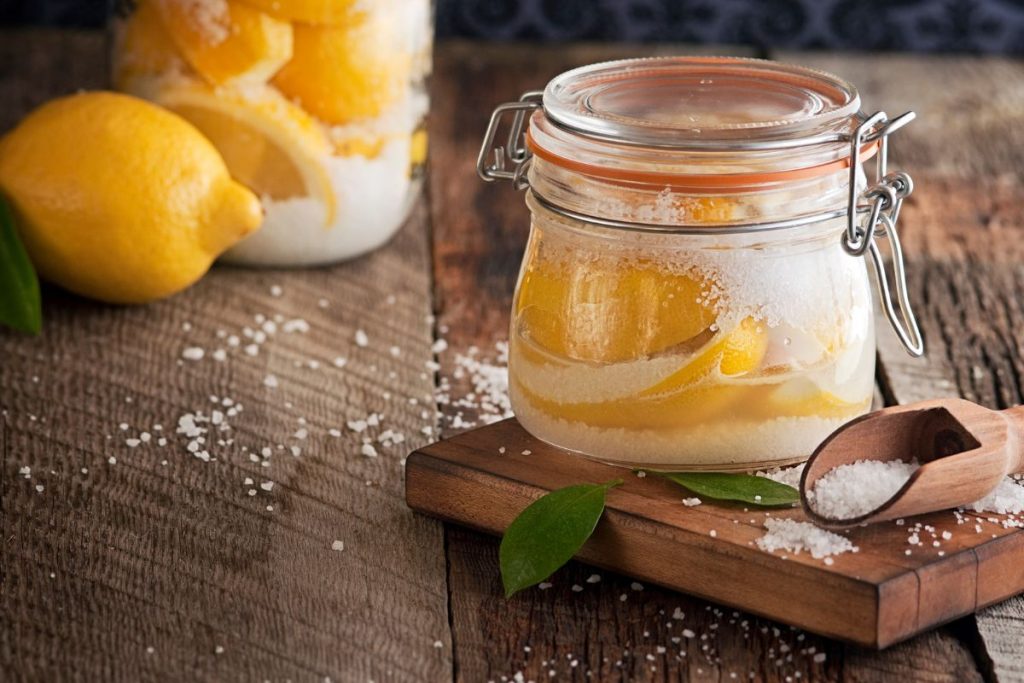
Pressure Canning Lemons Method
- Start by choosing whole lemons without blemishes.
- Wash and peel the lemons, then cut them into small pieces, removing any seeds.
- Sterilize the lids and canning jars by boiling them upside down for 10 minutes.
- Fill the sterilized canning jars with the lemon slices, leaving an inch of headspace.
- Add bottled lemon juice to cover the lemons, maintaining 1-inch headspace.
- Remove any air bubbles by running a sanitized spatula inside each jar.
- Wipe the canning jar rims with paper towels or a damp cloth.
- Put the lids on the canning jars and apply screw bands until fingertip tight.
- Place your jars in the pressure canner and process them based on the size of the jars and your altitude per your manufacturer’s instructions. For instance, at sea level, process quarts for 10 minutes at 6 lbs of pressure or pints for 8 minutes at 6 lbs of pressure.
- Once the processing time has passed, allow the pressure to return to zero in the pressure canner before removing the lid.
- Carefully remove the jars using a jar lifter and place them on a countertop.
- Once the jars are cooled at room temperature, test the seals to ensure they do not pop up.
- Label and store sealed jars in a cool, dry place. Unsealed jars can be reprocessed or refrigerated and used within 1 month.
Whole Lemons Canning Recipe
- Total Time: 24 hours, 40 minutes
Description
Did you know you can preserve whole lemons? This canned lemon recipe is easy to make and uses simple pantry ingredients.
Ingredients
- 8 whole lemons
- 3 cups sugar
- 4 pint-size glass jars
- 3 cups water
Instructions
- Start by removing the lemon peel as well as the white pith. Separate each lemon segment, discarding the inner membrane and the seeds.
- Combine water and sugar in a 1:1 ratio and bring the mixture to a boil.
- Once the water-sugar mixture turns into a hot syrup, place the lemons in the syrup and allow them to cook for 5 minutes.
- Use a ladle to place the lemons into clean Mason jars and add the syrup, leaving 1/2-inch headspace.
- Wipe the rims of the jars, then top them with lids and screw bands.
- Process the mixture in a water bath canner in boiling water for 10 minutes.
- Take the jars out of the canner using a jar lifter, and place them on the countertop to cool overnight.
- After 24 hours, test the seals by ensuring they don’t indent when you press on the top of them, and remove the screw bands.
- Label and store the sealed jars in a cool, dark place.
- Prep Time: 30 minutes
- Cooling Time: 24 hours
- Cook Time: 10 minutes
Nutrition
- Serving Size: 1/4 cup
- Calories: 104kcal
- Sugar: 26g
- Fat: 0g
- Saturated Fat: 0g
- Carbohydrates: 27g
- Fiber: 1.6g
- Protein: 1.1g
What Is the Difference Between Canning and Preserving Lemons?
Canned lemons are heated and processed in a canner, while preserved lemons are fermented in salt or sugar. Both methods give lemons a longer shelf life.
What are the Benefits of Canning Lemons?
Canned lemons have numerous health benefits. They are high in vitamin C, which has antioxidant properties and can help boost immunity. They have been reported to help with digestive issues and can contribute to skin health.
Aside from these health benefits, canned lemons are low in calories and a convenient and inexpensive way to incorporate nutritious tropical fruits into your diet.
Home-canning lemons also will extend their shelf life, so you can enjoy these benefits year-round.
Can You Can Sliced Lemons?
Yes! It is possible to can lemon slices. Sliced lemons can be added to beverages such as water, tea, and cocktails or added to salads or desserts.
Can You Can Lemon Juice and Lemon Curd?
Canning lemon juice and lemon curd prolongs their shelf-life by a couple of months. Canned lemon juice has a longer shelf life than frozen or refrigerated fresh lemon juice.
Canned lemon curd will last for up to 12 months, while canned lemon juice will last for two years.
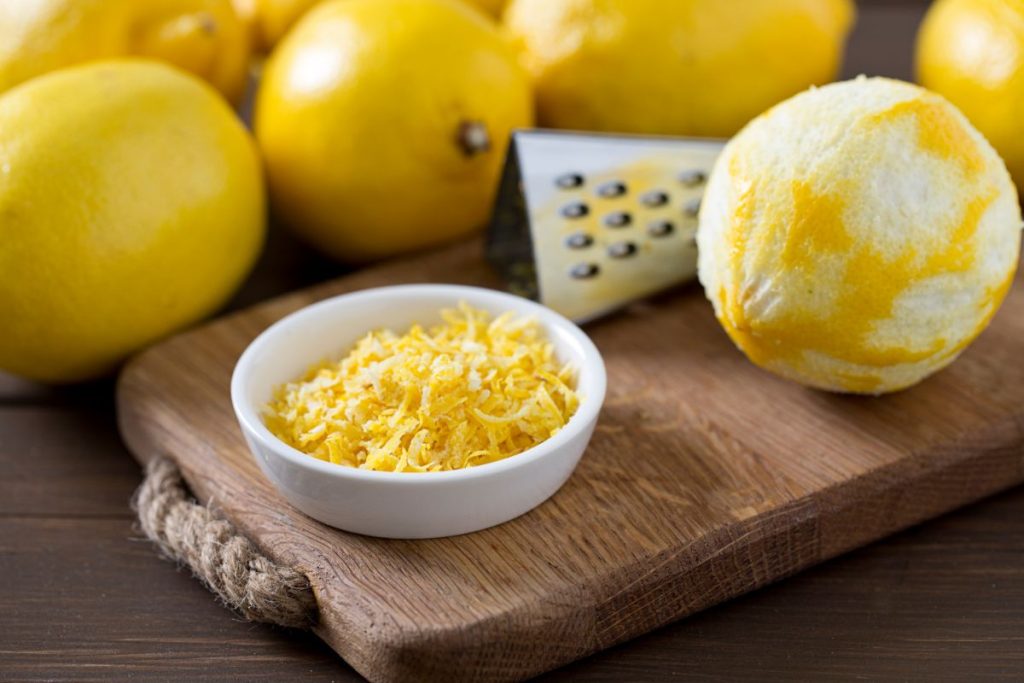
Can You Can Lemon Zest?
Canning lemon zest is not recommended because lemon zest is a low-acid food and can potentially harbor harmful bacteria. To preserve lemon zest and the zest from other citrus fruits, it is recommended to use freeze-drying or dehydrating instead.
What Should Be Added to Canned Lemons?
Canned lemons are usually packed in a solution of water and citric acid to preserve their color, texture, and flavor. Citric acid helps prevent bacterial growth and keeps lemons fresh for a longer period.
Sugar and salt can also be added to canned lemons to enhance their flavor and help with home food preservation.
How Long Does Canning Lemons Preserve Them?
Canned lemons can last up to two years, but it is advised to consume them within one year for the best flavor. The shelf life can vary depending on storage conditions and the canning method.

