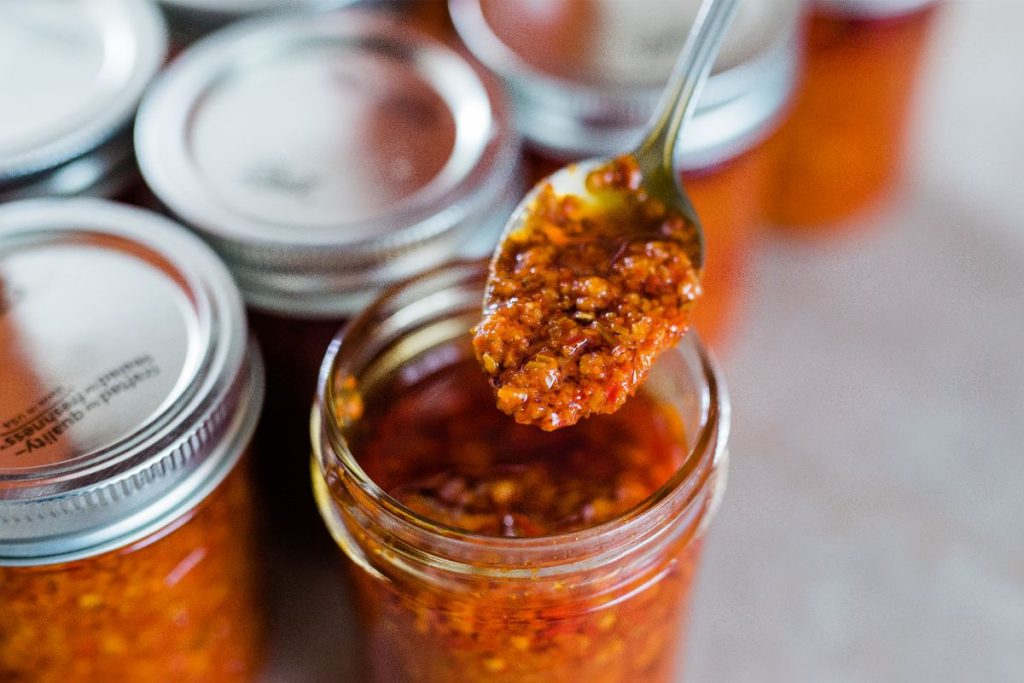
Hot dog chili is perfect for canning in a pressure canner. Cook your chili by browning the ground beef and adding crushed tomatoes and spices. Hot pack the chili into sterilized canning jars and process them in a pressure canner for 70-90 minutes.
Do You Have to Pressure Can Hot Dog Chili?
It is recommended to pressure can hot dog chili for safety. Pressure canning ensures the chili reaches and maintains the necessary temperature to kill harmful bacteria, making it safe for long-term storage.

Can Hot Dog Chili Be Canned in a Water Bath?
Hot dog chili is a low-acid food due to its ingredients which include vegetables and ground beef. As a result, it cannot be safely canned using a water bath canning method. Water bath canning is suitable for high-acid foods, such as fruits, pickles, and jams, with a pH of 4.6 or lower. Low-acid foods require a higher temperature to destroy harmful bacteria, which can only be achieved through pressure canning.
Print
Easy Recipe for Canning Hot Dog Chili
- Total Time: 2 hours, 50 minutes
Description
Step into a culinary groove with this sizzling hot dog chili recipe packed with soulful spices simmered to perfection.
Ingredients
- 1 pound lean ground beef
- 3 cloves garlic, minced
- 1 small diced onion or 2 tbsp onion powder
- 1 tablespoon apple cider vinegar
- 1 tablespoon brown sugar
- 1 14½ ounce can of crushed tomatoes
- 1 cup beef broth
- ½ teaspoon cumin
- ¼ teaspoon garlic powder
- 1 teaspoon black pepper
Instructions
- Cook the garlic and onion in a large saucepan until they’re fragrant and turn light brown. You can also use a crockpot or slow cooker to make the chili.
- Cook the ground beef until the meat is brown, with no pink color. Drain the fat from the beef.
- Add crushed tomatoes, beef broth, brown sugar, apple cider vinegar, cumin, garlic powder, and pepper. Depending on your taste, you can use tomato sauce or tomato paste instead of crushed tomatoes.
- Let the chili simmer on medium heat for around 15 minutes so the flavors meld and the liquid reduces slightly.
- While the chili is simmering, sterilize your canning jars, lids, and bands by washing them in hot, soapy water and rinsing. Place the canning jars into simmering water for 10 minutes and keep hot.
- Carefully ladle the hot chili into the sterilized jars using a canning funnel, leaving 1 inch of headspace at the top. Get rid of any air bubbles by running a clean utensil around the inside of the jar.
- Use a damp, clean cloth to wipe round the jar rims and remove any food residue. Put the lids on the jars, and secure them with the screw bands, which you should tighten until fingertip-tight.
- Add the recommended amount of water to your pressure canner, usually around 2 to 3 inches. Preheat the canner according to the manufacturer’s instructions.
- Carefully place the filled jars into the preheated pressure canner using a jar lifter or tongs. The jars must not touch each other or the sides of the canner.
- Secure the pressure canner lid and adjust the pressure per your altitude and canner type:
Dial Gauge Canner Processing Time and Pressure
- 0-2,000ft: 11lbs
- 2,001-4,000ft: 12lbs
- 4,001-6,000ft: 13lbs
- 6,001ft and up: 14lbs
Weighted Gauge Canner Processing Time and Pressure
- 0 – 1,000ft: 10lbs
- 1,001ft and up: 15lbs
Post Processing
- Process pints for 75 minutes.
- Once the processing time is complete, switch off the heat and let the pressure drop to zero.
- Open the canner lid carefully and remove the jars using a jar lifter, and place them on a heat-resistant surface to cool for 12-24 hours.
- When the jars have cooled, remove the screw bands and check the seals by pressing the center of the lids. The jars are properly sealed if the lids do not flex or pop.
- Label the jars with the date and contents, then move them to a cool, dark place for long-term storage.
- Prep Time: 5 minutes
- Canning Time: 75 minutes
- Cook Time: 90 minutes
Nutrition
- Serving Size: 2 tbsp
- Calories: 33kcal
- Sodium: 122mg
- Fat: 1.7g
- Saturated Fat: 0.7g
- Carbohydrates: 1.7g
- Fiber: 0.2g
- Protein: 2.8g
- Cholesterol: 8.6mg
How to Flavor Canned Hot Dog Chili
If you want to add some yummy enhancements to your canned hot dog chili sauce, here are some suggestions:
- Freshness: Experiment with adding dried herbs such as oregano, basil, thyme, or cilantro for freshness
- Heat: Add seasonings like chili powder, cayenne pepper, jalapeno powder, paprika, or red pepper flakes
- Sweetness: Add a tablespoon of brown sugar, honey, or maple syrup
- Umami: Add a splash of Worcestershire sauce, tomato paste, soy sauce, or balsamic vinegar
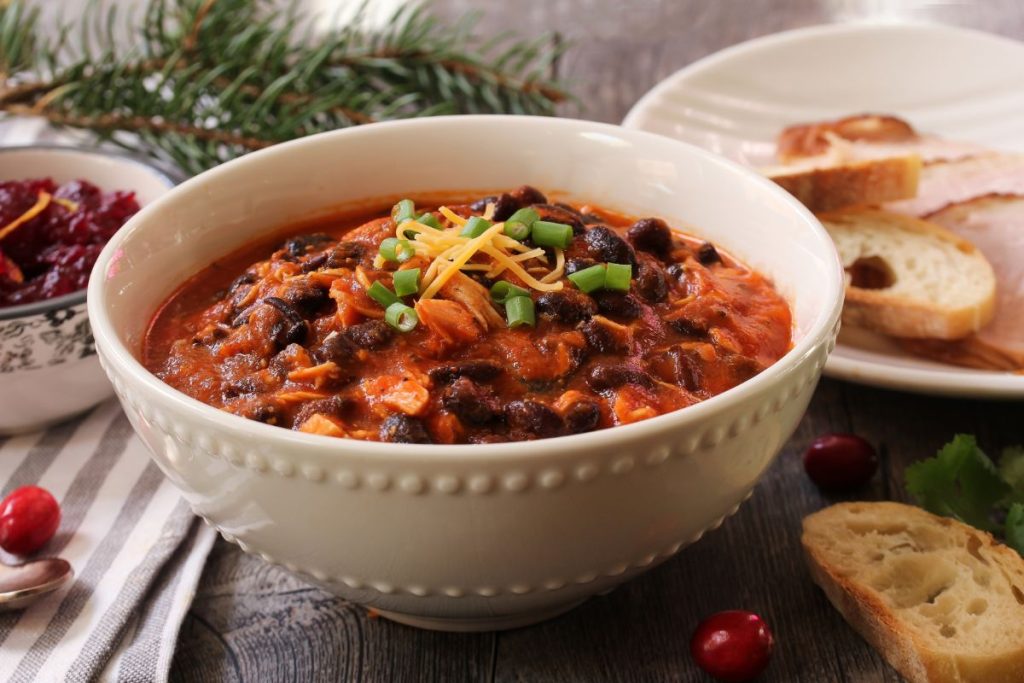
What is Different About Adding Beans When Canning Hot Dog Chili?
Adding beans to hot dog chili is possible, but there are a few things to keep in mind:
- Beans must be thoroughly cooked before canning. Follow recommended soaking and cooking times for the specific type of beans you’re using.
- Beans are a low-acid ingredient, and adding low-acid ingredients can affect the overall pH of the chili. To maintain safe acidity levels, it is crucial to use tested canning recipes containing beans that account for adding low-acid ingredients.
- Pressure canning is necessary to ensure the destruction of harmful bacteria, such as Clostridium botulinum, and create a safe, shelf-stable product.

How to Store Canned Hot Dog Chili
To properly store canned hot dog chili, follow these guidelines:
- Ensure that each jar has a secure seal.
- Label each jar with the date of canning and the contents to track the shelf life.
- Store chili in a dark and dry storage area with a temperature of 50°F to 70°F.
- Avoid storing the jars in direct sunlight or near heat sources.
- Before consuming the hot dog chili, inspect the jar for any indications of spoilage, such as bulging lids or a strange odor; discard jars that show signs of spoiling.
Serving Suggestions for Canned Hot Dog Chili
Canned hot dog chili opens up a world of delicious possibilities. Here are some interesting serving suggestions to make the most of your hot dog chili:
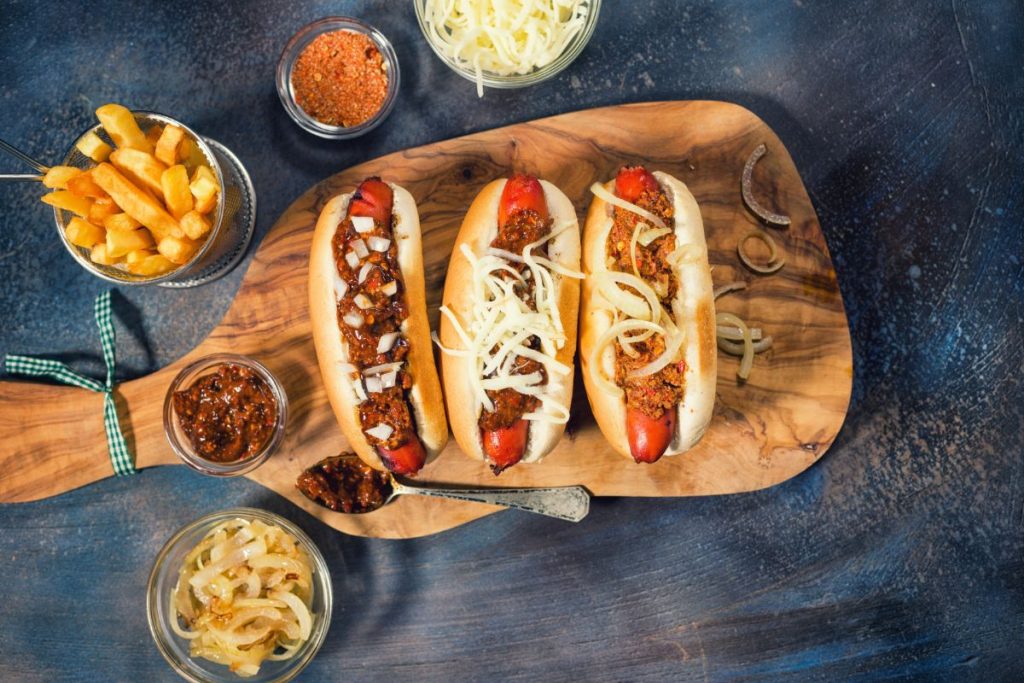
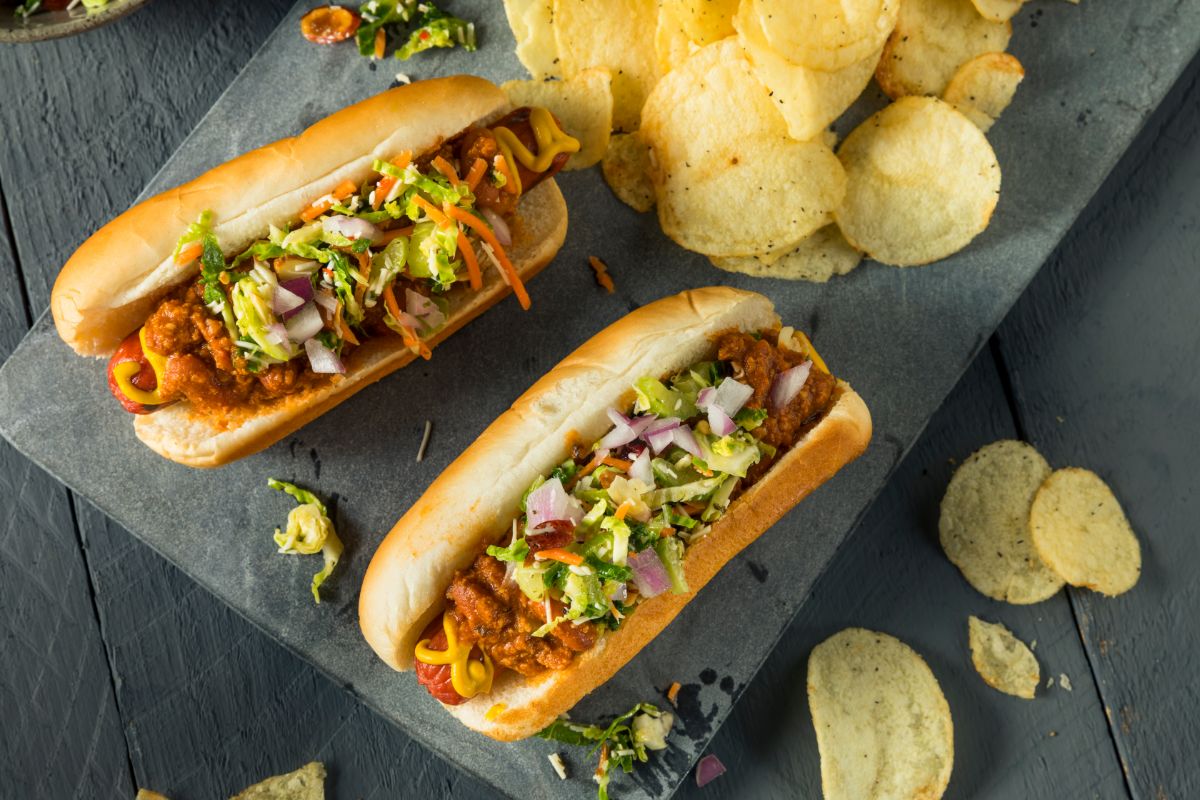
1. Classic Chili Dog
Top your hot dog with a generous amount of hot dog chili, then add your favorite toppings like diced pickled onions, shredded cheese, and a drizzle of mustard or ketchup. Enjoy it in a soft or toasted bun!
2. Chili Cheese Fries
Prepare a plate of crispy French fries and smother them with heated hot dog chili. Sprinkle with cheddar cheese, chopped green onions, and jalapeños for an extra kick.
3. Loaded Nachos
Create a crowd-pleasing platter of loaded nachos by spreading layers of tortilla chips, hot dog chili, diced tomatoes, cheese, and pickled jalapenos on a baking sheet. Bake until the cheese is melted and bubbly, then remove from the oven and apply generous dollops of sour cream.
4. Chili Mac and Cheese
Cook your favorite macaroni noodles, then mix them with hot dog chili and creamy cheese sauce. Sprinkle with toasted breadcrumbs and bake until it’s golden and bubbling.
5. Chili Cornbread Muffins
In a greased muffin tin, portion cornbread batter, filling each tin halfway. Add a dollop of hot dog chili in the center of each muffin, then top with just enough batter to cover the chili. Bake the stuffed cornbread muffins until golden brown.

What is the Shelf Life of Canned Hot Dog Chili?
Canned hot dog chili can be safely stored for one year. The NCHFP and USDA suggest using canned hot dog chili within one year for the best quality. While it may still be safe to consume beyond this time, the flavor, texture, and nutritional value might gradually deteriorate.

