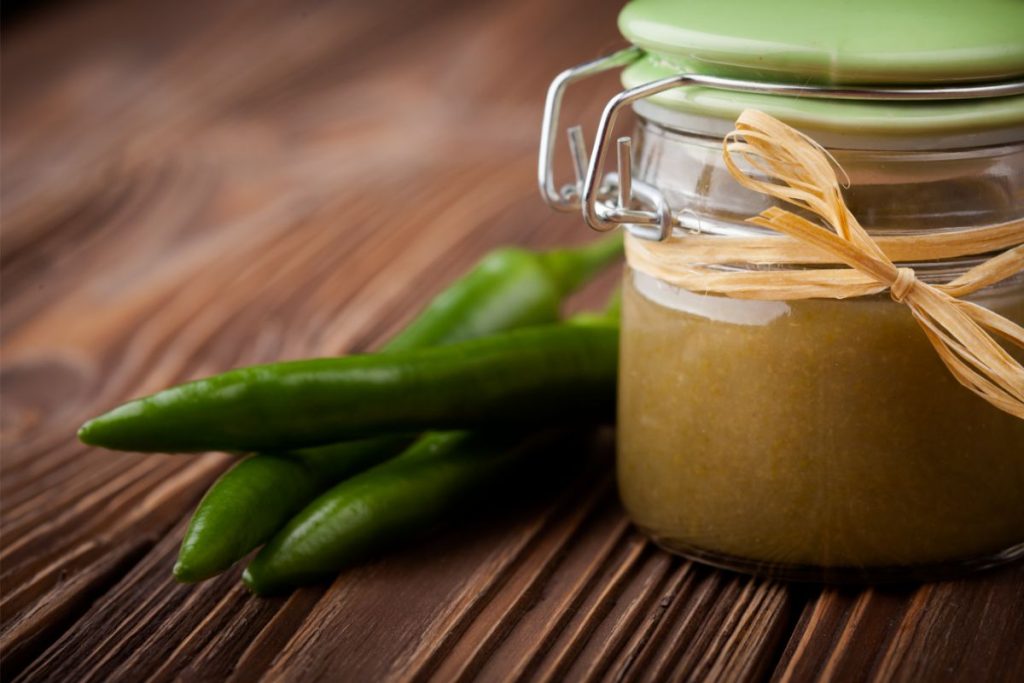
Canning green enchilada sauce begins by combining green chilies, tomatillos, onions, garlic, and spices in a pot and cooking it for 15 minutes. Ladle the hot green enchilada sauce into sterilized canning jars and process the filled jars in a water bath canner for the recommended time based on your altitude and jar size.
Is it Safe to Can Homemade Green Enchilada Sauce?
Yes, it is safe to can homemade green enchilada sauce when following proper canning procedures. Pressure canning is preferred for this sauce due to its low acidity and the presence of ingredients like peppers and onions.
Pressure canning ensures the sauce reaches and maintains a temperature high enough to destroy harmful bacteria, reducing the risk of foodborne illnesses. This method provides a safe and effective way to preserve green enchilada chili sauce for long-term storage.
Print
Green Enchilada Sauce Canning Recipe
- Total Time: 3 hours, 35 minutes
Description
This home-canning green enchilada sauce recipe has a bold, vibrant flavor that comes from sautéing onions, chiles, and spices. The sauce is simmered to perfection before canning it to preserve it for future meals.
Ingredients
- 3 quarts roasted green chilis (poblano, anaheim peppers or jalapeño peppers)
- 2 tbsp extra virgin olive oil
- 1 extra large white onion, chopped
- 14 cloves garlic, minced
- 1 pound tomatillos or green tomatoes
- 4½ quarts chicken broth or water
- 1 tbsp onion powder
- 1 cup cilantro, packed
- 1 tbsp garlic powder
- 1 tbsp ground cumin
- 2 tbsp Mexican oregano
- 1 tablespoon olive oil
- 3 tablespoons lime juice (about 1½ limes)
- 1 tbsp Kosher salt or salt to taste
Instructions
- Sauté the onions in 2 tbsp of olive oil for 5 minutes on using medium heat. Add garlic and spices, and cook for another 3 minutes. Add chilis and 2 quarts of water or broth. Cover and leave on a medium heat for 10 minutes.
- Blend the hot chilis using a food processor with the remaining 2½ quarts of liquid in batches.
- Pour the purée back into the pan. Use medium-to-high heat to bring the mixture to a boil, cover, turn the heat to low, and simmer for 10 minutes.
- While the sauce is simmering, prepare your pressure canner. Follow the specific instructions for your canner model, including adding 1-4 inches of water.
- Fill your sterilized pint or quart jars, leaving 1 inch of headspace at the top. Wiping the jar rims with a clean cloth or paper towel ensures a proper seal.
- Attach the rings and lids to the jars, twisting them until fingertip tight. Do not over-tighten.
- Carefully place the filled jars into the pressure canner, ensuring they are not touching each other or the sides of the canner, and process according to your elevation and canner type:
Dial-Gauge Pressure Canners
Pints: 35 mins
- 0 – 2,000ft: 11 lbs
- 2,001ft and up: 12 lbs
Quarts: 40 mins
- 0 – 2,000ft: 11 lbs
- 2,001ft and up: 12 lbs
Weighted-Gauge Pressure Canners
Pints: 35 mins
- 0 – 2,000ft: 10 lbs
- 2,001ft and up: 15 lbs
Quarts: 40 mins
- 0 – 2,000ft: 10 lbs
- 2,001ft and up: 15 lbs
Post Processing
- When processing is complete, turn the heat off and leave the canner to depressurize naturally. Do not force-cool the canner.
- Once the canner has depressurized and the pressure gauge has dropped to zero, wait an additional 10 minutes before opening the canner lid.
- Carefully remove the jars from the canner and put them on a towel or cooling rack.
- Allow the jars to cool undisturbed for 12 to 24 hours. Check the seals to ensure they are properly sealed by pressing the center of the lids. If a lid pops up and down, it is not sealed and should be refrigerated and consumed promptly.
- Label the sealed jars with the date and keep them in a dark, cool place. Properly canned green enchilada sauce can be stored for up to one year.
Notes
These processing times and pressures are based on general guidelines. It’s essential to consult the specific instructions and recommendations provided by your pressure canner manufacturer for accurate and up-to-date information.
- Prep Time: 150 minutes
- Canning Time: 40 minutes
- Cook Time: 25 minutes
Nutrition
- Serving Size: 2 tbsp
- Calories: 11kcal
- Sodium: 180mg
- Fat: 0.3g
- Saturated Fat: 0g
- Carbohydrates: 1.9g
- Fiber: 0.6g
- Protein: 0.3g
- Cholesterol: 0g
Can Green Enchilada Sauce Be Water Bath Canned?
Green enchilada sauce cannot be safely processed in a water-bath canner. Water bath canning relies on high acidity levels to block bacteria growth.
Green enchilada sauce typically has low acidity, making it susceptible to bacterial growth and potential spoilage if processed using water bath canning. To ensure safe preservation, it is recommended to use pressure canning for green enchilada sauce.
What’s the Difference Between Green Enchilada Sauce and Salsa Verde?
Green enchilada sauce and salsa verde are similar but have some distinct differences. While both are made with green ingredients like tomatillos, jalapeños, and cilantro, the main difference lies in their texture and intended use.
Green enchilada sauce is typically smoother and thicker, often used as a base for enchiladas or other Mexican dishes. Salsa verde is a chunky style salsa, often served as a condiment or dip.

Is Canned Green Enchilada Sauce Vegan?
Whether canned green enchilada sauce is vegan depends on the specific recipe and ingredients used. Traditional green enchilada sauce is typically vegan-friendly, mainly consisting of plant-based ingredients like tomatillos, peppers, onions, and spices.
However, it’s crucial to check the ingredients list or prepare a homemade sauce to ensure it is free from animal-derived products such as meat broths or added dairy.
How Can You Use Your Canned Green Enchilada Sauce?
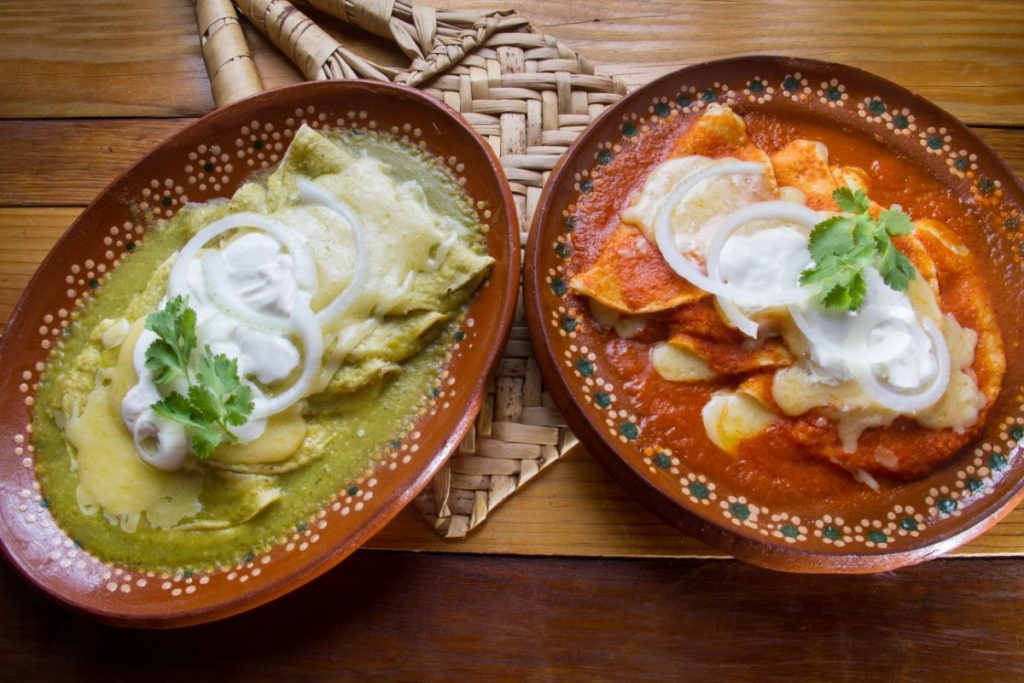
Green enchilada sauce is a versatile and flavorsome addition to Mexican food. It pairs perfectly with chicken enchiladas, tacos, burritos, and more. This gluten-free sauce is made with diced chilis and adds a tangy kick to your favorite meals.
While store-bought red enchilada sauce is readily available, the homemade green version brings a fresh taste and vibrant color to the table. Its zesty flavor comes from a blend of spices, veggies, and vitamin C-rich ingredients.

How to Store Canned Green Enchilada Sauce
To store canned green enchilada sauce, follow these steps for optimal shelf life:
- Allow the canned sauce to cool completely at room temperature before handling or storing.
- Check the lids for proper sealing. If jars fail to seal properly, refrigerate and consume them within a few days.
- Store the properly sealed jars somewhere cool and dark, like a pantry or cellar, away from direct sunlight or heat sources.
- Aim to use the canned Green Enchilada Sauce within 1 to 2 years for the best results, although it may remain safe to consume beyond that timeframe.
How Long Does Canned Green Enchilada Sauce Last?
Canned green enchilada sauce has a shelf life of 1 to 2 years when stored properly in a cool, dark place. However, the quality of the sauce may start to degrade over time, leading to changes in flavor and texture.
Consume the sauce within the first year to ensure the best taste and quality. Always check the jars for any signs of spoilage before using the sauce, and if in doubt, discard it to prioritize food safety.

