
Canning dry beans is done by sorting, soaking, and cooking the beans. The cooked beans are then packed into sterilized canning jars before processing in a pressure canner. Pints have a processing time of 75 minutes, while quarts must be processed for 90 minutes.
Can Dry Beans Be Canned?
Yes, dry beans can be canned. The process involves sorting, cleaning, soaking, cooking, and packing the beans into jars before processing them in a pressure canner to create an airtight seal and extend their shelf life.
What is the Best Way to Can Dried Beans?
The best method for home-canning dried beans is pressure canning. The beans must be sorted, cleaned, and soaked overnight before being cooked and canned.
Beans are a low-acid food, and the pressure canning method is recommended by the USDA and the National Center for Home Food Preservation because it reaches the required temperature range of 240°F – 250°F. This temperature range lowers the risk of botulism and kills harmful bacteria.
The water bath canning method is not appropriate for low-acid foods like dried beans because water bath canners only reach a temperature of 212°F.
How to Can Dry Beans
Here’s a step-by-step guide for canning dry beans:
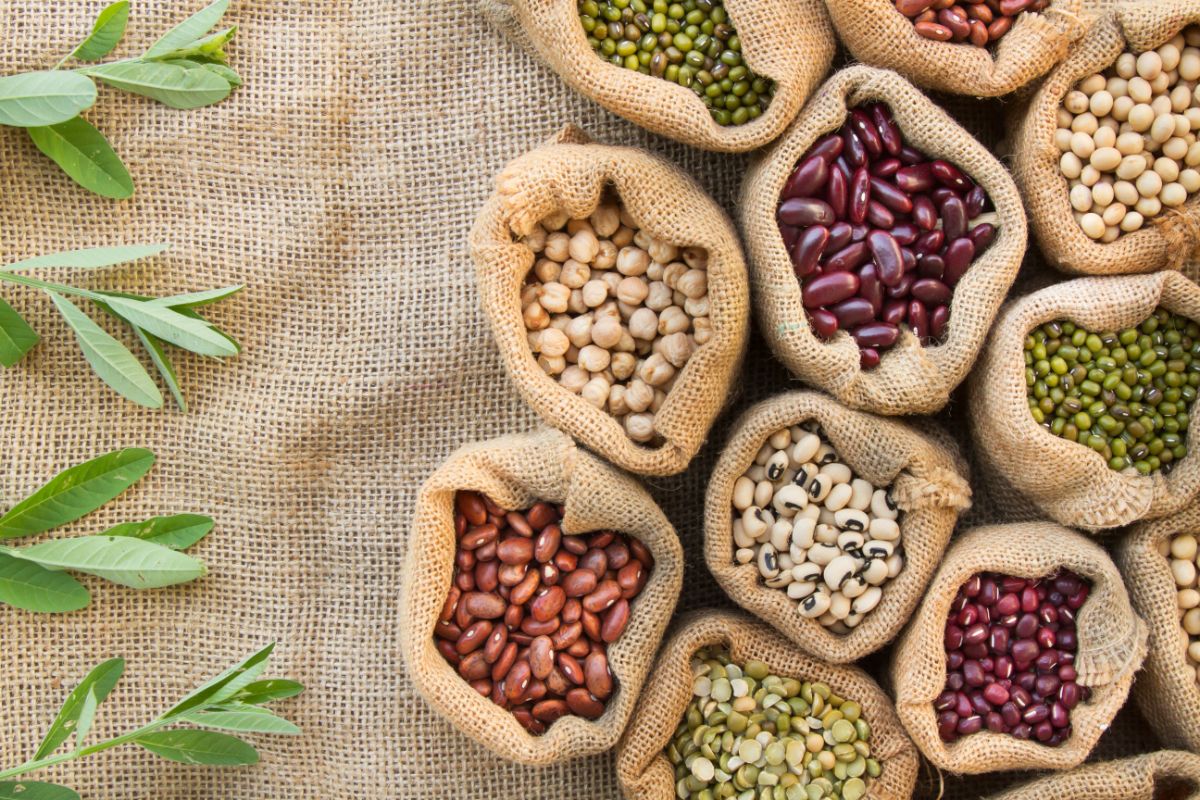
- Sort the beans and remove any debris or stones. Rinse the beans in cold water and drain.
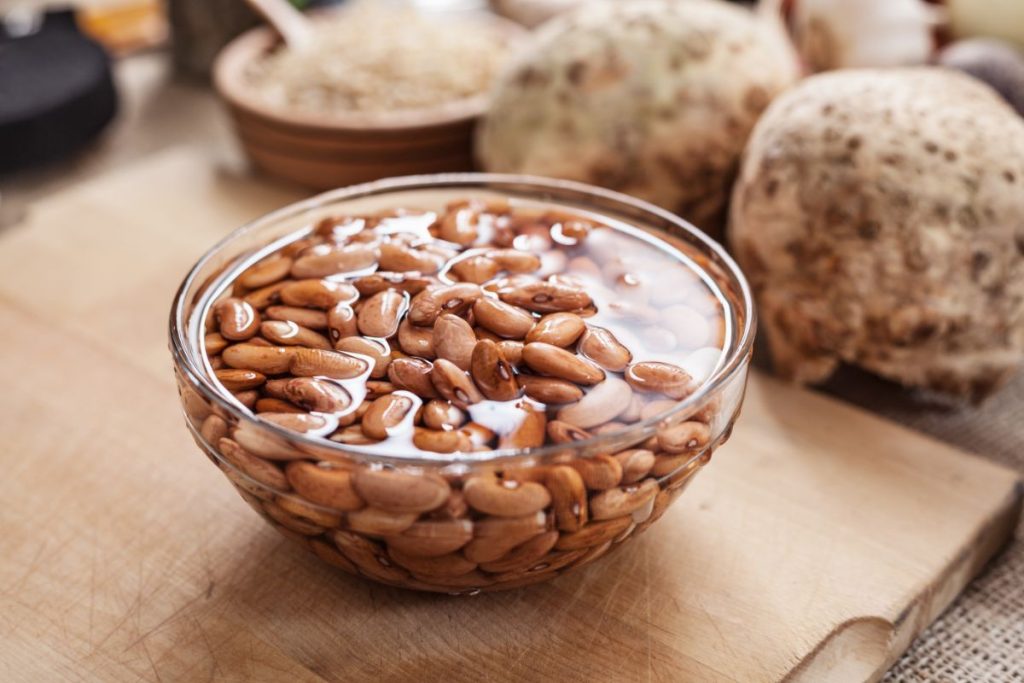
- Pre-soak the beans overnight or rehydrate them using the quick soak method to ensure even cooking.
- Drain off the soaking water and replace it with fresh water.
- Pre-cook the beans in a large pot of boiling water until they are just tender, being careful not to overcook them and turn them mushy. Leave at least two inches of water between the top of the beans and the pot lid.
- If desired, add dried herbs during the last 10 minutes of cooking.
- While the beans are cooking, wash the canning jars, lids, and screw bands in hot water with soap and rinse well.
- Sterilize the canning jars in boiling water for 10 minutes. Keep the jars warm until they are ready to be filled.
- Use a canning funnel or ladle to transfer the cooked beans into the canning jars, leaving 1-inch headspace.
- Fill the pint jars or quart jars with fresh boiling water or the cooking liquid from the beans, maintaining 1 inch of headspace. If desired, add 1/2 teaspoon of salt per pint or 1 teaspoon of canning salt per quart of canned beans.
- Use an air bubble remover tool to remove air bubbles from the canning jars.
- Use a damp paper towel to wipe the jar rims. Place the canning lids on top of the jars and apply the screw bands until they are fingertip tight.
- Prepare the pressure canner by filling it with 2-4 inches of water per the manufacturer’s instructions.
- Transfer the jars using canning tongs and set them on a canning rack inside the pressure canner.
- Place the lid on the pressure canner and turn the heat up to bring the water inside to a boil. Allow the canner to vent steam for 10 minutes.
- Bring the pressure up to the recommended pressure per your canner type and elevation:
Processing time and pressure for beans in a dial-gauge pressure canner:
| Altitude (ft) | 0 – 2,000 | 2,001 – 4,000 | 4,001 – 6,000 | 6,001 – 8,000 |
| Pints (75 mins) | 11 lbs | 12 lbs | 13 lbs | 14 lbs |
| Quarts (90 mins) | 11 lbs | 12 lbs | 13 lbs | 14 lbs |
Processing time and pressure for beans in a weighted-gauge pressure canner:
| Altitude (ft) | 0 – 1,000 | 1,001 + |
| Pints (75 mins) | 10 lbs | 15 lbs |
| Quarts (90 mins) | 10 lbs | 15 lbs |
- Process pints for 75 minutes and quarts for 90 minutes, ensuring the pressure remains steady throughout canning. If at any time the pressure drops below the recommended pressure, start the processing time over.
- After processing, turn off the heat and let the pressure canner cool down naturally. Open the pressure canner’s lid once the pressure reaches zero.
- Take the jars out of the canner with tongs or a jar lifter and place them on a towel-covered countertop for 12 and 24 hours to allow them to cool.
- Remove the screw bands from the jars.
- Check the seals on the jars to ensure a proper seal by pressing down on the top of each lid. If the lid flexes up and down, it is not properly sealed and will need to be reprocessed with a new canning lid.
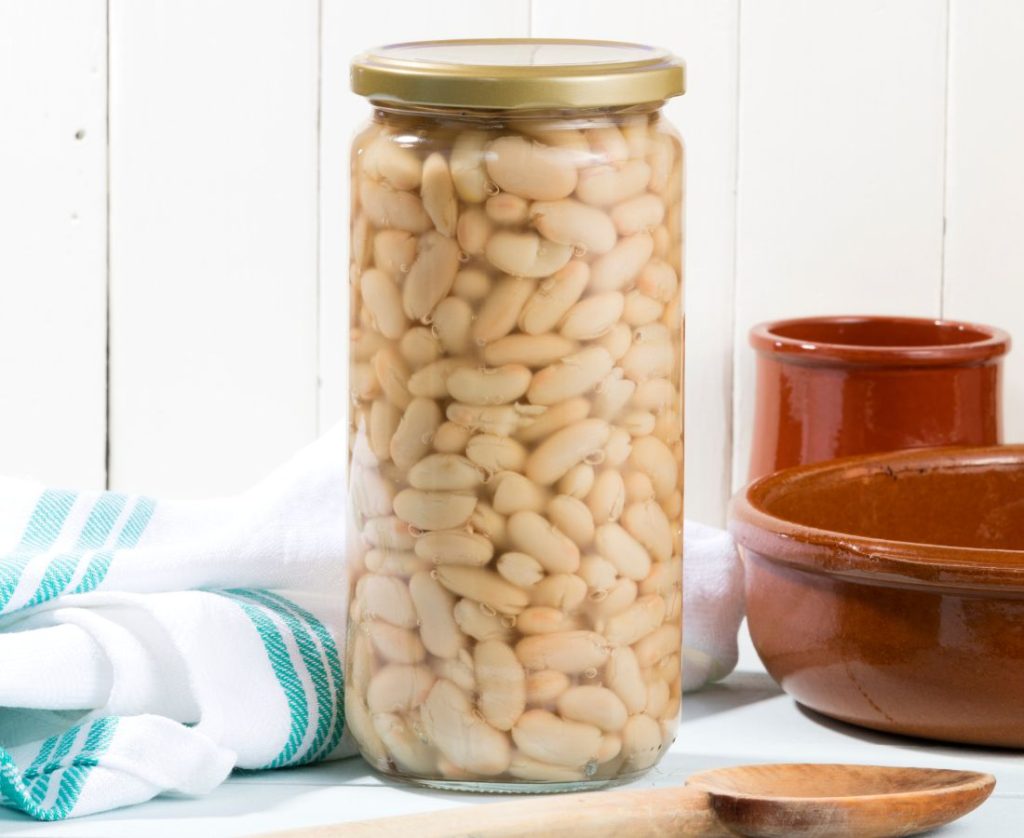
- For properly sealed jars, label them with the date and contents. Store the jars for up to a year in a cool place like a cellar or pantry.
What Type of Pressure Canner Is Needed for Canning Beans?
For pressure canning dry beans, use a dial-gauge pressure canner or weighted-gauge pressure canner, such as those from All American or Presto. Follow the recommended processing times and pounds of pressure for your altitude.
Avoid using a pressure cooker for pressure canning. Some pressure canners may have a pressure cooking feature, and these dual-use combination canners are safe for canning dried beans. Just be sure to follow the canning method instructions in the user manual.
How Long Do Dried Beans Need to Be Cooked Before Canning?
Different types of beans require different cooking times before canning. It is important not to overcook beans prior to canning because it can result in a mushy texture. For the best results, follow these general guidelines to par-cook dried beans:
| Type of Bean | Cooking Time |
| Black beans | 60 – 90 mins |
| Garbanzo beans/Chickpeas | 60 – 90 mins |
| Great Northern beans | 45 – 60 mins |
| Kidney beans | 90 – 120 mins |
| Lima beans/Butter beans | 45 – 60 mins |
| Navy beans | 90 – 120 mins |
| Pinto beans | 90 – 120 mins |
| White beans | 60 – 90 mins |
Is it Safe to Can Dry Beans Without Soaking Them?
It is not recommended to forego soaking dry beans. Soaking the beans rehydrates them and helps to remove dirt, debris, and residual pesticides.
Soaked beans cook faster and have better quality. Failing to soak the beans can result in uneven cooking, bacterial growth, and potential spoilage, which may lead to foodborne illness.
How Long Does it Take to Can Dry Beans?
The processing time of canning dried beans takes between 75-90 minutes, not including the prep time of soaking, sorting, and cooking the beans first.
The entire canning process typically takes between 24-48 hours, depending on the type and quantity of the beans being canned.
What are the Benefits of Canning Dry Beans?
- Beans contain high levels of potassium, which promote healthy bones
- Canned beans are versatile and used in countless canning recipes
- Canned dried beans are more affordable than store-bought canned beans
- Canning dry beans can be a rewarding activity that helps reduce food waste
- Canning is a convenient food storage option for dried beans
- Dry beans are a good source of fiber and help regulate the digestive system
- Home-canned beans are a shelf-stable source of protein
- Home canning allows canners to control the ingredients and limit preservatives
Ideas for Using Canned Beans
- Canned beans can be added to a hearty vegetable or bean soup
- Dried pinto beans can be made into refried beans and used as a healthy side dish
- Use canned beans as an extra source of protein in tacos
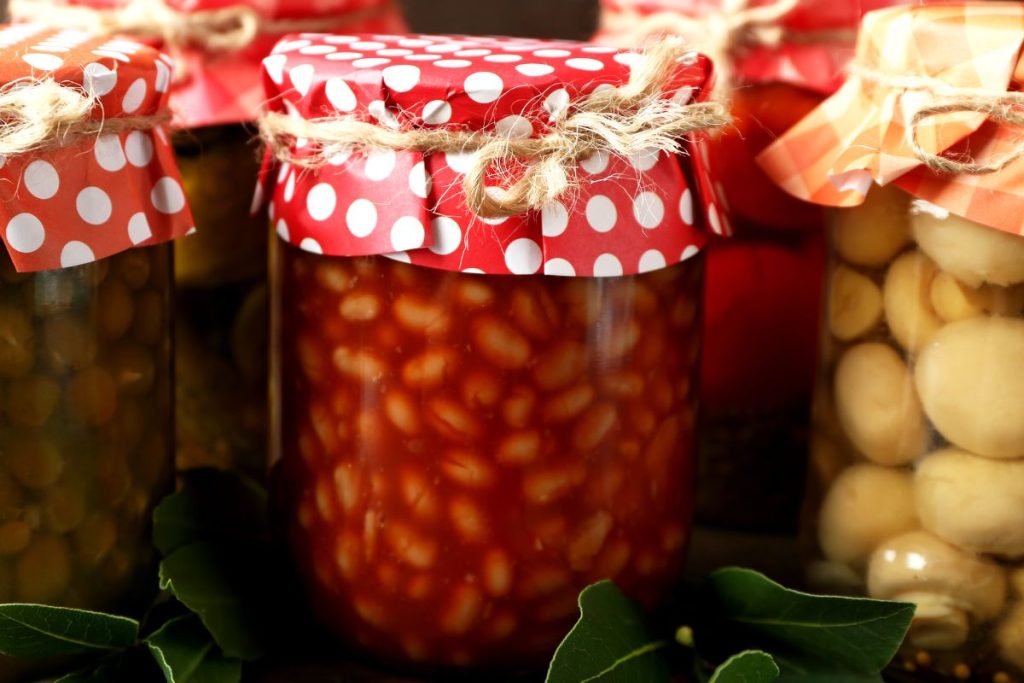
- Use canned beans to make sweet baked beans
What is the Shelf Life of Canned Dry Beans?
The shelf life of canned beans is one year. Experts recommend consuming them within 6-8 months for the best quality and flavor. Once opened, canned beans should be refrigerated and used within 3 to 4 days.
The best place to store canned dry beans is somewhere cool, dry, and dark, like a cellar or pantry. The temperature should be between 50°F and 70°F to ensure optimal quality and safety. Canned beans should not be stored in direct sunlight or in areas that are too hot or humid, as this can lead to spoilage.