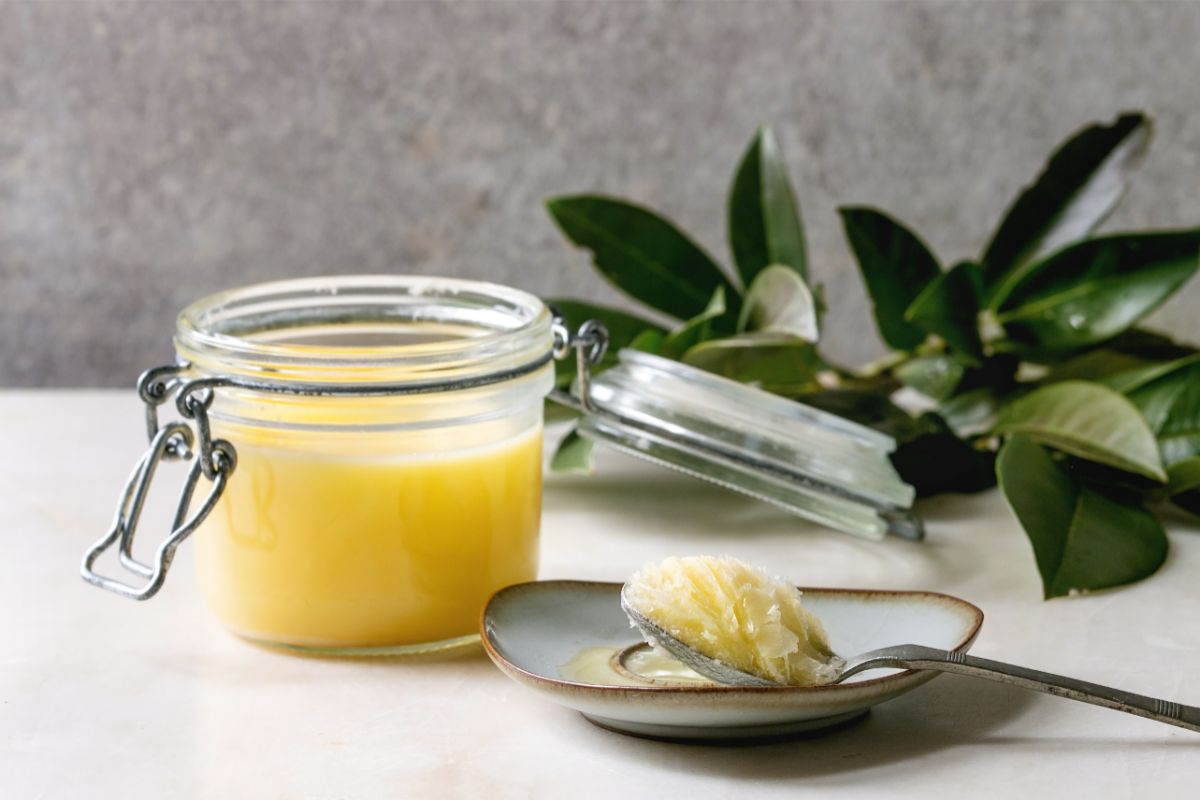
Canning butter is controversial among home canners. The National Center for Home Food Preservation has not published guidelines for safely canning butter. However, many canners have home-canned butter successfully using pressure canning.
Is Canning Butter Safe?
Canning butter has not been scientifically tested and recommended by the National Center for Home Food Preservation. Like other dairy products, butter is a low-acid food and may be contaminated with a type of bacteria called Clostridium botulinum, which causes botulism.
However, many homesteaders and preppers believe that it is still possible to safely can butter. Proponents of the practice of home canning butter question why buying canned butter from stores is safe if the canning process is dangerous.
It is generally agreed by those who can butter at home that pressure canning is the best method because water bath canning does not produce a high enough temperature for a long enough period of time to kill the spores that cause botulism.
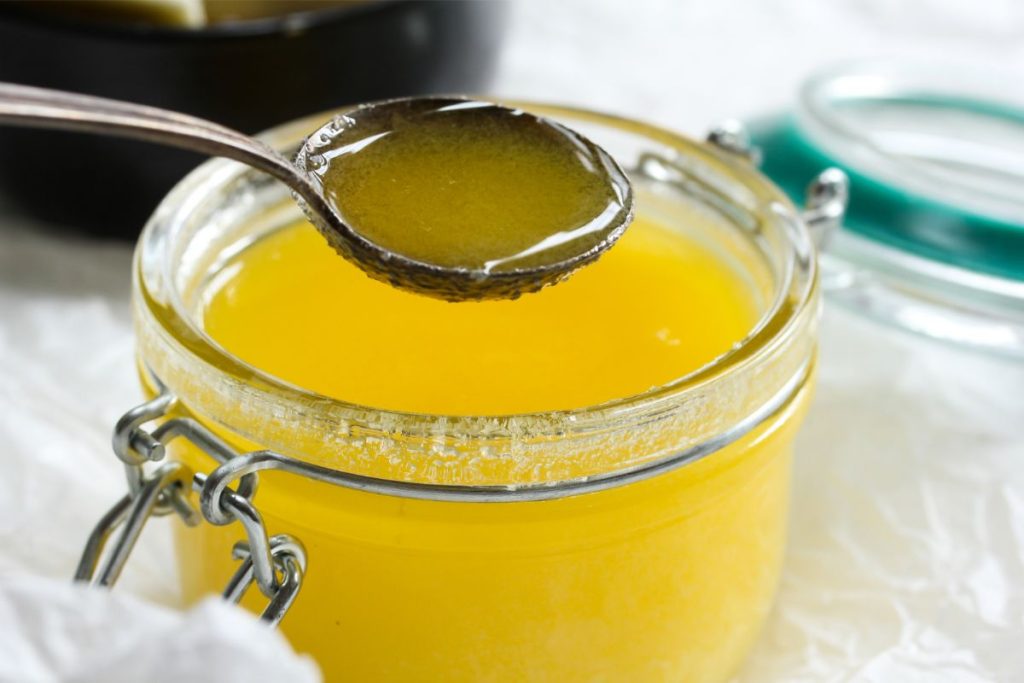
Is it Safe to Pressure Can Butter?
No. Most canning authorities do not recommend canning butter. According to the USDA, there’s no safe method of canning butter or any other dairy product at home. Experts advise against following sites or blogs that encourage canning butter. They advise freezing butter to preserve it safely.
Can Butter Be Canned in a Boiling Water Bath Canner?
No. Although some canners consider pressure canning butter acceptable, water bath canning is not recommended.
Boiling water bath canning is only safe for high-acid foods (those with a pH lower than 4.6.) Since dairy products like butter are low-acid foods, they should never be canned in a boiling water canner.
Can Homemade Butter Be Canned?
No. Both the USDA and the National Center for Home Food Preservation advise against home-canning homemade butter. There may not be enough heat penetration when canning butter to kill off any microorganisms in the center of the canning jars—even in pressure canners.
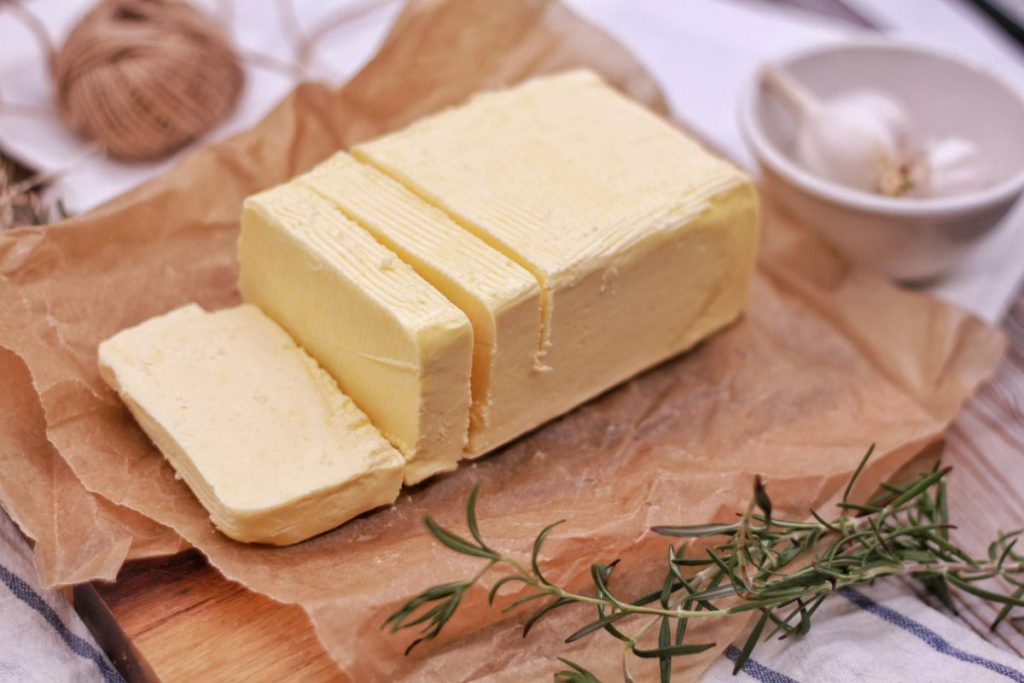
How Do You Can Butter at Home?
If you want to can butter at home, follow the instructions for your pressure canner carefully, and proceed at your own risk. If you’re new to the pressure canning process, read the USDA Complete Guide to Home Canning before you get started.
Most home canners who can butter say that pressure canning butter is easy. The best jars for canning butter are wide-mouth, half-pint mason jars for ease of filling and scooping.
Here are step-by-step instructions for pressure canning butter:
- Start by prepping the canning jars and lids by washing them in hot, soapy water and rinse thoroughly.
- Keep the lids warm by placing them in a pot of warm water.
- Sterilize the canning jars by boiling them for 10 minutes and keep them hot until they are filled.
- Prepare a medium-sized bowl with white vinegar.
- Prepare the pressure canner based on the manufacturer’s instructions.
- Remove the butter packaging and place the butter in a stockpot to melt it.
- Maintain a low temperature and stir continuously to prevent the butter from burning.
- Ladle the hot, melted butter into the half-pint jars, allowing 1-inch headspace. Keep stirring to ensure the butter remains properly mixed.
- Fill all the jars with the melted butter. Remove any foam from the top and add more butter while maintaining the 1-inch headspace.
- Wipe the rims with white vinegar before placing new canning lids on the jars.
- Apply the screw bands onto the canning jars to secure the lids, and ensure they are fingertip tight.
- Using a jar lifter, place the hot jars into your pressure canner.
- Place the lid on the pressure canner and turn on the heat. Let a steady stream of steam flow through the vent port for 10 minutes before processing.
- Process the jars in your pressure canner at 10 pounds of pressure for 75 minutes for a weighted-gauge canner or 11 pounds of pressure for a dial-gauge canner, adjusting per elevation.
- Turn off the heat and let the pressure come down to zero naturally. Carefully remove the lid from the pressure canner, pointing it away from your face.
- Use a jar lifter to remove the jars from the canner and place them on a towel-covered surface to cool.
- Shake or roll the jars every 15 mins until the butter is fully solidified. This can take up to 2 hours.
- Allow the jars to rest undisturbed overnight.
- Remove the screw bands from the jars and test the seals. Properly sealed jars will not flex up and down.
- Store your pressure-canned butter in a cool, dry place away from direct sunlight.
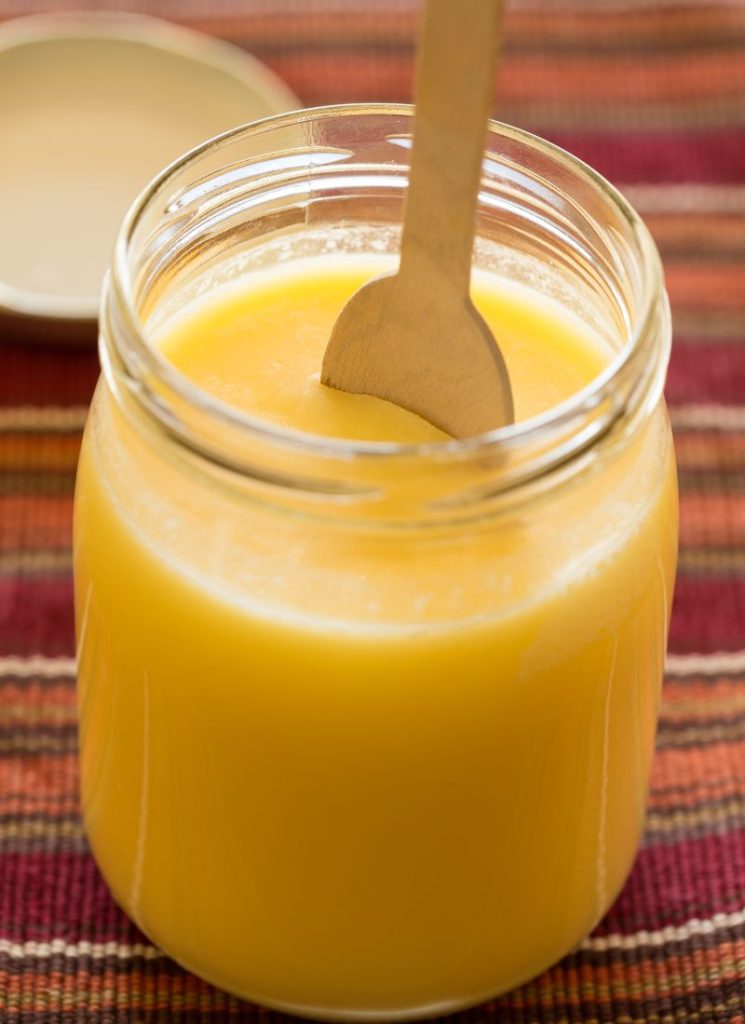
What is the Best Temperature to Can Butter?
Butter must be processed at a high temperature of 240°F to 250°F, which is attained in a pressure canner between 10 and 15 pounds of pressure.
Boiling water bath canning cannot be used to can butter and other low-acid foods because they only reach 212°F.
What is the Difference Between Canning Butter and Making Butter?
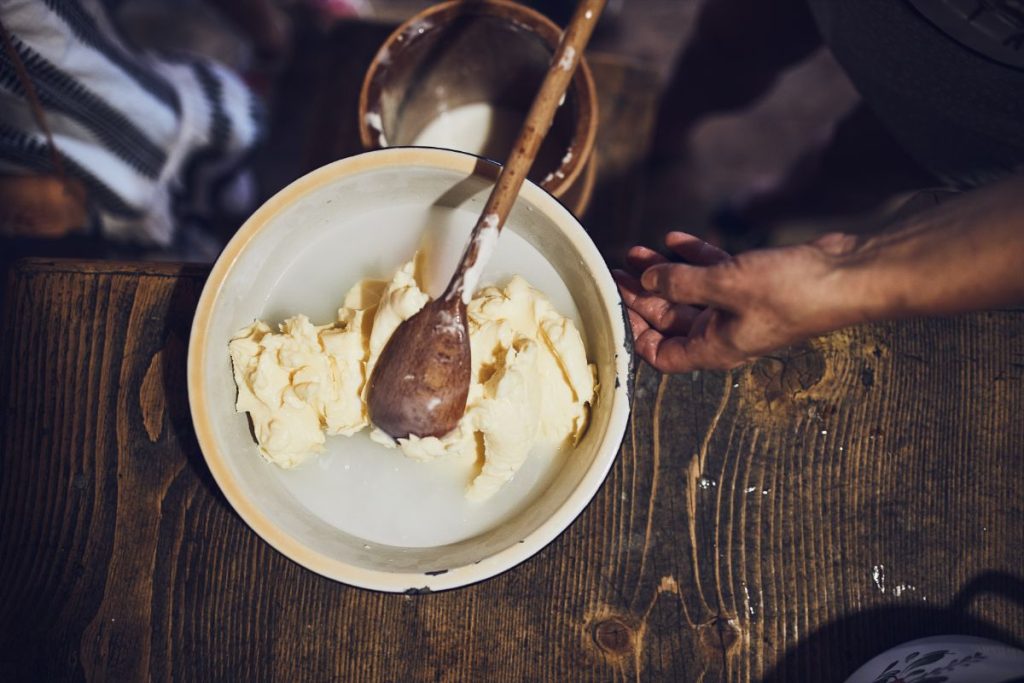
Making butter refers to churning milk or cream to separate the milk liquid and milk solids before molding the creamed butter into blocks. This is a short-term process, and the final product should be stored in a refrigerator.
Canning butter is the process of preserving butter for long-term storage by putting it in jars and processing it in a pressure canner. Canning butter extends its shelf life.
What is the Best Way to Preserve Butter?
The best way to preserve butter is to freeze it. If you are wary of canning butter, you can preserve butter in a freezer for a long time.
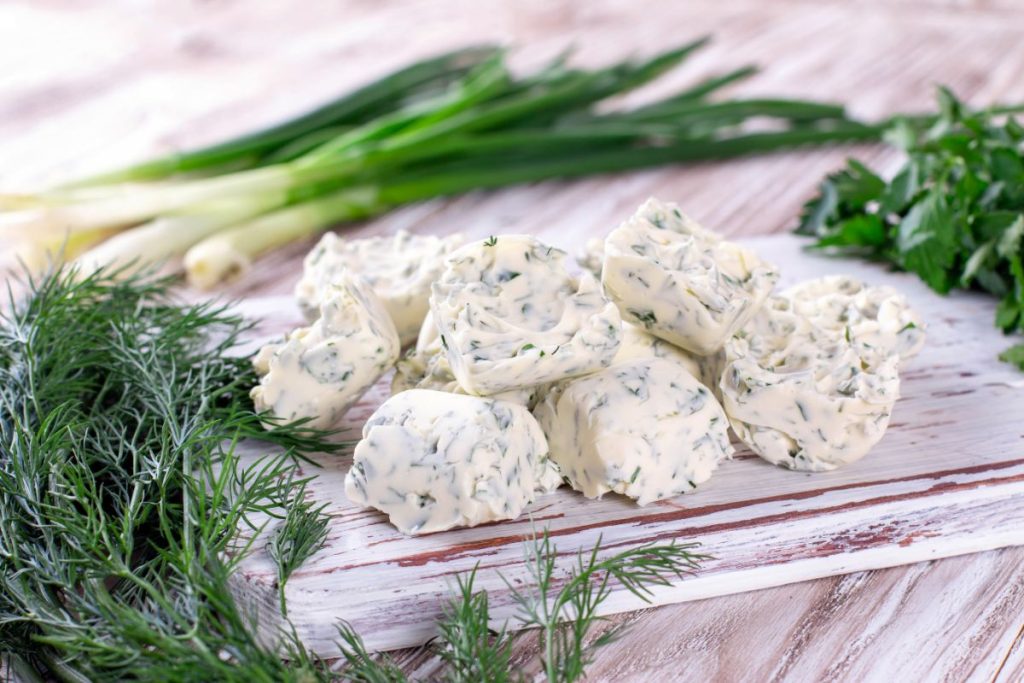
Butter should ideally be frozen in its original store packaging. If you have already unwrapped the butter or wish to make a compound herb butter, wrap it in plastic wrap and place it in a freezer bag before storing it in the freezer.
To use frozen butter, thaw it in the refrigerator overnight before using it.
What is the Shelf Life of Canned Butter?
Although there are no official guidelines for home-canning butter, home canners who have canned butter state that it can last for 5 years.
This makes canned butter a great alternative to frozen butter, which lasts for about 12 months. It is also a great way to preserve butter if you’re looking to save freezer space or simply don’t have a freezer for long-term food storage.

