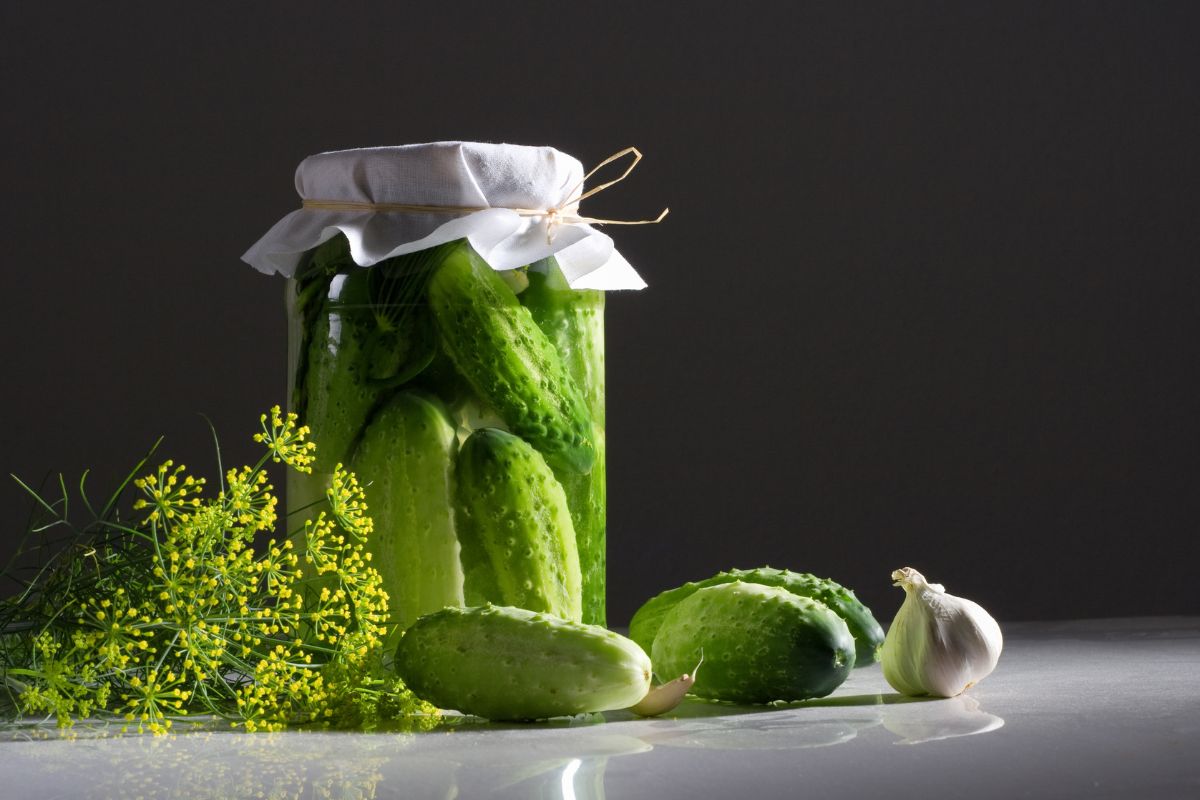
Canning kosher dill pickles starts by brining the cucumber slices or spears in vinegar and water before canning them in a water bath canner to make them safe for long-term storage. Pickles can be customized, but kosher dill pickles usually feature garlic, dill, and seasonings such as mustard seed, bay leaves, and pickling salt.
How To Choose The Right Cucumbers for Pickles
It’s important to choose the right ingredients to make crunchy and tangy homemade dill pickles. It’s best to get fresh produce from a farmer’s market or your backyard rather than a grocery store.
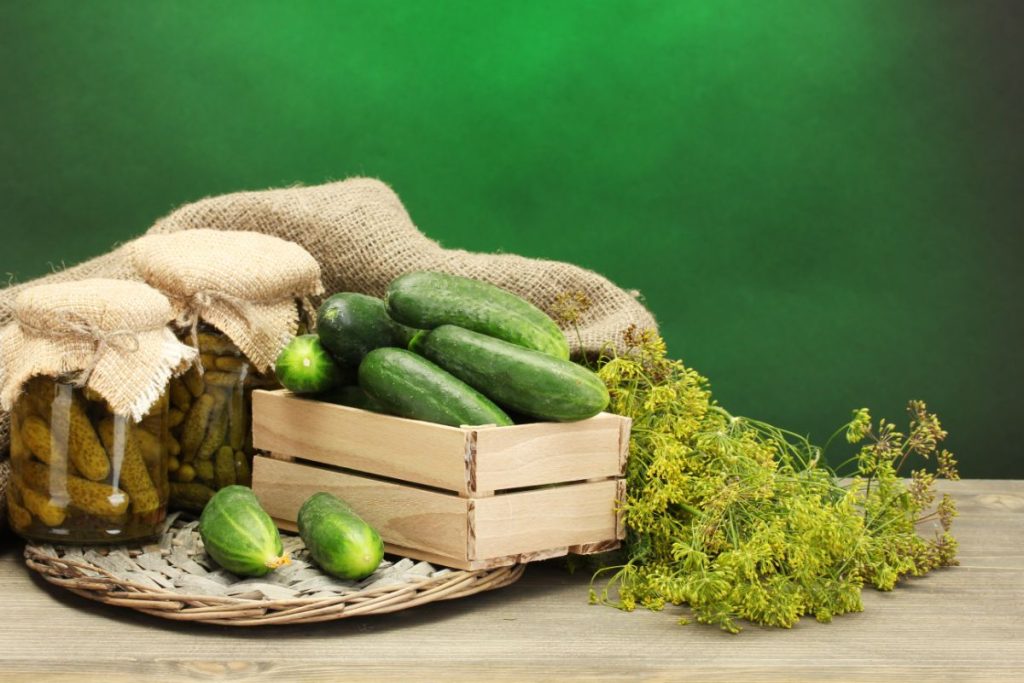
Choose firm cucumbers free of soft spots or blemishes. You can use a variety of cucumbers, such as cukes, which are shorter and wider, or English cucumbers, which are longer and thinner.
What’s the Difference Between Dill Pickles and Kosher Dill Pickles?
Dill pickles are made with fresh cucumbers that are pickled in vinegar and water, with the addition of fresh dill for flavor. On the other hand, kosher dill pickles are made with a different brine that includes garlic and sometimes other spices such as black peppercorns, red pepper, dill seed, and other pickling spices.
The addition of garlic to the brine gives kosher dill pickles a stronger, more savory flavor than regular dill pickles.
Print
Kosher Dill Pickles with Garlic Canning Recipe
- Total Time: 35 minutes
Description
These kosher dill pickles are delicious and a perfect canning recipe for beginners. The end result is just right: subtly tangy and not too salty with a beautiful crunchy texture.
Ingredients
- 2½ pounds of 3 to 4-inch pickling cucumbers
- 2½ cups water
- 2 cups white vinegar
- ¼ cup sugar
- ¼ cup Ball® Salt for pickling and preserving
- 4 cloves garlic
- 4 small bay leaves
- 1 to 2 teaspoons dill or 12 sprigs
- 2 teaspoons yellow mustard seeds
- 4 small hot peppers (optional)
- Ball® Pickle Crisp (optional)
Instructions
- Rinse the cucumbers under cool running water to remove any dirt or impurities.
- Fill a large bowl or basin with cold water, ice cubes, and the cucumbers. The ice water bath helps to cool down the cucumbers quickly and maintain their crispness.
- After soaking, remove the cucumbers from the ice water bath and drain them well.
- Use a sharp knife to trim off both ends of the cucumber (the blossom end and the stem end) and slice it lengthwise into halves or quarters, depending on the desired thickness of the spears.
- Insert the spears into the jar, leaving a half-inch headspace. Trim any cucumbers that encroach on the headspace.
- Prepare your boiling water canner, filling it half full of water and placing a jar rack inside.
- Wash all of the canning equipment in hot, soapy water and rinse well, including the lids, wide-mouth canning jars, and screw bands.
- Heat four single-pint jars in simmering water until ready to use.
- Combine the water, vinegar, sugar, and salt in a small stainless saucepan. Bring the mixture to a boil over medium heat before lowering the heat to a simmer.
- Grab one of the canning jars using a jar lifter, and add one garlic clove, three dill sprigs, half a teaspoon of mustard seed, one bay leaf, one hot pepper, and ¾ tsp of Ball® Pickle Crisp (if desired) to the liquid.
- Ladle the hot brine into the hot jar of cucumber spears, maintaining a half-inch headspace. Fill the remaining jars with the cucumber spears and canning liquid.
- Remove any air bubbles by running a soft kitchen instrument around the inside of the jar, wipe the jar rim, and center the lid.
- Apply the band and adjust it to fingertip tightness.
- Using jar tongs or a jar lifter, carefully lower the filled jars into the canner, ensuring they are upright and not touching the sides of the canner or each other.
- Provide enough space between the jars to allow for adequate water circulation during processing. Typically, the jars should be spaced at least 1 inch apart from one another and from the sides of the canner.
- Once the jars are in the canner, check the water level. It should be at least 1 to 2 inches above the tops of the jars. If needed, add more boiling water to maintain the proper water level during processing.
- Place the lid on the canner and ensure it is securely locked or fastened according to your specific canner’s design.
- Wait for the water in the canner to reach the boiling point of 212°F and then process the jars for 15 minutes, adjusting for altitude:
Processing times for pint jars:
- 0-1,000 ft altitude: process for 15 minutes
- 1,001-6,000 ft altitude: process for 20 minutes
- Above 6,000 ft altitude: process for 25 minutes
Processing times for quart jars:
- 0-1,000 ft altitude: process for 20 minutes
- 1,001-6,000 ft altitude: process for 25 minutes
- Above 6,000 ft altitude: process for 30 minutes
Post Processing
- Switch off the heat, remove the canner lid, and allow the jars to remain in the water for 15 minutes.
- Lift the jars from the canner using lifting jar tongs or a jar lifter and place them on a heat-resistant surface with a cushioned surface for the next 12 to 24 hours.
- Check the seals on your jars by pressing down on the center of the lid. If it doesn’t flex or pop, the seal is good, and your pickles are shelf-stable and ready to eat.
- Store sealed jars of dill pickles in a cool, dry, and dark place. The ideal storage temperature is between 50°F and 70°F.
- Prep Time: 10 minutes
- Pickling Time: 10 minutes
- Cook Time: 15 minutes
Nutrition
- Serving Size: 1 spear (35g)
- Calories: 4.2kcal
- Sugar: 0.4g
- Sodium: 283mg
- Fat: 0.1g
- Saturated Fat: 0g
- Carbohydrates: 0.8g
- Fiber: 0.4g
- Protein: 0.2g
- Cholesterol: 0g
The Difference Between Pickling and Canning Kosher Dill Pickles
Pickling and canning are two different methods of preserving food. Pickling involves soaking the cucumbers in a vinegar-based brine, while canning entails cooking the cucumbers in jars in a water bath.
How Do You Keep Pickles Crisp When Canning?
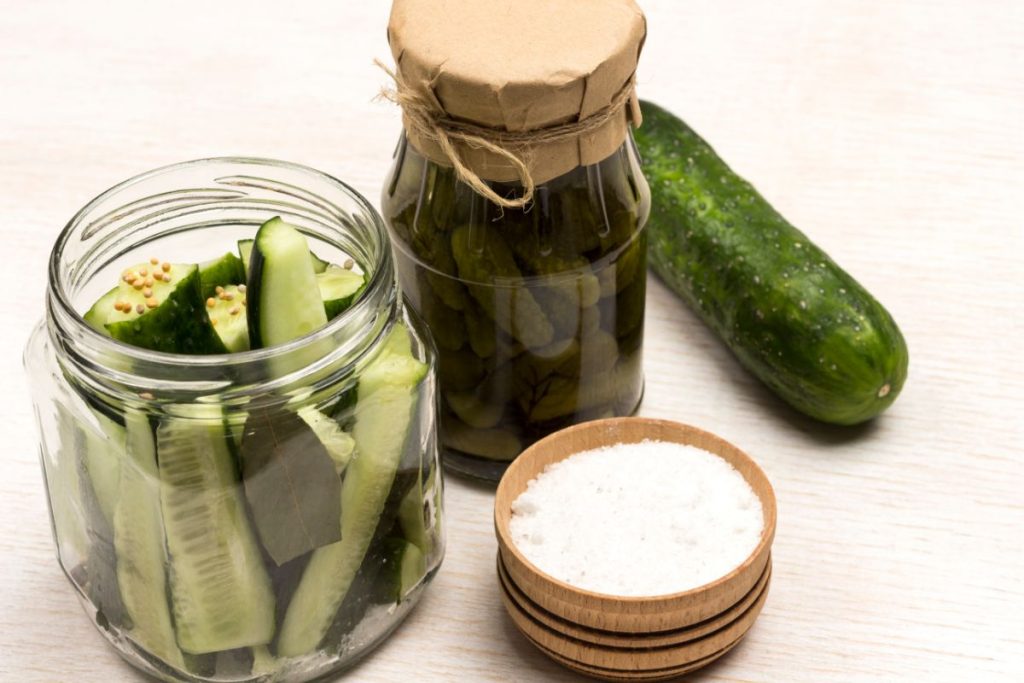
- Add Pickle Crisp or calcium chloride to the brine
- Soak the cucumbers in ice water before processing them
- Use fresh or pickling cucumbers, which produce crisper pickles
- Using high-acidity vinegar and pickling salt rather than table salt
Can You Use Kosher Salt to Can Dill Pickles?
You can use Kosher salt to can dill pickles, but it will behave differently in the brine than canning or pickling salt. Kosher salt is coarser than regular table salt and contains no anti-caking agents or additives. Therefore, when used in a brine, it may dissolve more slowly than other salts, leading to a cloudier brine due to impurities.
However, many people prefer the taste of Kosher salt in their pickles, and some argue that it can help retain their crispness. It is important to note that when canning pickles, it is recommended to use a salt specifically designed for pickling or canning to ensure food safety and the best results.
What Type of Vinegar Do You Use to Can Dill Pickles?
When canning dill pickles, it’s important to use vinegar with at least 5% acidity to ensure proper preservation. You can use apple cider vinegar and malt vinegar for pickling, although white vinegar is the most frequently chosen variety for dill pickles.
Avoid using flavored vinegar, as it can alter the taste of the pickles. It’s also essential to use vinegar labeled for canning or pickling to ensure consistent acidity levels.
What are the Benefits of Making Your Own Pickles?
- Canning pickles is fun and an opportunity to get creative
- Homemade pickles allow you to customize ingredients and avoid unwanted additives
- Homemade pickles have less sugar than store-bought
- Homemade pickles make excellent gifts
- Making homemade pickles is cheaper than store-bought
- Pickles are low in calories and a healthy snack
- Pickles contain potassium, calcium, and vitamin K
- Reduce packaging waste by making homemade pickles and reusing canning jars
Can You Skip Canning When Making Homemade Pickles?
It is possible to skip the water bath canning by making refrigerator pickles instead. The process is the same, aside from needing to process the jars in a water bath to make the pickles shelf-stable.
Refrigerator pickles should be allowed to sit for 2-3 weeks before consuming for the best flavor. Use refrigerated pickles within three months, and never store refrigerator pickles at room temperature.
How Long Can Canned Kosher Dill Pickles Be Stored?
The National Center for Home Food Preservation and the USDA give canned pickles a shelf life of 1 to 2 years when stored in a cool, dry place.
For the best flavor and texture, homemade pickles should be eaten within 12 months. Always inspect the jar before consuming the contents and discard any jars with signs of spoilage.

