

Canning strawberries begins by washing fresh, ripe fruit, and removing stems and caps. Macerate the strawberries for 5-6 hours in sugar, then simmer them for 1 minute in a pan until the sugar dissolves. Ladle the hot strawberries into sterile hot jars and process in a water bath canner for 10-15 minutes.
Is it Safe to Water Bath Can Strawberries?
Yes – water bath canning plain strawberries and strawberry jam in a boiling water canner is safe. This fruit has a pH of 3.3-3.6. According to Clemson University, foods with a pH of 4.6 or less contain enough acid to prevent the growth of Clostridium botulinum spores. Such highly acidic fruits, pickles, jams, and jellies are safe to process in a water bath’s boiling temperatures.
How to Can Plain Strawberries
It’s best to process plain strawberries in a water bath, as pressure canning may make the fruit mushy.
- Wash canning equipment in warm soapy water. Set lids aside to air dry. Cover canning jars in simmering water for 10 minutes to sterilize.
- Wash fresh, firm, fully-ripened strawberries under cool, running tap water.
- Rinse thoroughly and drain into a strainer. You may also pat them dry using a clean paper towel.
- Carefully remove the top green cap and stems with a sharp knife. Leave the fruits whole for canning.
- Put the strawberries in a clean sauce pot. Sprinkle 1/4 to 3/4 cups of sugar on top of the berries and stir to distribute the sugar evenly. Let the fruits sit in the covered pot for 5-6 hours to release juice naturally.
- Fill your water bath canner with water halfway. Place a jar rack at the bottom and put on a stove to heat.
- Once the strawberries are macerated, place the pot over a burner using medium heat. Simmer the berries and juice for 1 minute until they are warm and all the sugar is dissolved. Do not overheat, as the fruits can easily break down.
- Fill hot quart or pint canning jars tightly with whole warm berries.
- Fill the jars with the boiling strawberry juice, leaving ½ inch headspace. If the liquid isn’t enough, add boiling water to ensure this level.
- Remove trapped air bubbles using a wooden chopstick or spatula.
- Wipe the jar rims with a damp paper towel. Apply new canning lids on the jars, and apply the screw bands, screwing them on until fingertip tight.
- Transfer the jars to your prepared boiling water canner using canning tongs. Ensure the water is 1-2 inches above the tops of the jars. Bring the water to a rolling boil, then cover with a lid.
- Process pints for 10 minutes and quarts for 15 minutes.
- When the time is up, turn off the heat. Remove the lid and leave the jars in the hot water for 5 minutes.
- Transfer the jars onto a cushioned, draft-free surface using canning tongs to cool them for 12-24 hours.
- After cooling, check the seals. Sealed jars have concave-shaped lids and lids that do not flex up and down when pressed.
- Remove the screw bands and wipe the vacuum-sealed jars. Label them with the canning date and contents and store them in a cool, dry, clean place. For unsealed jars, refrigerate and use the contents within 5-7 days.
How Long Do You Process Canned Strawberries?
Water bath canning plain, whole strawberries require 10-15 minutes, depending on jar size. Standard half-pints and pint jars take 10 minutes, while quart jars take 15 minutes.
Print
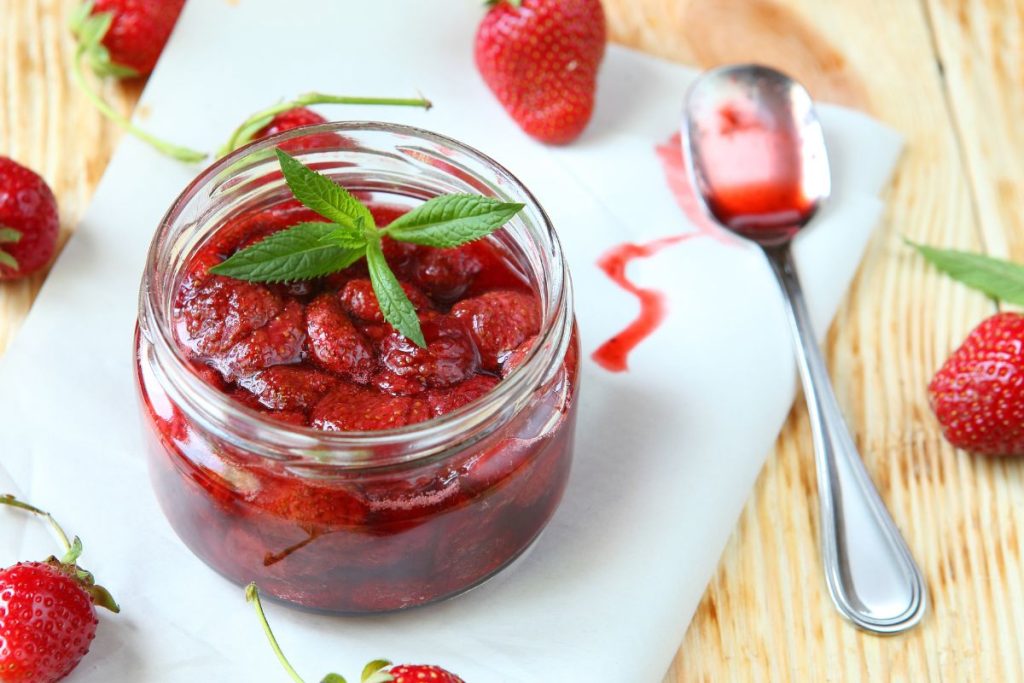
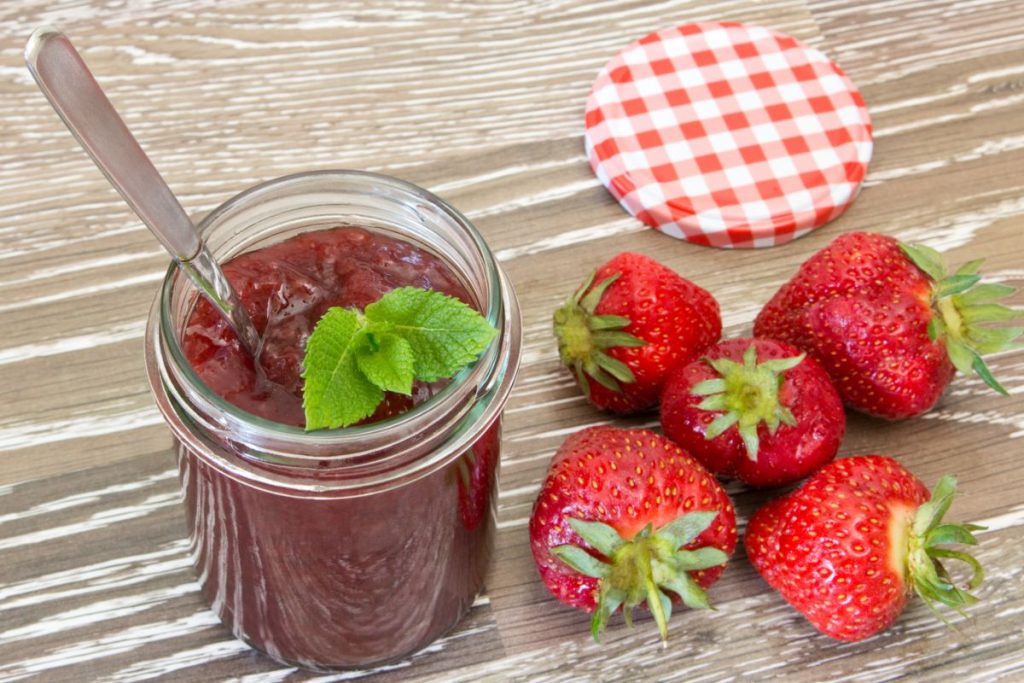
Canning Recipe for Strawberry Jam
- Total Time: 40 minutes
Description
This homemade strawberry jam recipe effortlessly transforms hand-picked fruits into a smooth, soft spread and delicious topper for strawberry cupcakes or thumbprint cookies.
Ingredients
- 5½ cups crushed strawberries
- 1 package of powdered pectin
- 8 cups sugar
Instructions
- Prepare your water bath canner. Place a jar rack inside and then fill it half-full with water. Set on a burner over medium-high heat.
- Wash pint or quart jars, lids, and rings with soap in hot water. Rinse well and sterilize jars in boiling water for 10 minutes. Do not boil lids.
- Wash your fresh, firm-fleshed strawberries in cool tap water while rubbing gently to remove dirt. Rinse and drain thoroughly.
- Carefully hull your fruits by removing the caps and stems.
- Put the berries in a large clean bowl. Using a potato masher or clean fork, mash the strawberries until they are soft and have a puree-like consistency.
- Transfer the mashed fruit into a kettle or heavy-bottomed saucepan. Stir in powdered pectin until dissolved.
- Over high heat, bring the mixture to a full boil while stirring frequently.
- Add the sugar, stir, and return the mixture to a vigorous boil until the jam reaches 220°F. Boil it for one more minute while stirring constantly.
- Remove the sauce pot from the heat. Skim the foam on top, and discard it.
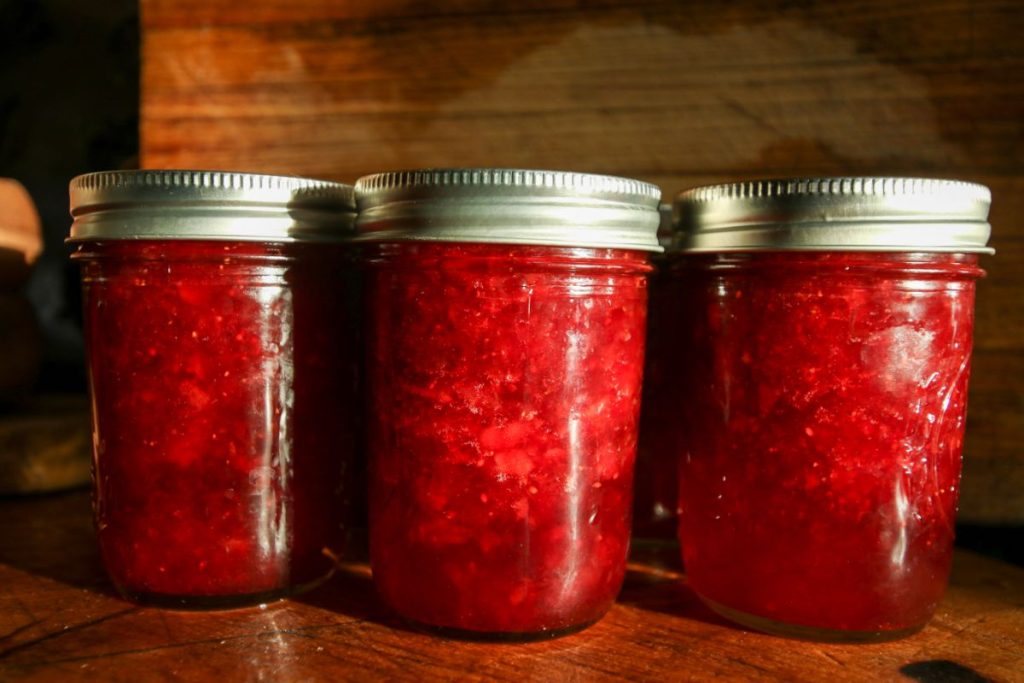
- Ladle the hot jam into sterilized hot jars, leaving ¼-inch headspace.
- Run a bubble popper tool or spatula along the edges of the jars to remove air bubbles.
- Take a damp paper towel dipped in hot water to wipe the rims of each of the canning jars.
- Center canning lids over the jars, and apply the screw bands until they are fingertip tight.
- Lower the filled jars into your boiling water canner, ensuring a spacing of 2 inches between jars. Ensure the water level is 1-2 inches over the top of the jar lids.
- Bring the water to a rolling boil, then cover the canner with a lid.
- Set a processing time of 5-15 minutes for pint jars or half-pints, depending on your elevation.
Water Bath Processing of Strawberry Jam
- 0 – 1,000ft: 5 minutes
- 1,001 – 6,000ft: 10 minutes
- 6,001ft and up: 15 minutes
Post Processing
- Once the timer beeps, turn off the heat and leave the jars in the water for five more minutes.
- Remove the processed jars from the hot water using a jar lifter. Position them upright on a towel-lined countertop to cool for 24 hours.
- After 24 hours, press the tops of the lids with your finger to confirm the seals. Properly-sealed jars don’t flex up and down when pressed. Refrigerate any unsealed jars and use them within 5-7 days.
- For sealed jars, remove the screw bands and wipe the jars clean. Label the jars with the contents and canning date and store them in a cool, clean, dry place.
- Prep Time: 20 minutes
- Canning Time: 10 minutes
- Cook Time: 10 minutes
Nutrition
- Serving Size: 1 tablespoon
- Calories: 56kcal
- Sugar: 9.7g
- Sodium: 6.4mg
- Fat: 0g
- Saturated Fat: 0g
- Carbohydrates: 14g
- Fiber: 0.2g
- Protein: 0.1g
- Cholesterol: 0g
What is the Best Way to Preserve Strawberries?
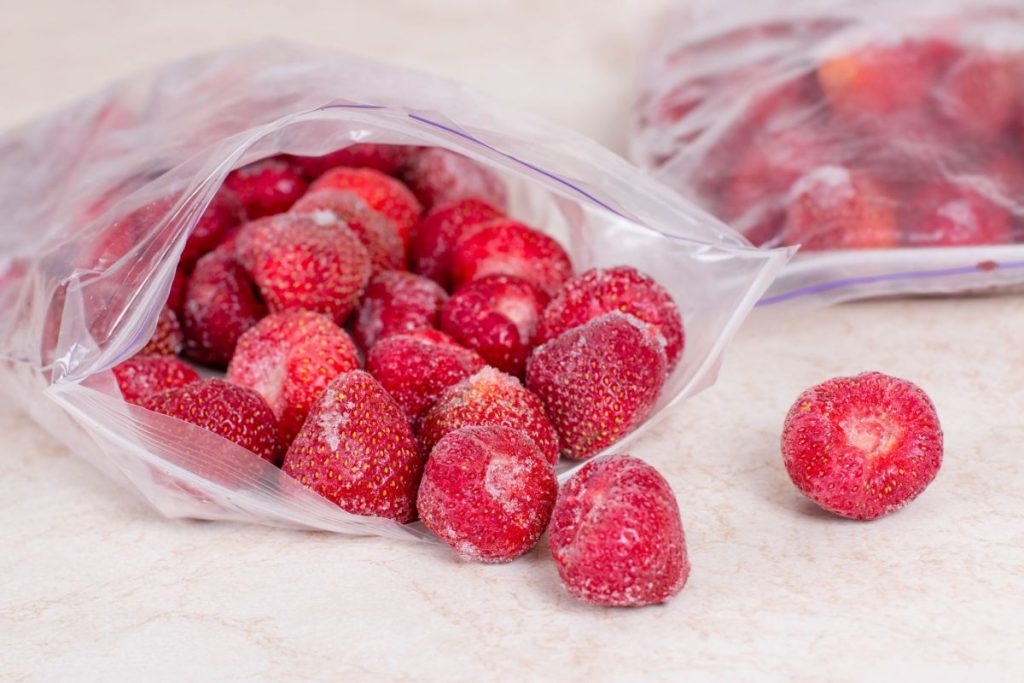
Freezing is the best method of preserving strawberries for long-term storage. Slice large fruits or leave them whole, put them into rigid freezing containers or glass canning jars, and stack them in your freezer.
Another shelf-stable option for preserving strawberries is dehydrating them. To dehydrate strawberries, halve them and arrange them on a food dehydrating tray. Dehydrate at 135°F – 140°F until fully brittle. Let cool, then transfer to airtight containers.
Can You Can Strawberries Without Sugar?
Yes – it’s possible to safely can fresh strawberries without sugar. Since sugar enables the fruit to release juice, use 1/4 cup of water instead of sugar when warming strawberries in the pan. Another option is to use 1/4 to 1/2 teaspoon per pint jar of liquid stevia (sucralose). This adds sweetness without adding sugar.
What Kind of Jars Do You Need to Can Strawberries?
Wide-mouth half-pint, pint, or quart canning jars are the ideal sizes for canned strawberries and strawberry jam. These sizes fit most standard boiling water canners and are convenient when filling hot-packed fruits.
What are the Benefits of Canning Strawberries?
- Convenience. Canned strawberries save you the hassle of rushing to the grocery store whenever you crave fresh berries.
- Cost-effective. Home canning strawberries is an effective method of preserving your strawberry harvest for long-term use.
- Flavor. Strawberries are rich in flavor, especially when mixed with cherries and blueberries, and can make a healthy and refreshing salad.
- Flexibility. Home-canned strawberries are versatile and an excellent topping for pancakes, cheesecakes, or ice cream!
- Longer shelf life. Unlike other methods of food preservation, canning strawberries make them shelf stable for 12-18 months.
- Nutritional value. Strawberries are an excellent source of vitamin C, potassium, fiber, folates, and calories for a healthy body.
How to Store Canned Strawberries
Do not store canned strawberries in locations with fluctuating temperatures, such as near furnaces or uninsulated attics. Ensure canned strawberries are stored at a temperature of 85°F or below.
Avoid moisture and dampness as the conditions can cause rusting of metallic lids as which can cause the strawberries to spoil. Keep jars away from direct sunlight to preserve the best texture, flavor, and nutrition.
The Shelf Life of Canned Strawberries
Unopened canned strawberries have a shelf life of 18 months in your pantry. Once you open a jar, the USDA recommends storing canned fruit in the refrigerator and using it within 5-7 days.