
Canning salmon begins by slicing the salmon into filets. Raw pack salmon tightly into hot, sterilized canning jars, maintaining 1-inch headspace. Process in a pressure canner at a PSI between 10 and 15 pounds for 100 minutes per elevation.
Canning Salmon in a Pressure Canner
Salmon must be canned in a pressure canner for safety. Follow these steps to preserve your freshly caught wild or farmed salmon:
- Before beginning the canning process, ensure all tools and equipment are sanitized. Clean half-pint or pint jars, rings, and canning lids in hot soapy water. Rinse thoroughly and set aside.
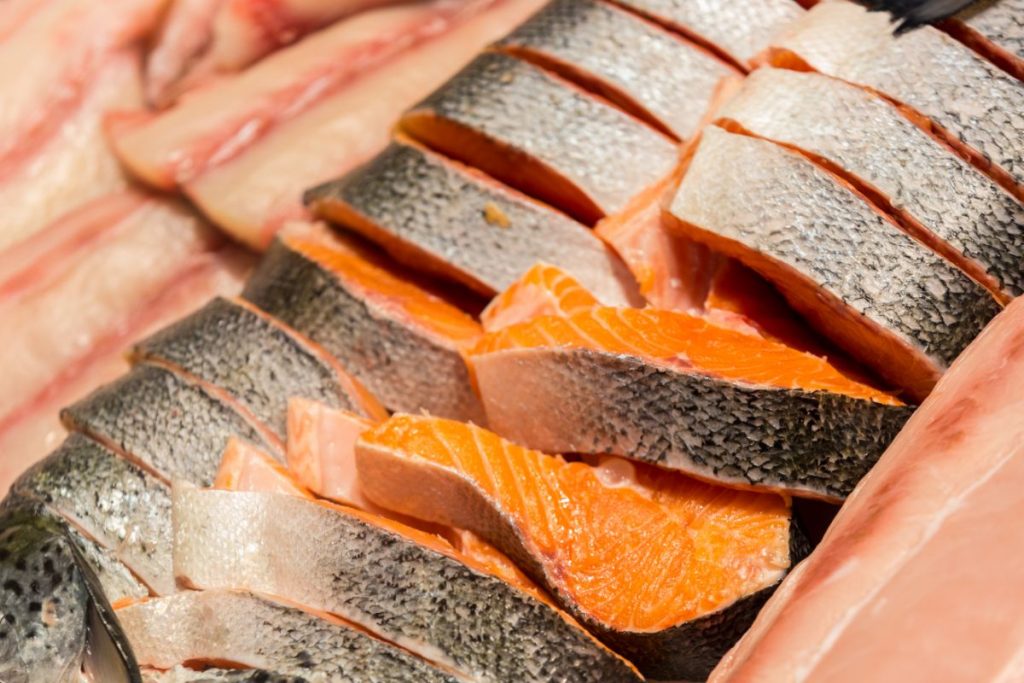
- Scrape the scales off the fresh fish with a sharp knife. Split the fish in half lengthwise (tail to lip) using a filet knife and remove the internal organs. Rinse the cavity thoroughly.
- Remove the head, fins, and tail. Slice the fish into 1-inch fillets or jar-length pieces using a sharp knife.
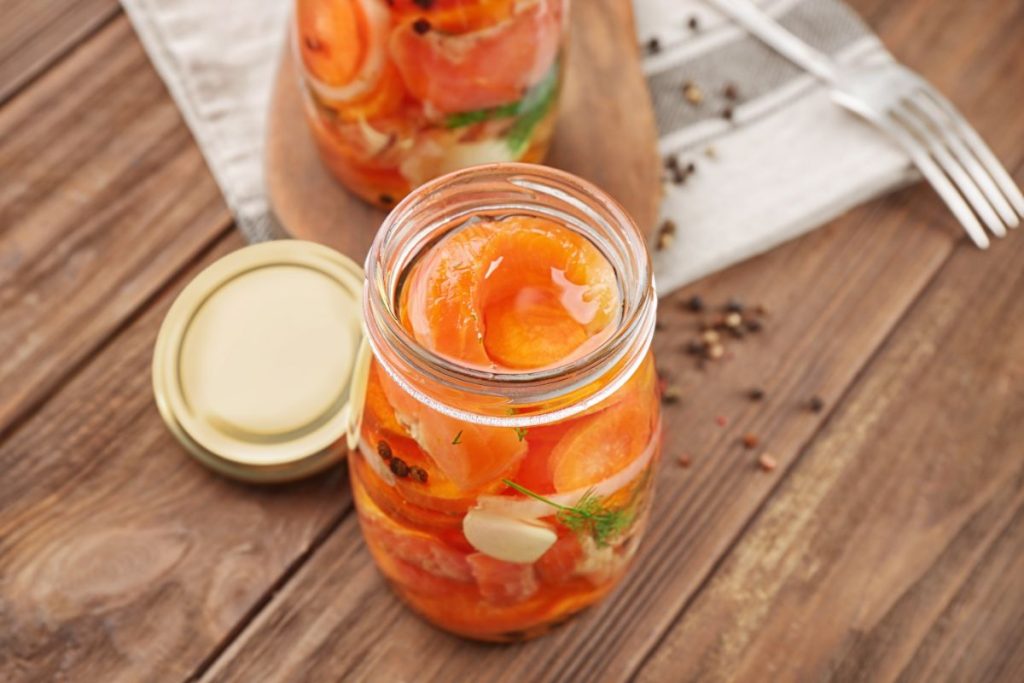
- Pack the raw salmon pieces tightly into the clean canning jars – skin side facing out. For half-pints, add 1/2 teaspoon of pickling salt, and for pint jars, add 1 tablespoon of pickling salt.
- Do not add any liquid to the jars, and leave 1 inch of headspace between the top of the fish and the top of the jars.
- Remove air bubbles with a sanitized air bubble remover tool.
- Moisten a paper towel or small kitchen towel with vinegar or water and wipe the jar rims. Place lids on the jars and apply jar rings to the jars to secure the lids. Screw them on until fingertip tight.
- Prepare a pressure canner fitted with a jar rack per the manufacturer’s instructions. Add 3-4 inches of water following the directions in your user manual.
- Place the canner on the stove and let it heat up. Use a jar lifter to place the salmon jars onto the canning rack, being careful that there is 1 inch of space between each of the jars.
- Close the pressure canner’s lid, turn the stove to high heat, and let it vent steam in a steady stream for 10 minutes.
- Allow the pressure to build to the recommended PSI and process the jars for a total processing time of 100 minutes, per your elevation:
Pressure for pints of salmon in a weighted-gauge pressure canner:
| Altitude (ft) | 0 – 1,000 | 1,001 + |
| Pints | 10lbs | 15lbs |
Pressure for pints of salmon in a dial-gauge pressure canner:
| Altitude (ft) | 0 – 2,000 | 2,001 – 4,000 | 4,001 – 6,000 | 6,001 – 8,000 |
| Pints | 11lbs | 12lbs | 13lbs | 14lbs |
- After the processing time, turn the stove off and wait until the pressure drops to zero before opening the lid of the canner.
- Remove the jars from the hot water using a jar lifter and place them on a cushioned, heat-resistant surface. Let the jars sit in an upright position and cool at room temperature for 24 hours.
- Remove the screw bands from the jars and inspect the seals. If they are indented and the lids don’t flex up and down, they have sealed properly.
- Label the jars with the contents and the date of canning. Store the jars in a cool, dry place and consume them within one year for the best quality.
Why is Pressure Canning the Best Way to Can Salmon?
Salmon is a low-acid food with a pH ranging between 6.0 and 6.3. Home canning fish at boiling temperatures in a low-acid environment encourages botulism spores and other heat-resistant bacteria to germinate.
According to the National Center for Home Food Preservation, all low-acid foods, including seafood, should be processed at a temperature between 240°F and 250°F. Only a pressure canner can reach this temperature range, and pressure canning salmon also removes trapped air that can cause fish to spoil.
How Long Do You Cook Salmon Before Canning It?
Cooking salmon before canning isn’t necessary because the fish cooks while processing in a pressure canner. Raw pack salmon filets into sterile canning jars for the best results.
What to Add When Canning Salmon
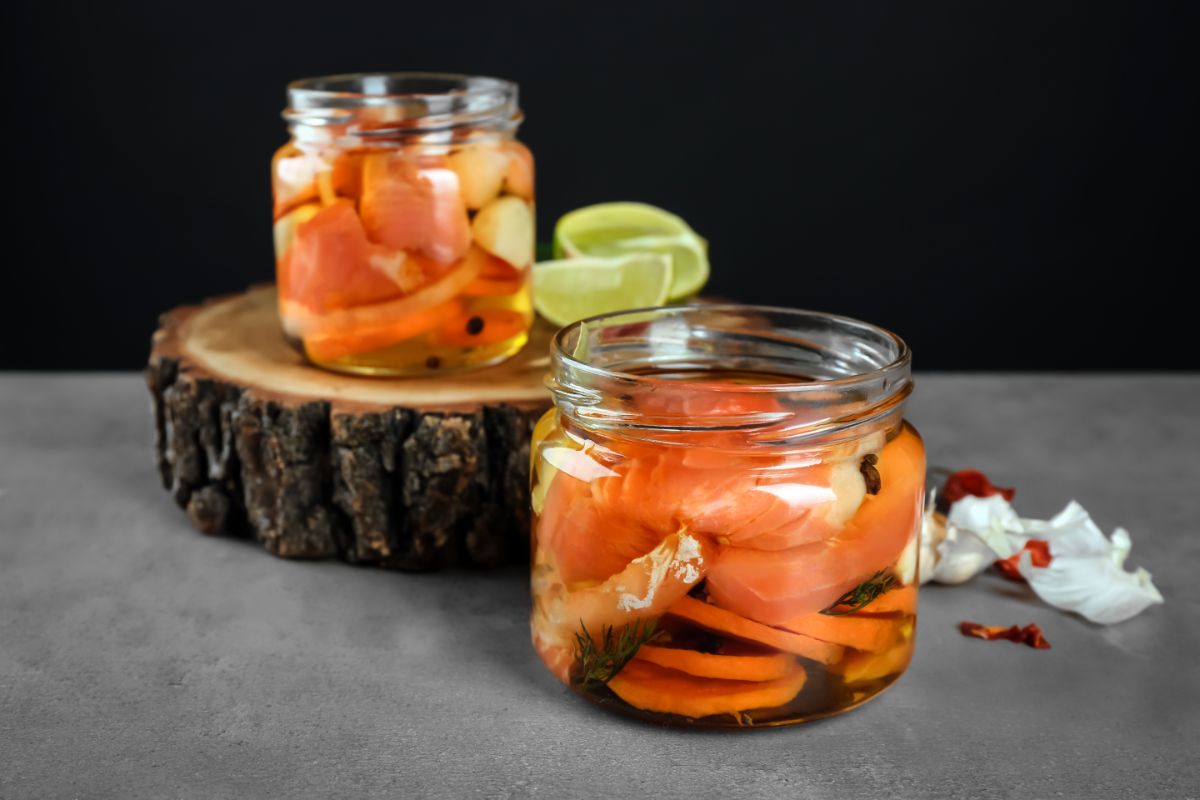
Canning salmon requires minimal ingredients. Do not add liquids to canned salmon, as the fish produces its own natural juices. Oils should not be added because they coat the fish, making heat penetration difficult.
- Salt & peppercorns may be added to canning jars for extra flavor if desired.
- Marinating salmon filets prior to packing them into canning jars is optional. Soak filets for 1 hour in a solution made from equal parts of pickling salt, water, and brown sugar.
How Long Does it Take for Canning Salmon?
Canned salmon should be processed for 100 minutes in both half-pint jars and pint jars. It is not recommended to process salmon in larger jar sizes.
What are the Benefits of Canning Salmon?
- Convenience. Having canned salmon in your pantry makes preparing dishes such as salmon patties quick and easy.
- Nutritional content. Canned fish is highly nutritious and an excellent source of selenium, vitamin B12, calcium, proteins, and omega-3 fatty acids.
- Prolonged shelf life. Canning salmon makes it last longer than keeping it fresh or freezing it.
- Rich flavor. Salmon retains its intense flavor even after canning.
- Saves money. Canning helps to avoid buying it during times when it is scarce and expensive.
- Versatility. You can add canned salmon to meals, including meatballs, soup, stew, and salads.

Storage and Shelf Life of Canned Salmon
Home-canned salmon is best stored in a clean, cool, moisture-proof place away from direct sunlight. It should be consumed within 12 months for the best flavor. Once opened, refrigerate canned salmon and consume it within 3 days.