
Pressure-canning corn on the cob begins by selecting fresh, mature corn and shucking it to remove the husks and silks. Next, blanch the corn briefly in boiling water. Pack the corn tightly into sterilized jars, add boiling water, and process them in a pressure canner for 55-85 minutes.
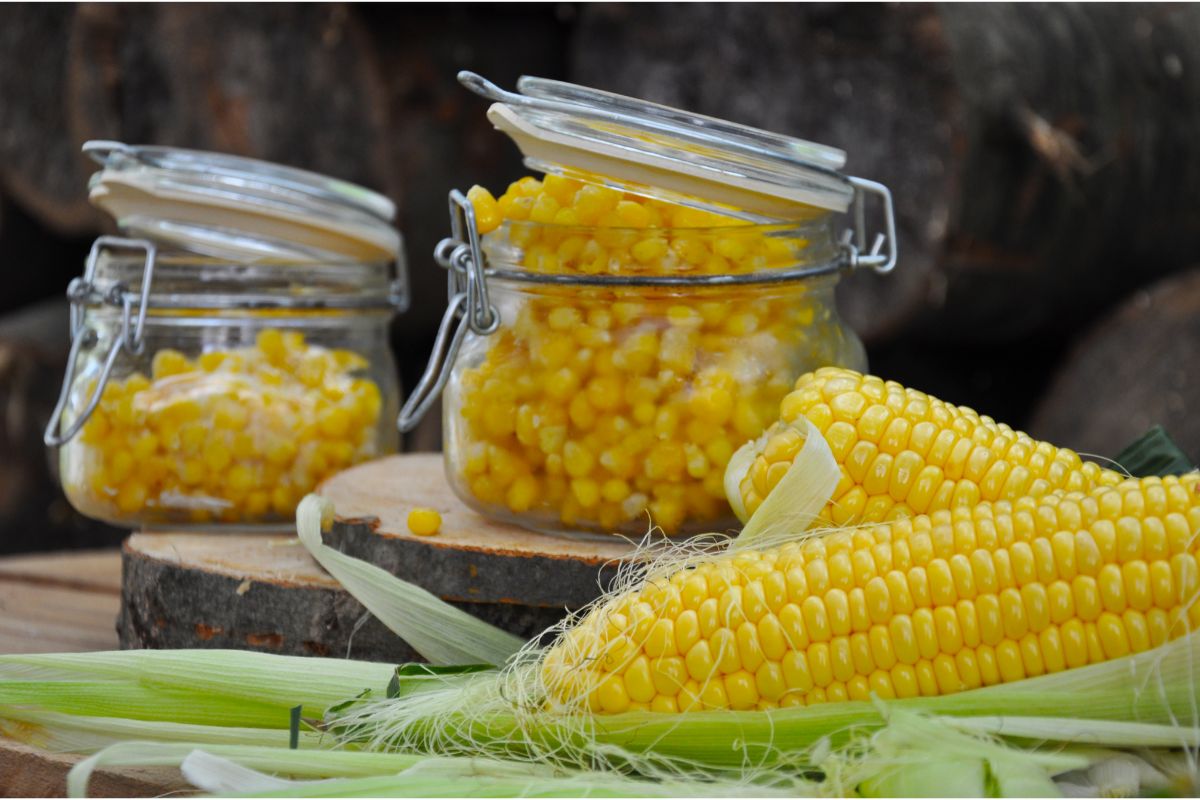
Pressure Canning Fresh Corn on the Cob
It is possible to pressure can corn by removing the corn kernels from the cob. The cob provides no nutritional value and may hinder preservation. Here is our step-by-step guide to pressure canning fresh corn:
- To prepare corn on the cob for pressure canning, start by selecting fresh and mature ears of corn. Remove the husks and silks, ensuring the kernels are clean.
- Blanch the corn by briefly immersing it in boiling water, which partially cooks it and helps maintain its flavor and texture during canning. After blanching, cool the corn in ice water to stop the cooking process.
- Strip the corn kernels off the cob.
- Gather your pressure canner, canning jars, canning lids, and bands. Ensure that the jars are clean and sterilized.
- Take the blanched corn and pack it into the sterilized jars, leaving a 1-inch headspace at the top. Fill the jars with hot water, covering the corn and maintaining the 1-inch headspace.
- Add a teaspoon of canning salt to each jar for taste.
- Use a non-metallic utensil, like a bubble remover or a plastic spatula, to remove any trapped air bubbles by gently stirring around the corn.
- Use a damp, clean cloth to wipe any residue from the jar rims. Place the sterilized lids on top of the jars and secure them with the bands, tightening them just until fingertip tight.
- Fill your pressure canner with the manufacturer-recommended quantity of water. Put the filled jars on the canning rack, taking care so they don’t touch each other or the sides of the canner.
- Shut and lock the pressure canner lid. Begin heating the canner on high heat until it reaches a simmer. Allow the steam to vent from the canner for 10 minutes.
- Place the weight or gauge on the vent pipe to build pressure to the recommended level per elevation and canner type:
Recommended process time in a dial-gauge pressure canner:
| Altitude (ft) | 0 – 2,000 | 2,001 – 4,000 | 4,001 – 6,000 | 6,001 – 8,000 |
| Pints (55 mins) | 11 lbs | 12 lbs | 13 lbs | 14 lbs |
| Quarts (85 mins) | 11 lbs | 12 lbs | 13 lbs | 14 lbs |
Recommended process time in a weighted-gauge pressure canner.
| Altitude (ft) | 0 – 1,000 | 1,001 + |
| Pints (55 mins) | 10 lbs | 15 lbs |
| Quarts (85 mins) | 10 lbs | 15 lbs |
- Process pint jars for 55 minutes and quart jars for 85 minutes.
- Once the processing time is complete, turn off the heat and allow the pressure inside the canner to decrease naturally. Do not force cool or remove the weight/gauge.
- After the pressure has dropped to zero, wait an additional 10 minutes before opening the canner lid. Take the jars out of the can with a jar lifter or canning tongs and place them on a towel-lined surface, leaving space between them. Avoid tilting or shaking the jars.
- Leave the jars to cool undisturbed for 12 to 24 hours.
- Check the seals to ensure they are firm and secure. Label the jars with the processing date and store them in a dark, cool place. Properly sealed jars can be stored for up to a year.
Blanching Corn on the Cob for Canning
Blanching corn on the cob is an essential step in preparing it for pressure canning. Follow these detailed steps to achieve optimal results:
- Remove the husks and silks from the ears of corn. Ensure the kernels are clean and free from any debris.
- Take a pot large enough to fit the corn without overcrowding. Fill it with water and bring it to a rolling boil.
- Carefully place the ears of corn into the pot when the water reaches the boiling point. It’s advisable to work in small batches to prevent overcrowding and uneven blanching. Submerge the corn completely in the boiling water.
- The recommended blanching time for corn on the cob is 3 to 5 minutes. However, it’s crucial to refer to reliable canning resources or the specific recipe you follow for precise blanching times, as they may vary.
- Take the corn out of the boiling water immediately after the blanching time elapses. Transfer it to a large bowl filled with ice water. This step helps cool the corn rapidly and halt the cooking process.
- Allow the corn to cool in the ice water bath for the same duration as the blanching time. Once cooled, remove the corn from the water and let it air-dry, or gently pat it dry with a clean kitchen towel.
How to Strip Corn on the Cob for Canning
There are two common methods for stripping corn on the cob, one using a device and the other using a knife.
How to Strip Corn with a Corn Stripping Device
- Start by husking the corn to remove the outer layers, including the corn silks and husks.
- Take a corn stripping device, which is designed to remove kernels from the cob. Hold the cob upright on a stable surface.
- With a firm grip on the cob, position the corn stripping device over the top end of the cob.
- Press the device downward, allowing the sharp teeth or blades to remove the kernels. Rotate the cob as needed to strip all the kernels.
- Repeat the process for each cob, collecting the stripped kernels in a bowl or container.
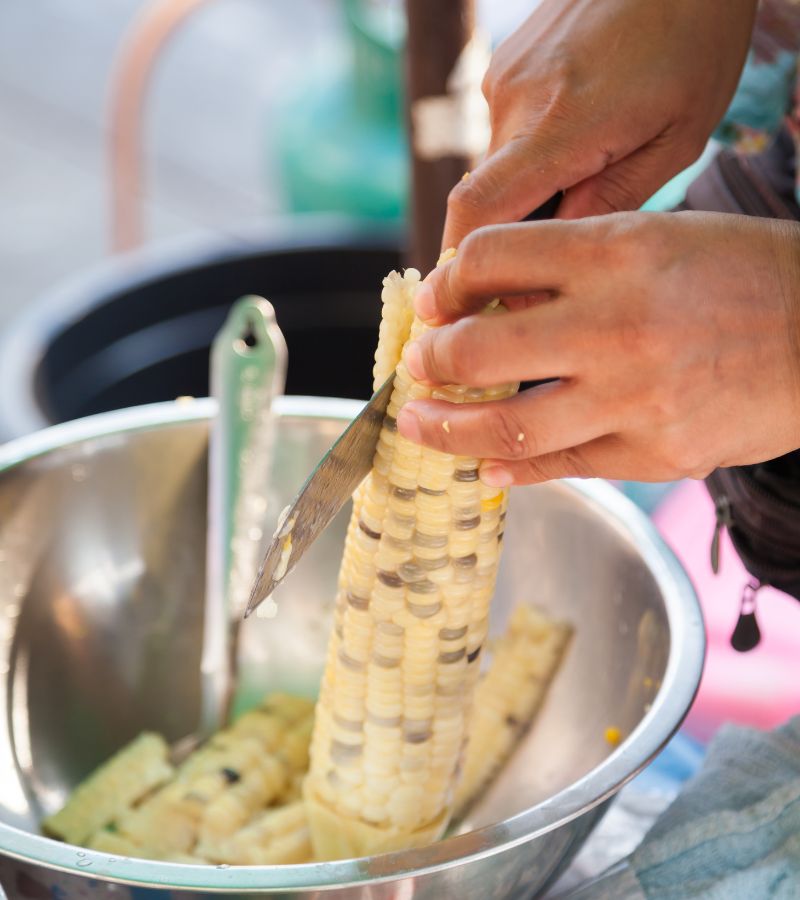
How to Strip Corn with a Knife
- Begin by husking the corn to remove the husks and silks, leaving only the clean ears of corn.
- Place the corn cob vertically on a cutting board to provide stability.
- Hold the top end of the cob firmly with one hand while holding a sharp knife in the other hand.
- Starting at the top of the cob, carefully slice downward with the knife, cutting close to the cob to remove the kernels. Rotate the cob as you progress to ensure all the kernels are cut off.
- Repeat the process for each cob, collecting the kernels in a bowl or container.
Do You Have to Remove the Cob When Canning Corn on the Cob?
Yes, it is recommended to remove the cob before the canning process. The cob itself does not contribute to the preservation of the corn and hinders the quality and safety of the canned product. The cob is mainly composed of cellulose, which is not easily penetrated by heat during the canning process, leading to uneven heating and potential food safety concerns.
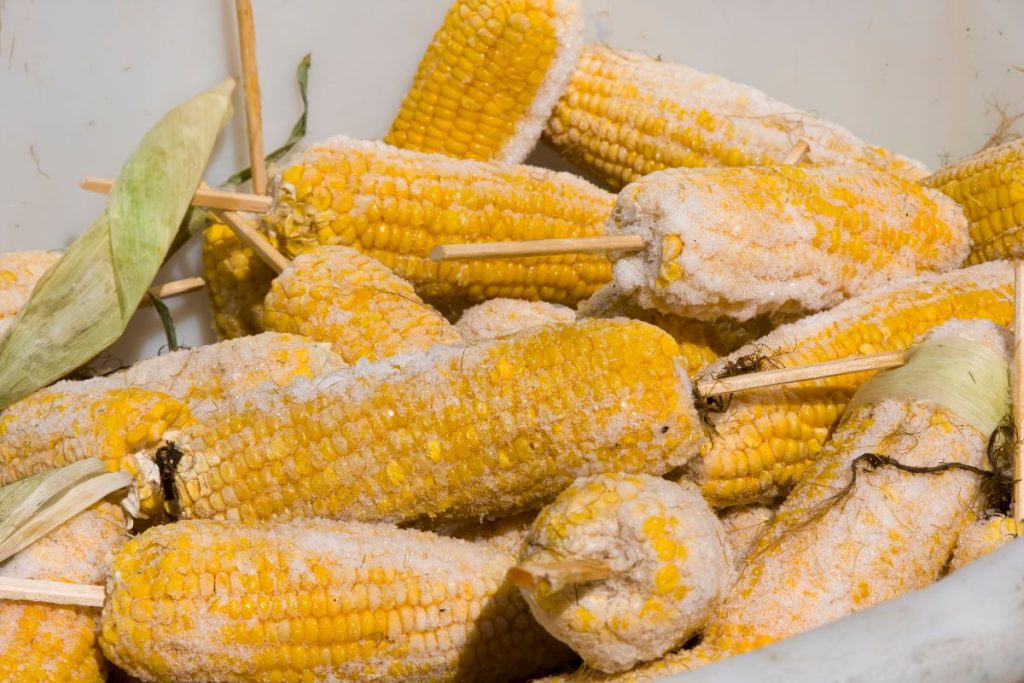
What is the Best Method for Preserving Corn Kernels on the Cob?
If you wish to preserve corn on the cob, freezing is the most suitable method. Freezing helps retain the texture and flavor of the corn, and the cob can be included in the freezing process. Simply blanch the corn on the cob, cool it, and then freeze it in appropriate freezer bags or containers. This method lets you enjoy corn on the cob with its natural texture intact when thawed and cooked later.
Can You Use A Water-Bath Canner To Process Corn On The Cob?
It is not recommended to water-bath can corn on the cob. Corn is a low-acid food, and water bath canning is suitable for high-acid foods with a pH of 4.6 or below. Corn has a pH above 4.6.
Can You Use A Pressure Cooker to Can Corn on the Cob?
While a pressure cooker may resemble a pressure canner in some ways, it is not recommended to use a pressure cooker for canning low-acid foods. Pressure cookers are typically designed for cooking meals under pressure but do not meet the specific requirements for safe canning.
Pressure canners have features such as a weighted gauge or dial gauge to accurately measure and control pressure, as well as a larger capacity to hold multiple canning jars. They are also designed to create a seal and withstand the high pressures required for canning low-acid foods.
Should You Hot Pack or Raw Pack Corn for Canning?
Hot packing and raw packing while canning corn is safe. However, each method offers slightly different results:
- Hot packing involves pre-cooking the corn before placing it in the jars for canning. The process typically involves blanching and packing it immediately into sterilized jars while still hot. This method helps ensure the corn is thoroughly cooked and reduces the potential for spoilage during the canning process. Hot packing results in more tender corn but may lead to slightly softer kernels than raw packing.
- The raw pack method involves canning corn without pre-cooking it. In this method, the corn is packed raw directly into sterilized jars without blanching or pre-cooking. When raw packed, the corn will cook during the pressure canning phase. This method results in firmer kernels and a slightly crisper texture compared to hot packing.
What are the Benefits of Canning Corn on the Cob?
- Control over ingredients: By canning your own corn on the cob, you have full control over the ingredients, ensuring that no preservatives or additives are included.
- Convenience: Canning corn on the cob allows you to have ready-to-eat corn available at any time without the need for refrigeration or freezer space.
- Cost-effective: Canning corn on the cob allows you to take advantage of seasonal abundance and sales, saving money compared to purchasing fresh corn throughout the year.
- Extended shelf life: Canned corn on the cob has a long shelf life, typically up to a year or more when stored properly.
- Nutritional value: Canning corn on the cob preserves its nutritional content, including vitamins, minerals, and dietary fiber, making it a healthy addition to your pantry.
- Reduced food waste: Canning corn on the cob helps reduce food waste by preserving excess corn that may otherwise spoil before consumption.
- Versatility: Canned corn on the cob can be used in various recipes, including soups, stews, casseroles, and side dishes.
How Much Corn is Needed for a Full Canning Load?
According to the National Center for Home Food Preservation (NCHFP), the recommended amount of corn for a full canner load is 20 pounds of unshucked corn, which yields approximately 14 quarts of canned corn kernels. This estimate assumes that the corn kernels are cut from the cob.
To further clarify, the NCHFP suggests that 1 pound of unshucked corn typically yields about 1 cup (or 0.5 pounds) of corn kernels, while 8 to 10 large ears of corn (about 16 to 20 cups) are needed to obtain 1 pound of kernels.
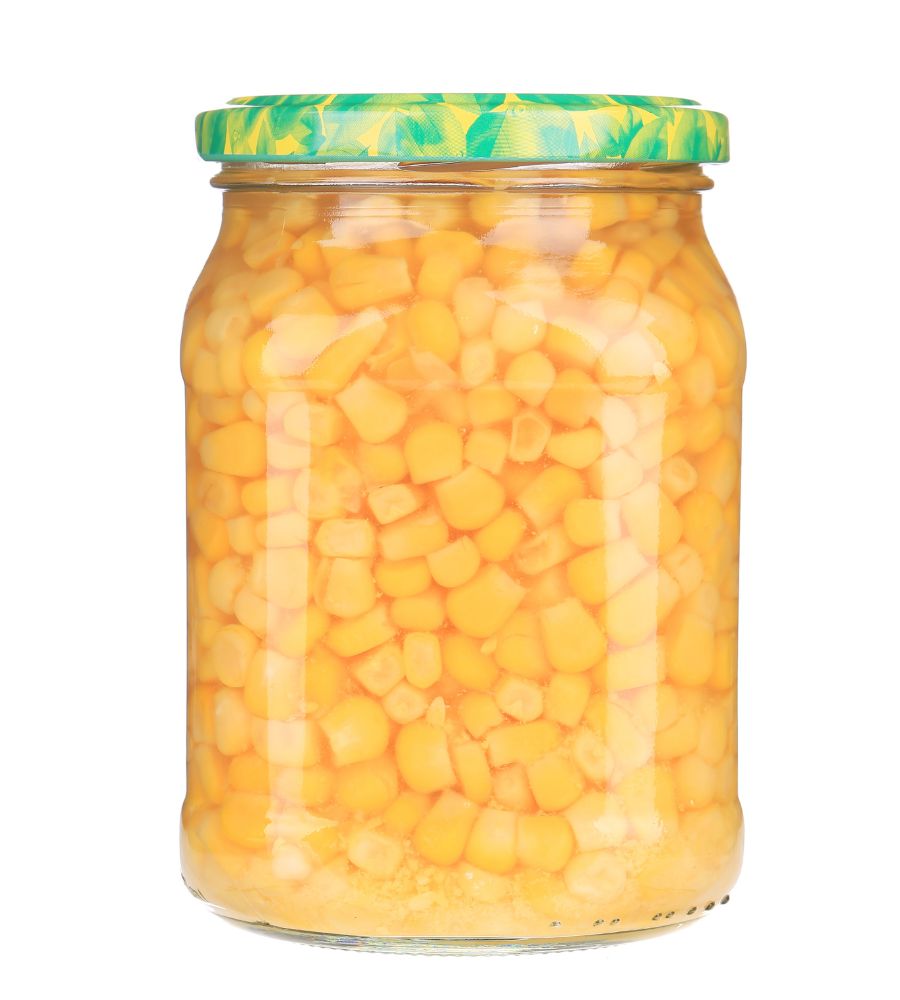
How to Store Canned Corn
When storing canned corn, you must consider certain environmental factors to ensure the quality and safety of the preserved food. Follow these tips to safely store your canned corn:
- Store canned corn in a cool environment with a stable temperature between 50°F and 70°F. Avoid areas prone to extreme heat or cold, such as near ovens, stoves, windows, or basements.
- Canned corn should be stored in a dark place away from direct sunlight or strong artificial light. Light degrades the quality of the food over time, leading to nutrient loss and potential color changes.
- Always store canned corn in a dry environment. Excess moisture or high humidity levels cause metal lids to rust, compromising the integrity of the seal.
- Adequate air circulation is crucial to prevent the build-up of heat and moisture around the canned corn. Avoid storing the cans in tightly packed spaces or airtight containers that may hinder proper ventilation.
How Long Can Canned Corn Be Stored?
The NCHFP and the USDA provide guidelines for the shelf life and best-used-by date of corn produced by home canning. Properly canned corn has a shelf life of 2-5 years. During this time, the quality of the corn should remain intact.
The best-used-by date depends on the specific recipe, canning method, and storage conditions. The NCHFP advises consumers to label their home-canned goods with a best-used-by date, typically within one year from the canning date.