
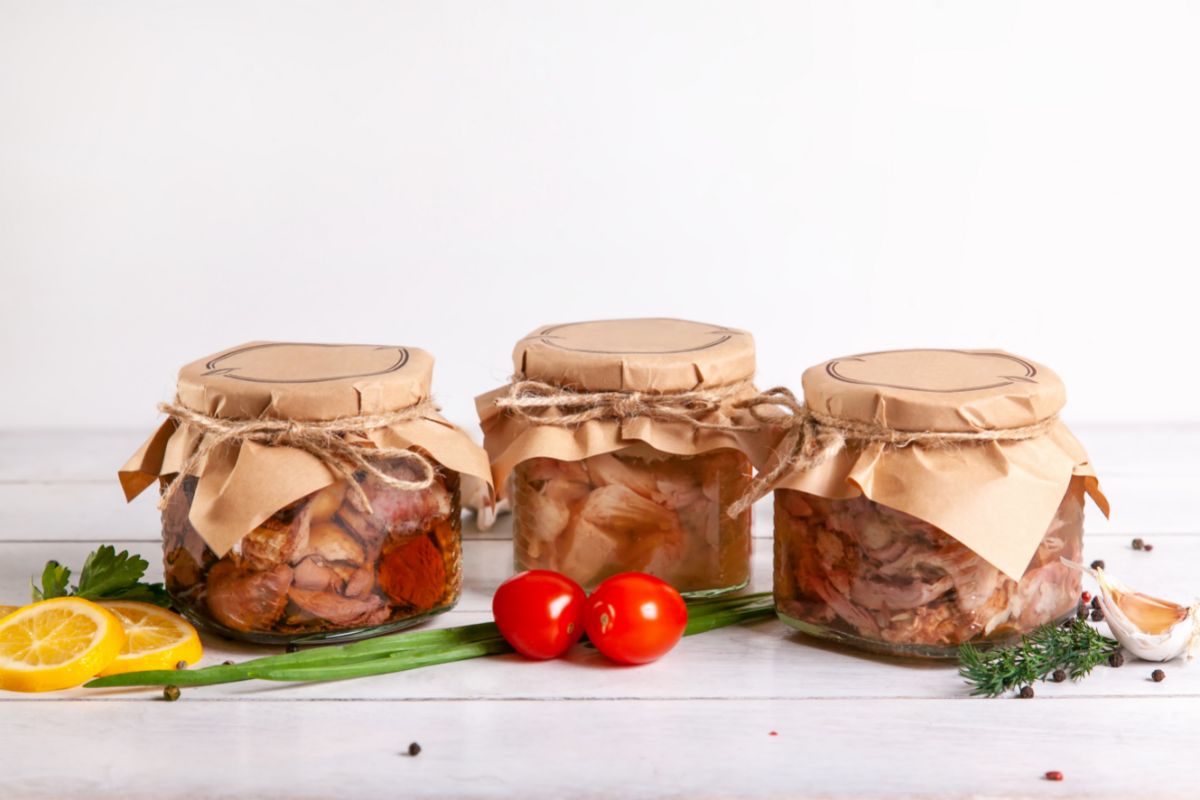
Chicken is a low-acid food that must be pressure canned for safety. Hot pack or raw pack chicken pieces into hot canning jars. Seal and process pints for 65-75 minutes and quarts for 90 minutes per elevation.
What is the Best Way to Can Chicken?
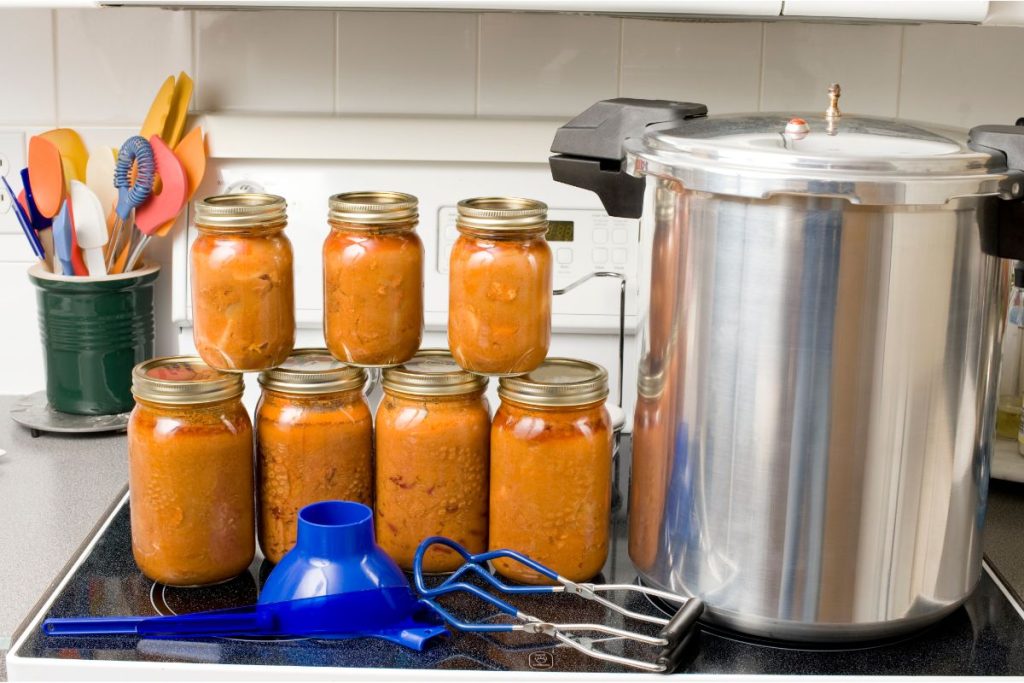
When home canning chicken, it’s best to use a pressure canner.
According to the National Center for Home Food Preservation, water bath canners should not be used to process low-acid foods like chicken. Only a pressure canner’s extra-high temperature can effectively destroy harmful bacteria.
How to Safely Pressure Can Chicken
If it’s your first time canning, follow these instructions to process chicken safely:
- Inspect and wash your canning jars, lids, and screw bands in hot soapy water. Rinse thoroughly and let them dry.
- Sanitize the canning jars in boiling water for 10 minutes and keep the jars hot for canning chicken.
- Fill a pressure canner with 2-3 inches of water and place it on a stove over medium heat.
- Once the water is hot, transfer the canning jars to the pressure canner and use a jar lifter to place them on the canning rack inside the canner to stay warm as you prepare the chicken.
- If the chicken is home-butchered, ensure it has been dressed and chilled for 6-12 hours prior to canning. Store-bought meat has already undergone dressing and chilling, so you may only need to thaw it.
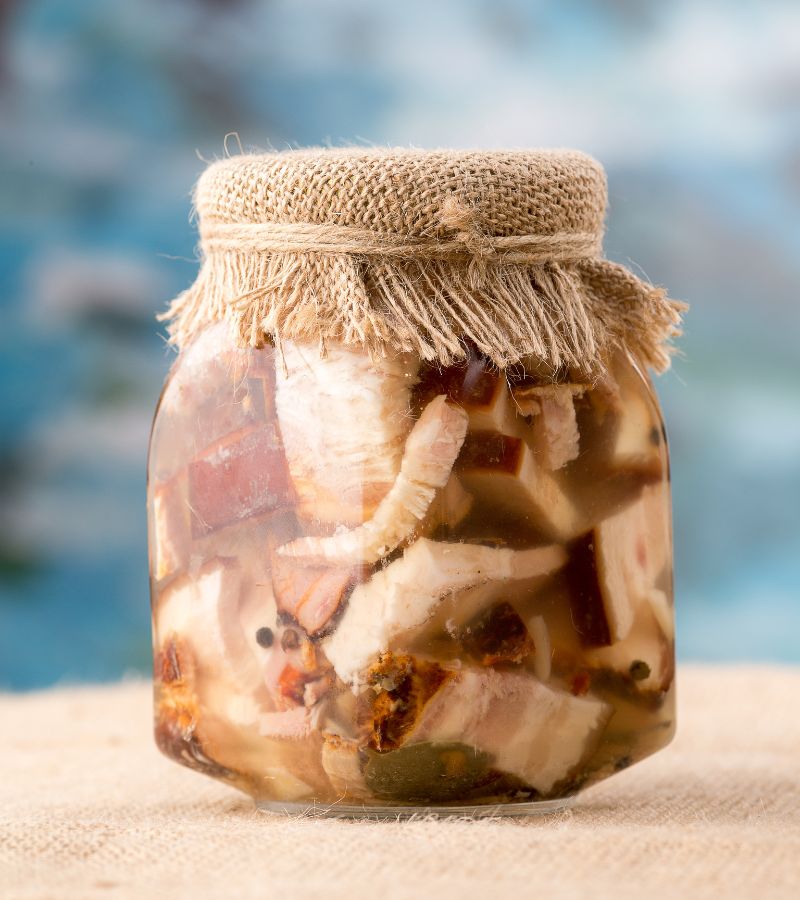
- Prepare the whole chicken by removing excess fat. You can keep the skin and bones or remove the bones and can skinless chicken if desired.
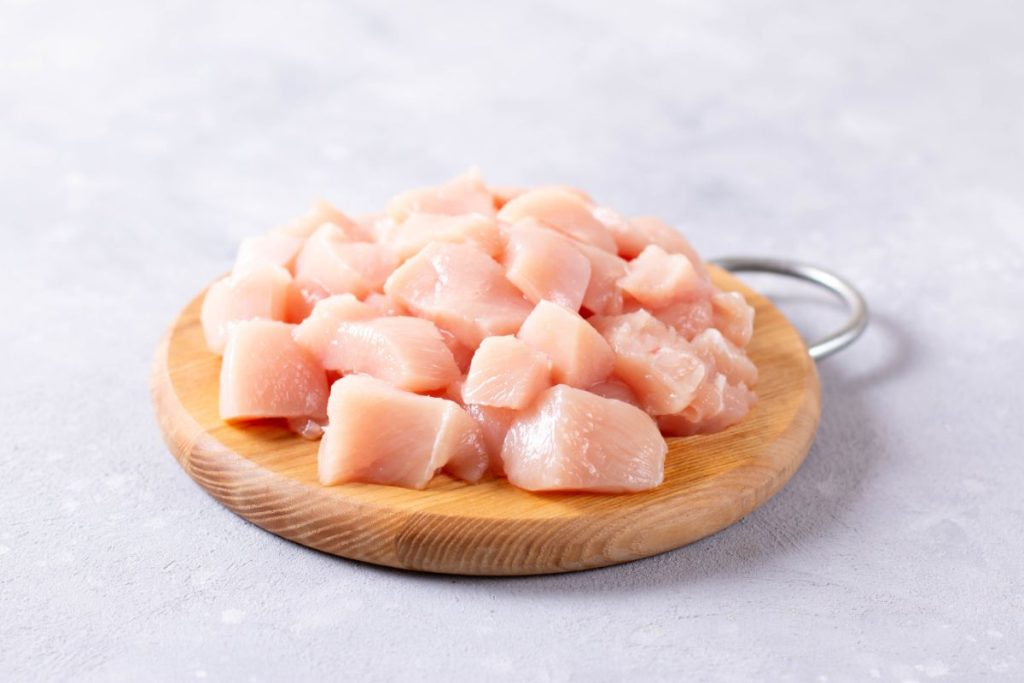
- Cut chicken breasts into uniform, 1-inch pieces. If canning drumsticks, leave them whole and use quart jars when packing.
- Raw Pack Instructions: Remove the hot jars from your pressure cooker using canning tongs. Raw pack chicken pieces loosely and add 1 teaspoon of salt per quart or ½ teaspoon for pint jars, leaving 1-1/4 inch headspace. Do not add liquids.
- Hot Pack Instructions: Boil or bake the meat until it’s 3/4 cooked and add 1 teaspoon of pickling salt per quart jar or ½ teaspoon for pint jars. Fill jars halfway with chicken pieces, and add chicken broth or water to fill in the space. Add more chicken and liquid, filling the jars, leaving 1-1/4 inch headspace.
- Use a bubble popper to remove excess air bubbles for both raw and hot-packed jars.
- Dampen a clean cloth with white vinegar or hot water and wipe the rims of the jars.
- Place new canning lids on the jars. Apply screw bands and twist until fingertip tight. Be careful not to under/over-tighten the bands.
- Use a jar lifter to place jars in the pressure canner. Cover the canner with the lid.
- Let the pressure canner build a steady stream of steam and allow it to release through the vent for 10 minutes.
- After venting, wait for the pressure to build gradually to the recommended pressure per elevation and canner type. Process the jars using NCHFP directions for canning chicken, per the tables below:
Processing time for raw/hot packed chicken in a dial gauge pressure canner (without bones):
| Altitude (ft) | 0 – 2,000 | 2,001 – 4,000 | 4,001 – 6,000 | 6,001 – 8,000 |
| Pints (75 mins) | 11 lbs | 12 lbs | 13 lbs | 14 lbs |
| Quarts (90 mins) | 11 lbs | 12 lbs | 13 lbs | 14 lbs |
Processing time for raw/hot packed chicken in a dial gauge pressure canner (with bones):
| Altitude (ft) | 0 – 2,000 | 2,001 – 4,000 | 4,001 – 6,000 | 6,001 – 8,000 |
| Pints (65 mins) | 11 lbs | 12 lbs | 13 lbs | 14 lbs |
| Quarts (75 mins) | 11 lbs | 12 lbs | 13 lbs | 14 lbs |
Processing for raw/hot packed chicken in a weighted gauge pressure canner (with or without bones):
| Altitude (ft) | 0 – 1,000 | 1,001 + |
| Pints (75 mins) | 10 lbs | 15 lbs |
| Quarts (90 mins) | 10 lbs | 15 lbs |
- Turn the heat off and allow the pressure canner to cool naturally. Wait until the pressure reaches zero before opening the lid.
- Allow the jars to remain in the water for 5 minutes before removing them.
- Using a jar lifter, remove the hot jars and place them on a towel-covered countertop. Allow them to cool undisturbed for 12-24 hours.
- Remove the screw bands from the jars and inspect the seals. The lids should be concave-shaped and not bulging. Refrigerate and consume unsealed canned chicken within 3-5 days.
- Label sealed jars with the contents and date. Store in a cool, dry place, on pantry shelves, or in an area away from humidity and direct sunlight.
Equipment Needed for Canning Chicken
Essential equipment for processing chicken includes:
- A bubble popper and headspace measurer: This two-in-one essential tool removes trapped air bubbles and ensures you maintain the required headspace.
- A sharp knife: This utensil is crucial for chopping the chicken into ideal sizes for canning.
- Canning jars or wide-mouthed mason jars: Quarts and pints are the best sizes to use for canning chicken as they ensure proper heat penetration during food processing.
- Jar lifter: Helps to safely transfer jars of boiling liquid without disturbing the seals.
- New canning lids: Never reuse canning lids to avoid seal failure.
- Pressure canner: Chicken should only be processed in a pressure canner.
- Wide mouth, stainless steel funnel: Used to prevent spills when adding canning liquid.
Should You Raw Pack or Hot Pack Canned Chicken?
Both the raw pack method (uncooked) and hot pack (partially cooked) methods are safe to use when pressure-canning chicken. However, according to Clemson University experts, hot packing provides better liquid cover, excellent food quality, and longer shelf life.
Is it Okay to Can Chicken With Bones?
Yes. It’s possible to can bone-in or boneless chicken.
However, de-boning chicken makes it easier to pack the meat into canning jars, while bone-in chicken leaves less room for meat.
Do You Have to Cook Chicken Before Canning It?
No. Fully cooking chicken before canning is not necessary because it will cook fully when processed in a pressure canner.
If using the hot pack method, partial cooking is crucial to ensure heat penetration through the liquid.
What Parts of the Chicken Can Be Canned?
The following chicken parts are suitable for canning:
- Chicken breasts
- Chicken legs/drumsticks
- Chicken thighs
- Chicken wings
Can Canned Chicken Be Frozen?
Experts don’t recommend freezing canned chicken because the food becomes less palatable, and jars can easily shatter as the chicken expands during freezing.
What are the Benefits of Canning Chicken?
- Convenience: Fixing a quick, delicious meal is easy with home-canned chicken on your pantry shelf!
- Flavor: Canned chicken meat retains the flavor of fresh chicken.
- Flexibility/versatility: A jar of canned chicken can be transformed into endless recipes, including family favorites like chicken noodle soup and tacos!
- Nutritional value: Like pork or rabbit, canned chicken is an excellent source of protein, fatty acids, calcium, magnesium, and vitamin B12.
- Saves freezer space: Preserving your favorite meat in jars saves valuable freezer space.
- Saves money: Canning helps you take advantage of deals and discounts on chicken meat, which saves you grocery costs.
Food Safety Reminders for Canning Chicken
- Chill freshly butchered chicken before canning (6-12 hours).
- Do not process meat in a water bath to prevent botulism poisoning.
- Do not wash raw chicken meat.
- Follow instructions strictly from tested canning recipes, including processing and cooking times.
- Remove excess fat as much as possible to enhance effective heat penetration when canning chicken.
- Wash hands and canning utensils with soapy water to prevent contamination.
What is the Shelf Life of Canned Chicken?
Canned chicken has a shelf life of 18-24 months.
The USDA recommends that all canned foods be consumed within 1 year for best quality. Any leftovers from opened jars should be refrigerated and consumed within 2-5 days.